
A second bedroom in progress from my main dollhouse.
As promised here is the final chapter of how I put together some of my room boxes for my one-sixth scale dioramas. These are easy and cost effective ways to create back drops for your dolls and mini life.
The Fixed Room Box
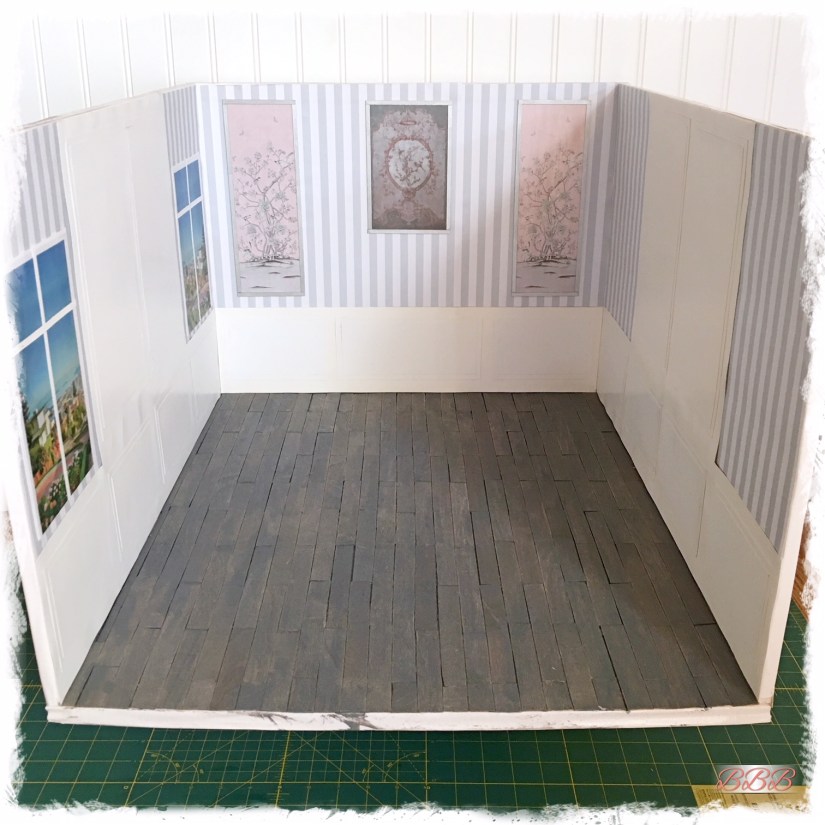
This room box method is not collapsible and is something that would need a permanent place to live. I used this method to build my large dollhouse structure.

A top view of the second bedroom in my main dollhouse. This room just needs final touches of molding for the chair rail, windows, and baseboards.
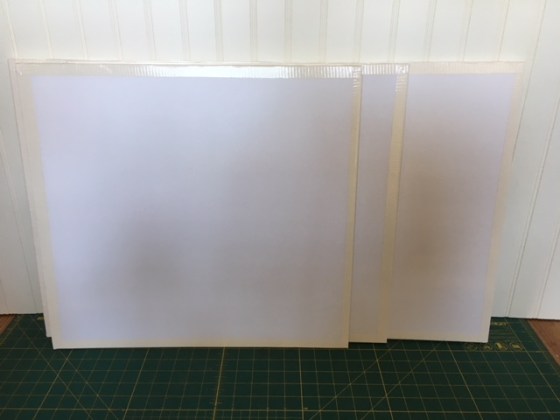
In the tutorial below, I am using the full sheet of foam board from the Dollar Tree for the base. The size is 20 x 29 1/2 X 18 inches. For this style room, I used 2 layers of foam board for the walls and the floor. If this room box was for a stack-able structure, I would add a third layer of foam board to the floor (the room above has 3 layers on the bottom and is 20 X 24 X 15 inches).
Note: For a stand alone room, I like to use a wall height of 18 inches which is more to scale, but for the dollhouse which is three levels tall, a shorter wall height made more sense to me scale wise.
If you decide you want to make a larger room, definitely use 3 layers on the floor base because you will have to stagger the foam core pieces to great a secure and stable base.
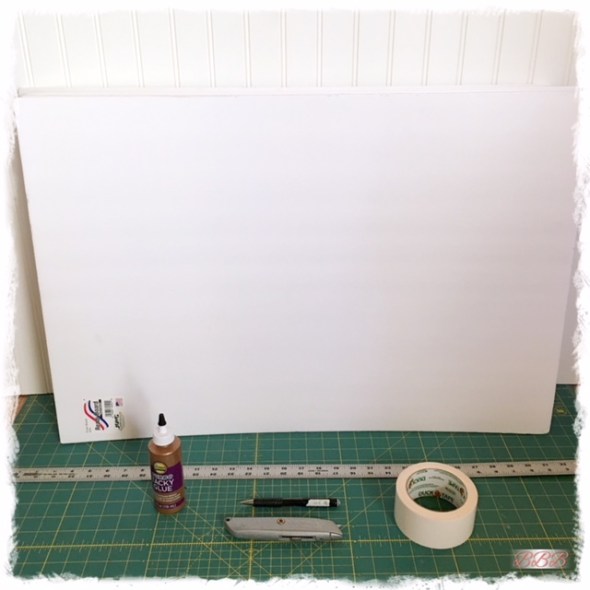
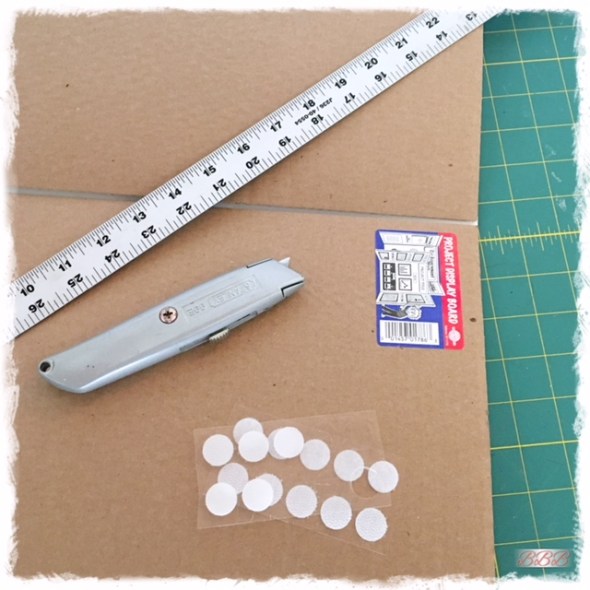
Here’s what you will need:
- 8 pieces of foam board
- Craft Glue
- White Duck tape
- A straight edge metal ruler
- Pencil
- Box cutter or Xacto knife
Disclaimer: Please use adult supervision when using sharp objects.
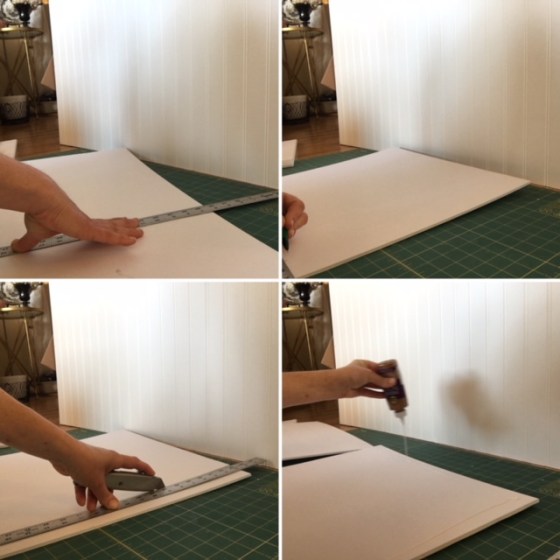
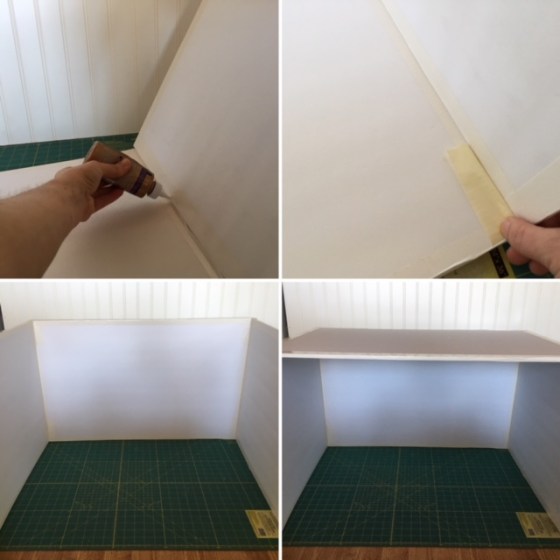
The how-to:
Start by taking 2 full pieces of foam board and glue them together.
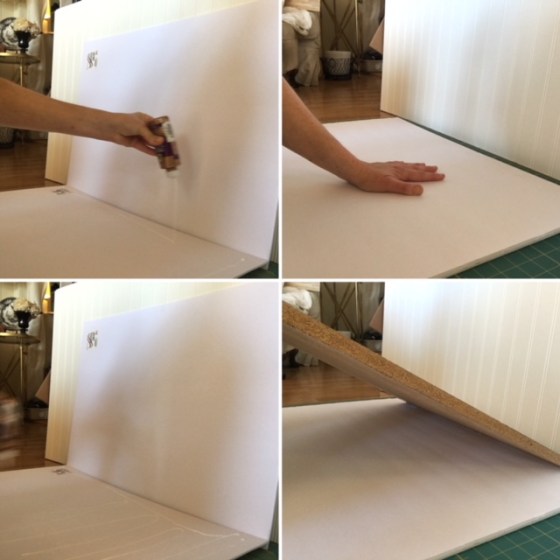
Use a board or heavy books to make sure your layered pieces dry flat. Next trim down the next few boards to 18 inches tall and glue together 2 more pieces. Keep layering your layered pieces under the board to set them. Note: If you want to cut out windows, do so before you glue the wall panels together.
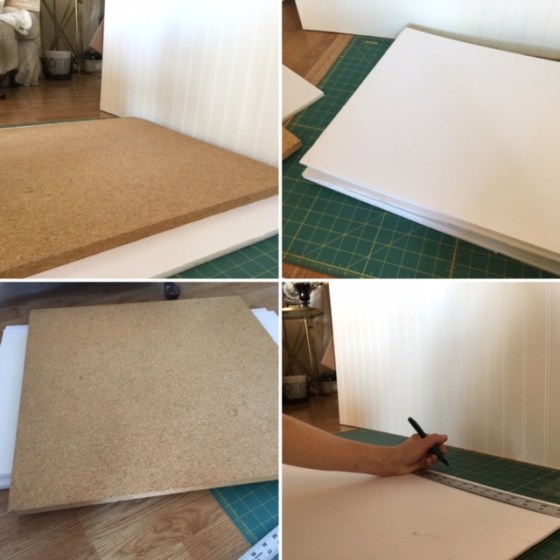
For the side walls, trim them 1/2 inch shorter than the full length of each side. In this case 19 1/2 inches. The back wall is 1/2 inch thick, so you want the side walls to be flush with the flooring.
Continue to glue the panels and place under the board to set.
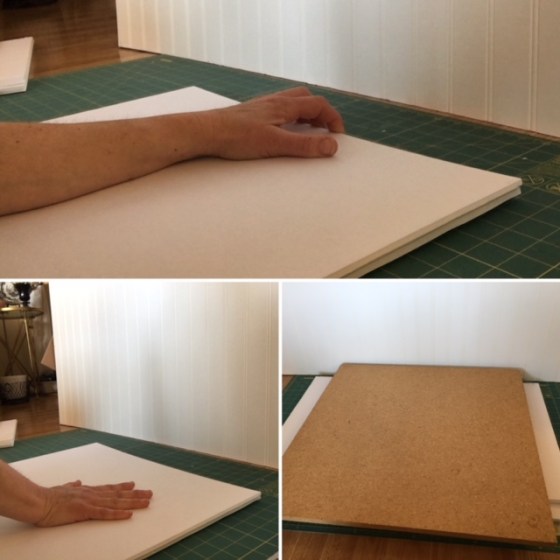
Once all 4 panels are dry, I like to tape all the edges with white Duck tape to secure the edges.

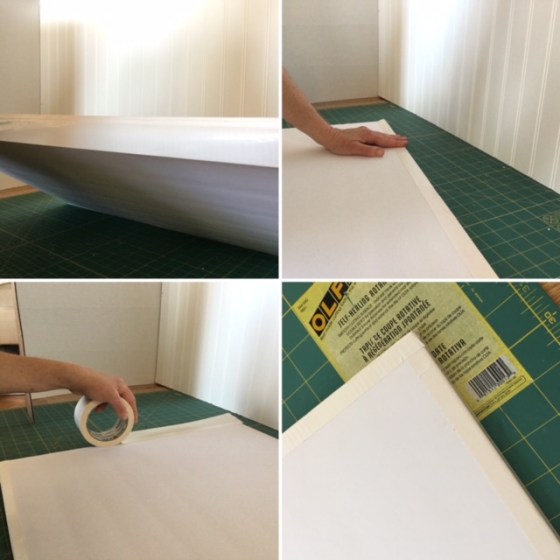
Once the walls and floor are finished off it’s time to glue and build the room. I add more tape to connect the wall corners on the outside to allow me to glue the seam.
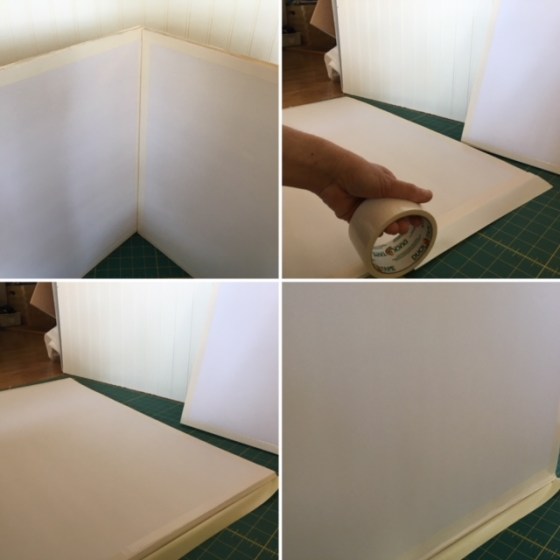
Lean the side wall back and add a bead of glue to the inner seam, lift the wall back up to a right angle and hold for a few minutes. Wipe away excess glue. I then add a couple of strips of tape to the inner corner.
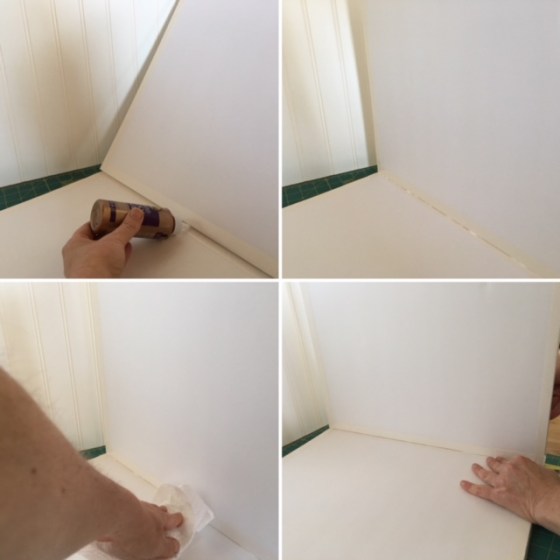
Repeat on the opposite side.
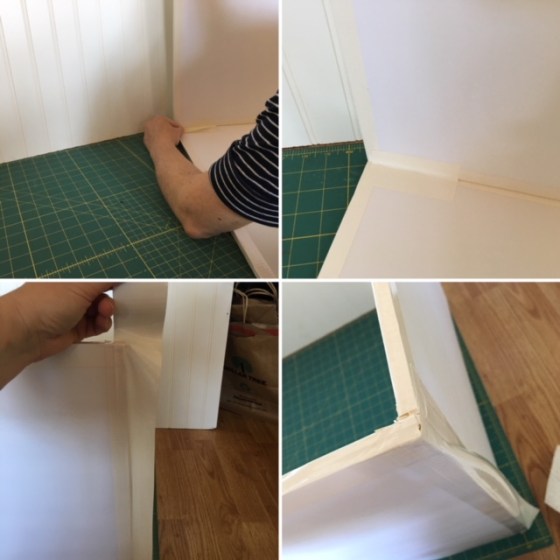
Once you’ve connected the side walls and it’s set, determine the bottom side and place your floor on top to get an idea of alignment.
Add a bead of glue to the top (bottom) of each wall side. Place the floor back onto the walls. Turn around the structure (turn your mat if you are using one). I then add a few pieces of Duck Tape to secure and set the structure.
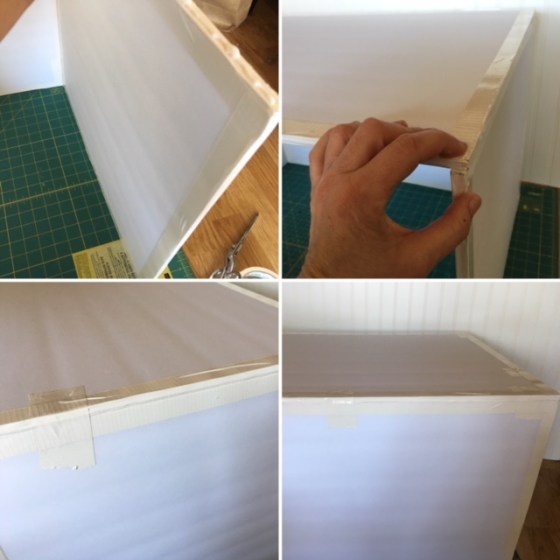
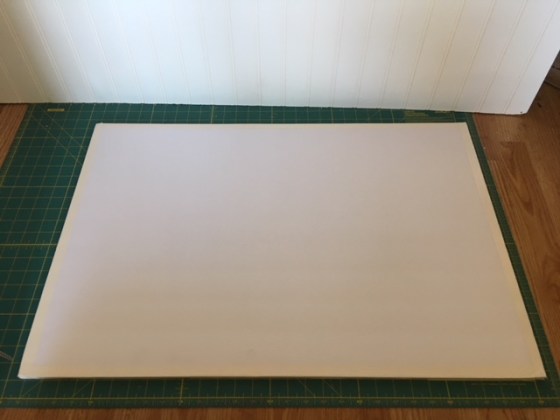
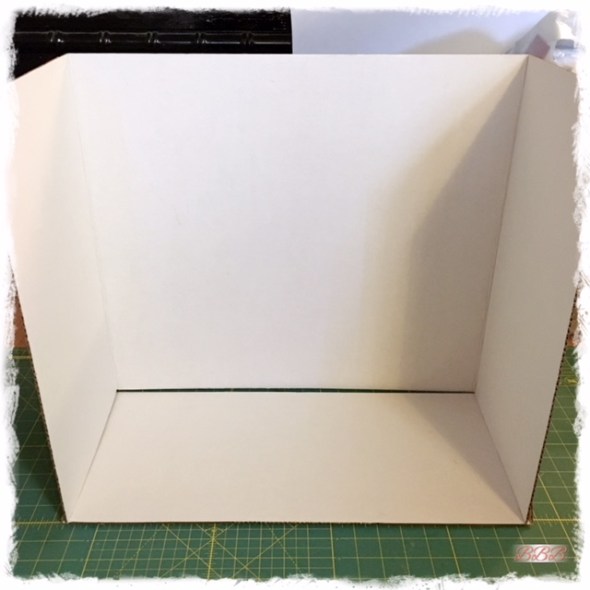
Once the glue has dried your completed base room is done! You can use hot glue if you’d like, but I just prefer not to because this method gives more time to set and make sure everything is lined up properly.
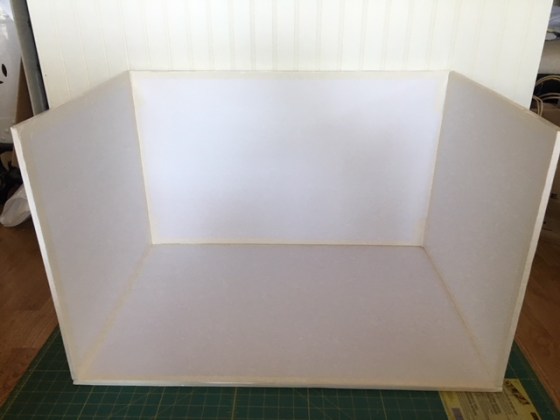
For this room, I plan to keep it a generic white by adding poster board and molding, so that I can reuse it for many set ups. You can cover the walls and flooring any way you like. For the floors you can create panels that you can slip in and out of the room for versatility.
Additional Options
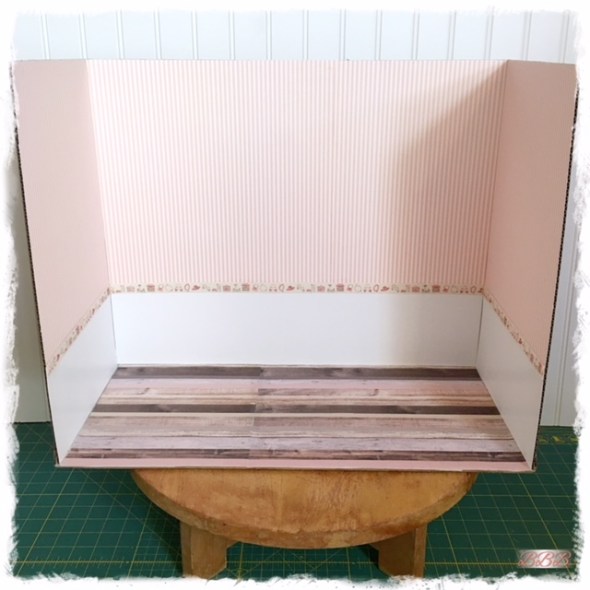
This is my in progress diorama for one of the Spring Challenge Rooms.
Here I use a combination method of predecorated walls that are collapsible for easy storage. I use foam board for the walls and connect them using a cardboard corner affixed with Velcro as shown in the first diorama post found here.
Tip: Use book ends to help support walls and flooring for rooms that are not fixed.
I also have created a variety of floor panels that I have created over time that I can interchange with this type of diorama set up. I cover foam board with flooring on both sides so that they can be flip flopped for the look I am going for. They are easy to store, flat, and versatile. Here’s a pic from an old Instagram post:


The Collapsible Set
For this method I used presentation boards from Dollar Tree. I trim down the height of the board to 18 inches and use the remaining portion to create our floor. Trim and add self adhesive Velcro to the side flaps and side and you have a great simple box to use a variety of ways.
Please follow the photos from left to right and down. I’m hoping the photos show all the steps!


These sets can be permanently decorated or used for quick and easy photo opps.
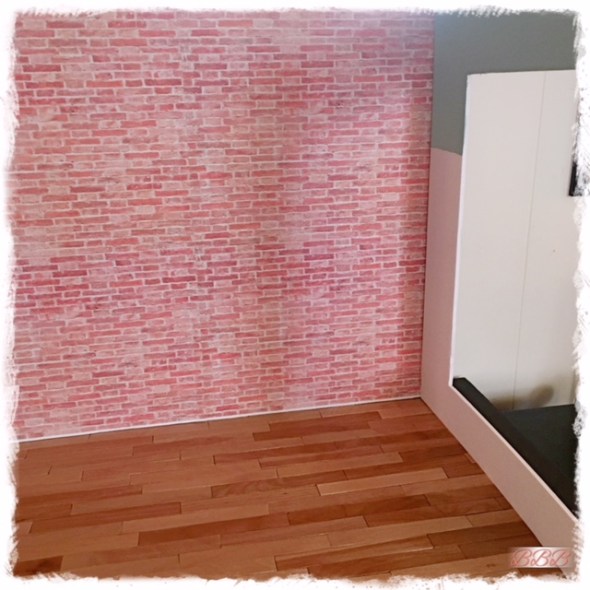
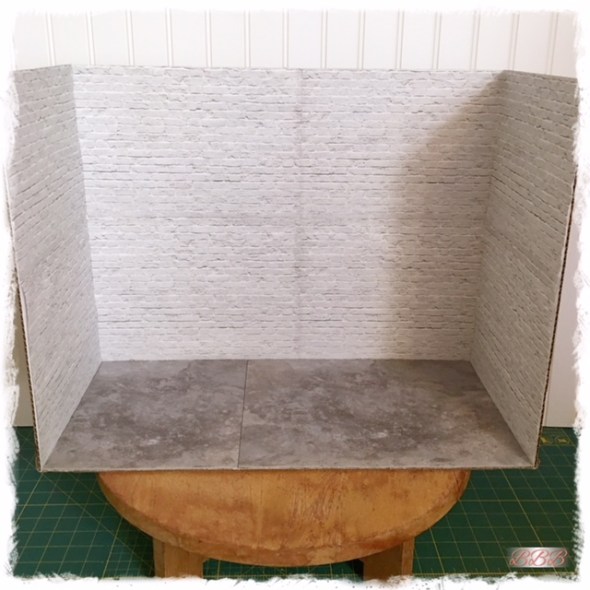
Bruni’s “Set”
Brick Backdrop
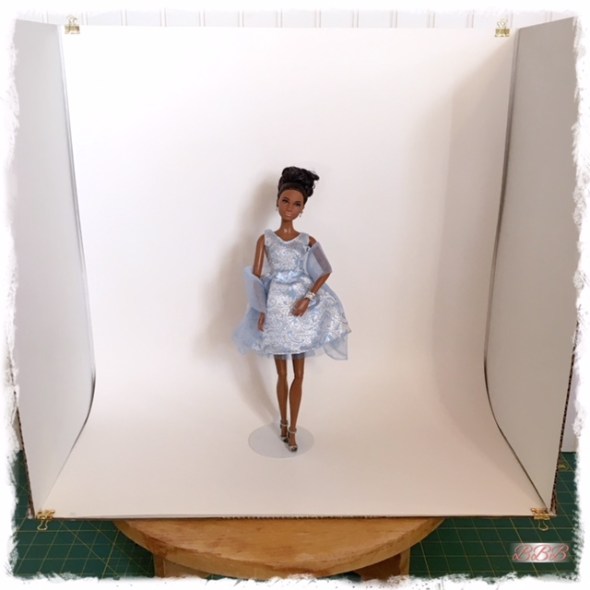
White Backdrop
Use binder clips to secure white poster board to create a seamless white back drop.
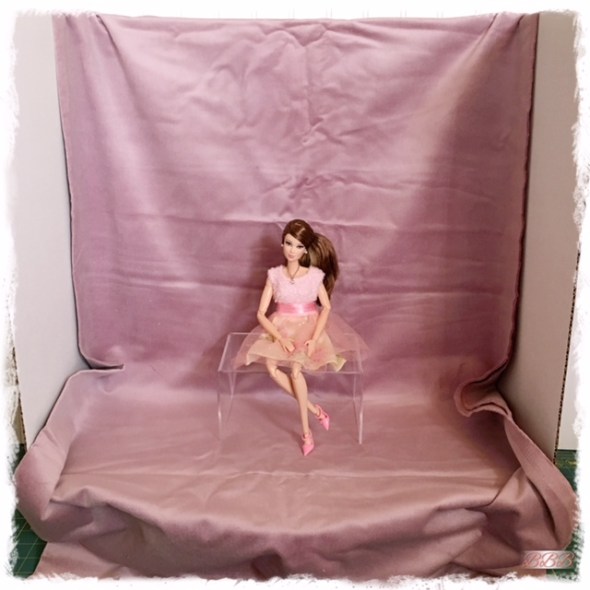
Fabric Backdrop
Drape fabric over it, but remember to iron it unlike me!
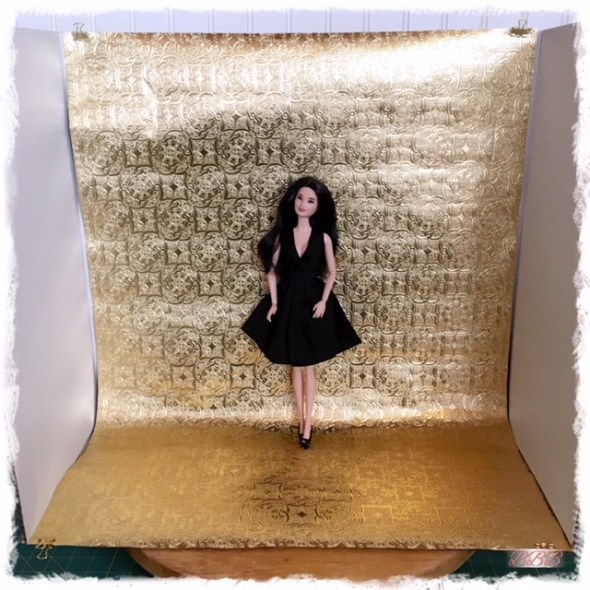
Wrapping Paper Backdrop
Use binder clips to secure a piece of wrapping paper to add a fun seamless backdrop.
Thank you as always for stopping by! I really do hope this series was helpful and useful, but I am eager to get back to sharing some fun things like home accessories! Are you with me? Be sure to stay tuned for next week, when we start to do a variety of craft projects using all sorts of fun odds and ends. Please be sure to Follow us so that you will be notified by email each time we post a new entry! Until next time…
A la prochaine
Rie & Bruni


Excellent tips! Thank you so much for this helpful post 🙂 Lots of creative ideas here! Now, just finding the time!!
LikeLiked by 1 person
Thank you! Yes, I don’t know how I find the time sometimes! It would be great to be creative all the time!
LikeLiked by 1 person
Creativity has a way, though–of spilling into other areas of our lives 😉 Your projects keep me inspired!
LikeLiked by 1 person
Thank you, I’m glad! I find your blog a good vegan source as well. I’m not but do like to cook that way often! 😊
LikeLiked by 1 person
Aww, thanks! The vegan blog has been a constant, since 2012…but lately I find myself entertaining creative interests outside the kitchen. Finally!
LikeLiked by 1 person
Thanks for sharing your talents and tips with us.
LikeLiked by 1 person
You are quite welcome! Thank you for taking the time read my posts!
LikeLike
Thanks for sharing these rooms. Great ideas.
LikeLiked by 1 person