
Happy New Year! We hope you all had a great holiday season and are ready to kick off the New Year with some fun projects!
Have you seen the new “fashions” or career costumes they are starting to carry at the Dollar Tree? We spotted them this past weekend and had to pick up a couple because as you can see, we had big plans for these!
On first sight they certainly are not the best quality, dare we say cheap, but you know we’re always up for a challenge on a budget!


We’re generally on a kick to only have higher quality clothes these days, but if you can make something look more expensive with a few details, we’re all for it! And we did this with little to no sewing! Let’s jump in…

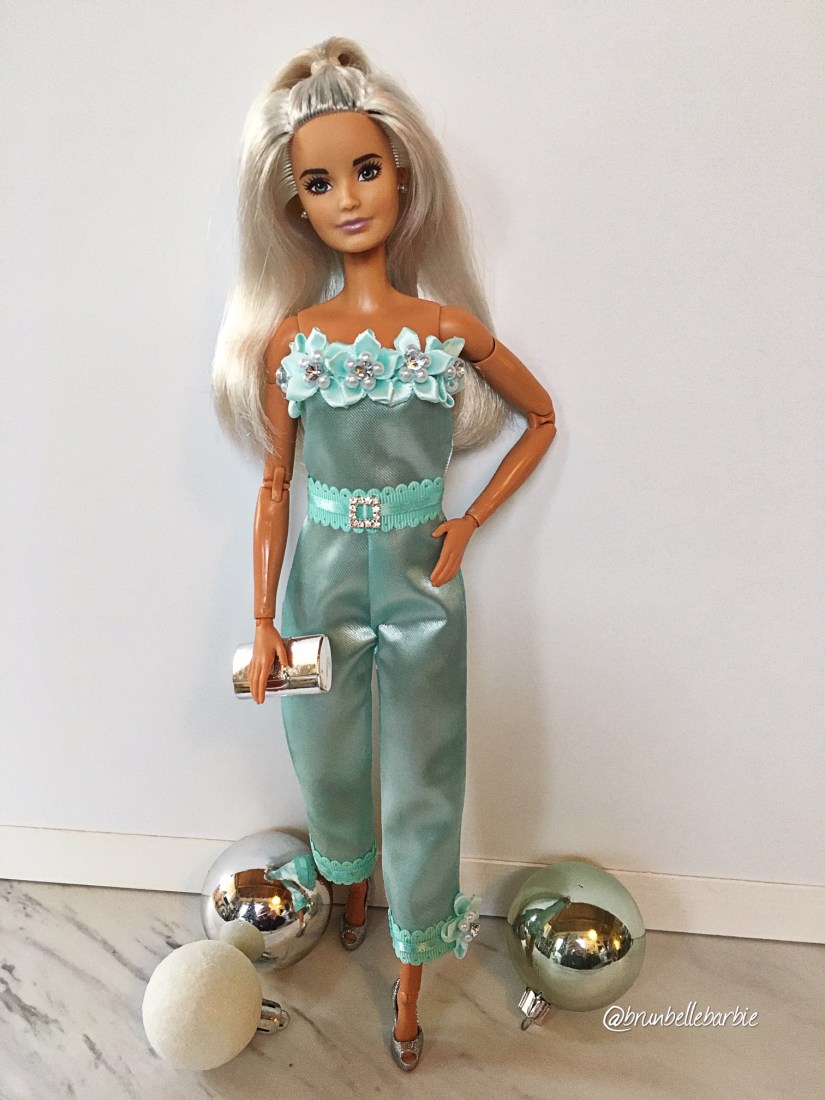
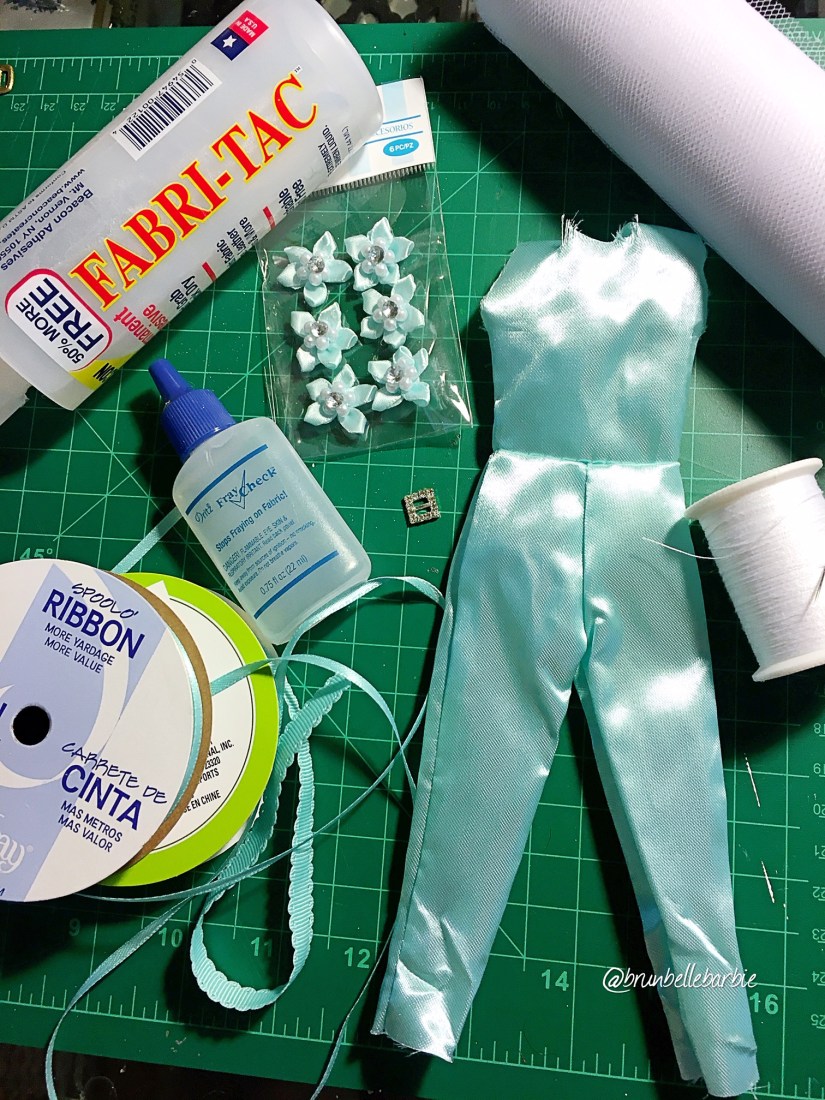
Aqua Glam Jumpsuit


- Fabric glue – Fabri-tac used here.
- Fray Check – to seal raw edges
- Scissors
- Fabric Pencil
- Paint Brush (for applying glue)
- Coordinating ribbons and embellishments.
- Rhinestone button or Buckle
(Ended up not using the tule or thread pictured – originally was thinking about adding a skirt wrap)
Tip: If your Fabri-tac gets sticky, you can thin it down with some pure acetone.
Please note: We do make a small percentage on items purchased from our Amazon storefront.

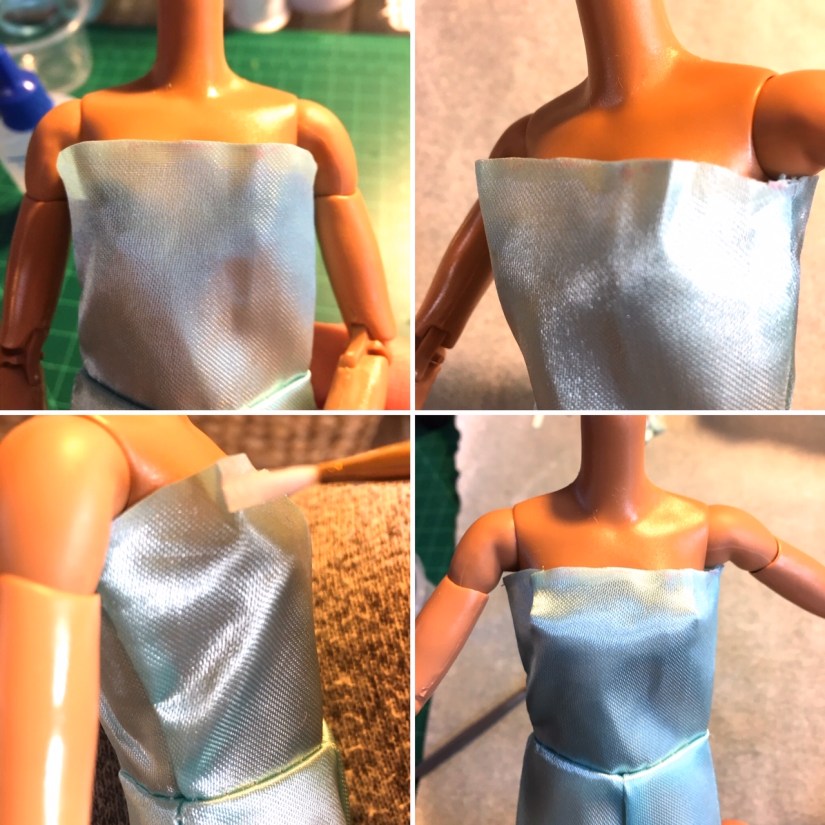
Start by cutting the bodice down, marking your cut line while on a “model” will be quite helpful. Then add Fray Check, let dry.
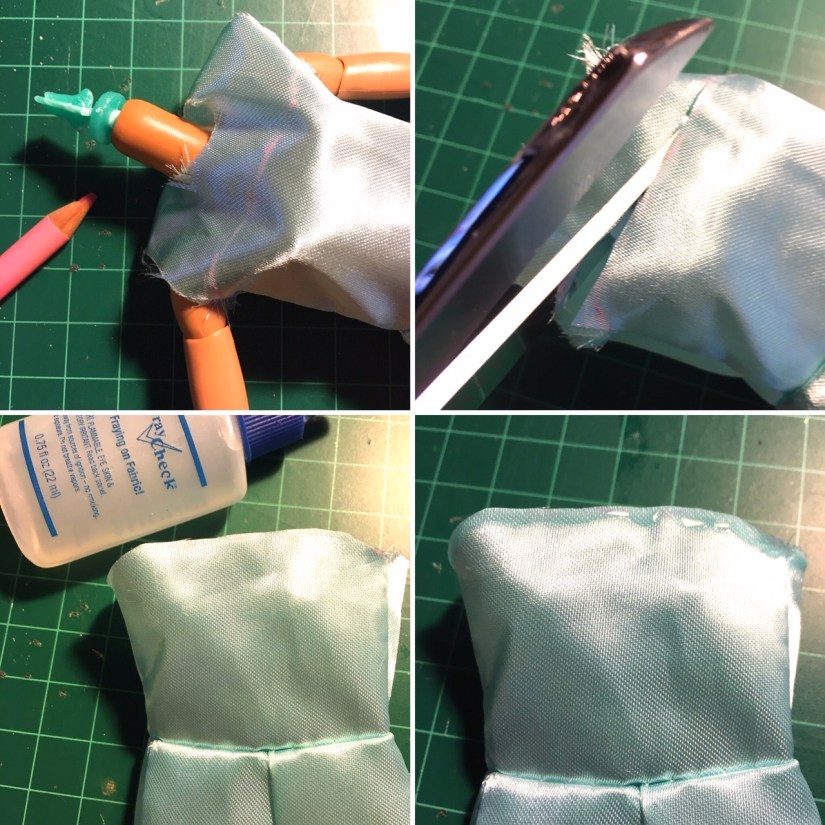
After the Fray Check has dried, pinch small darts at the bustline to create a more fitted silhouette. Secure with more glue.
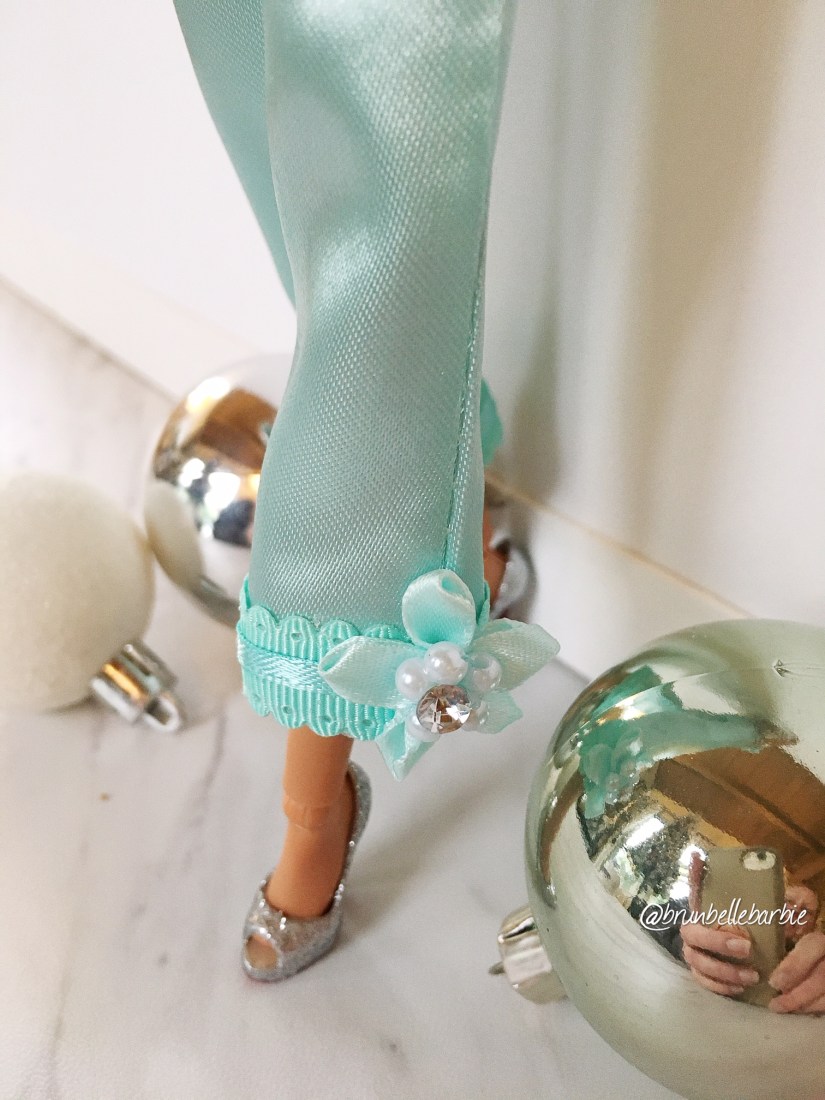
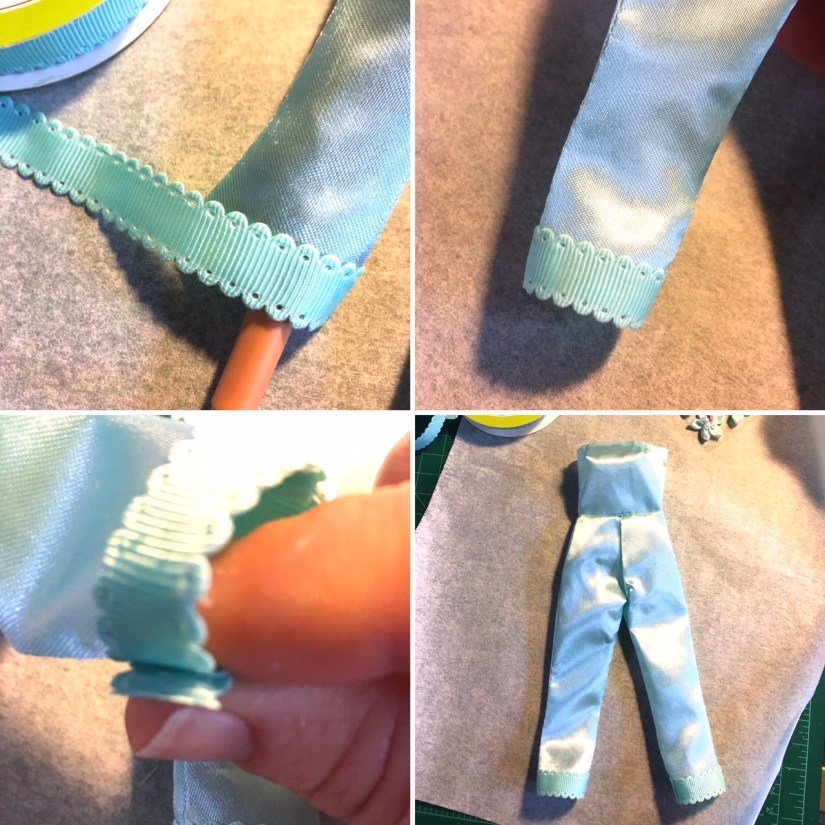
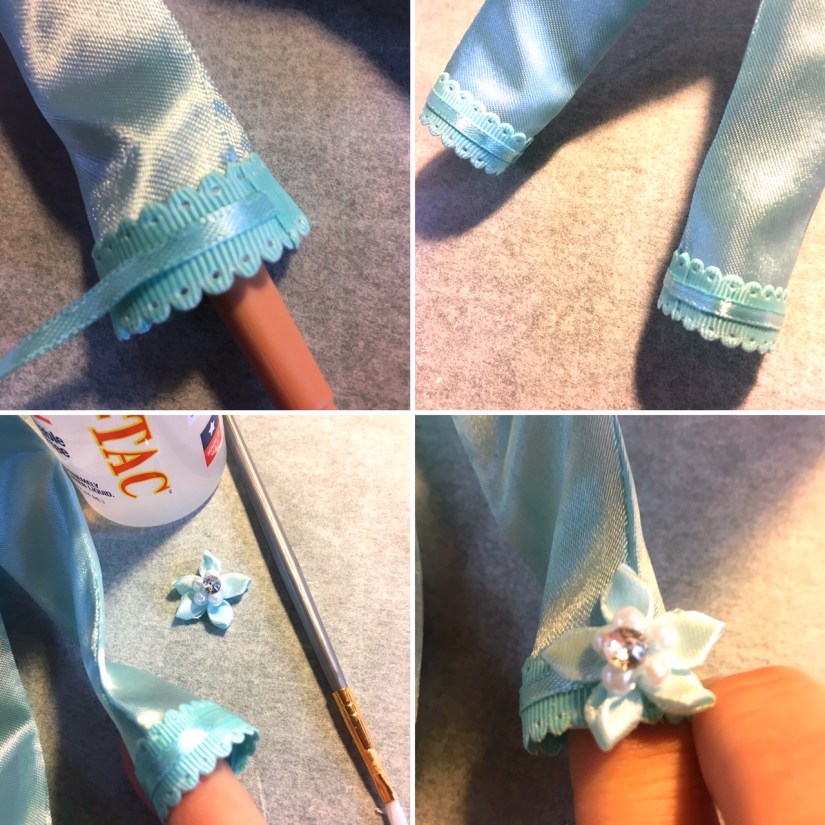
You may need to iron any creases out of the legs on this, so if you do use an iron, be sure to use a cotton cloth between the heated iron and this fabric. Glue around the edge of the legs bit by bit to add the ribbon detail.
Add glue around the waist section by section to add the first ribbon detail.
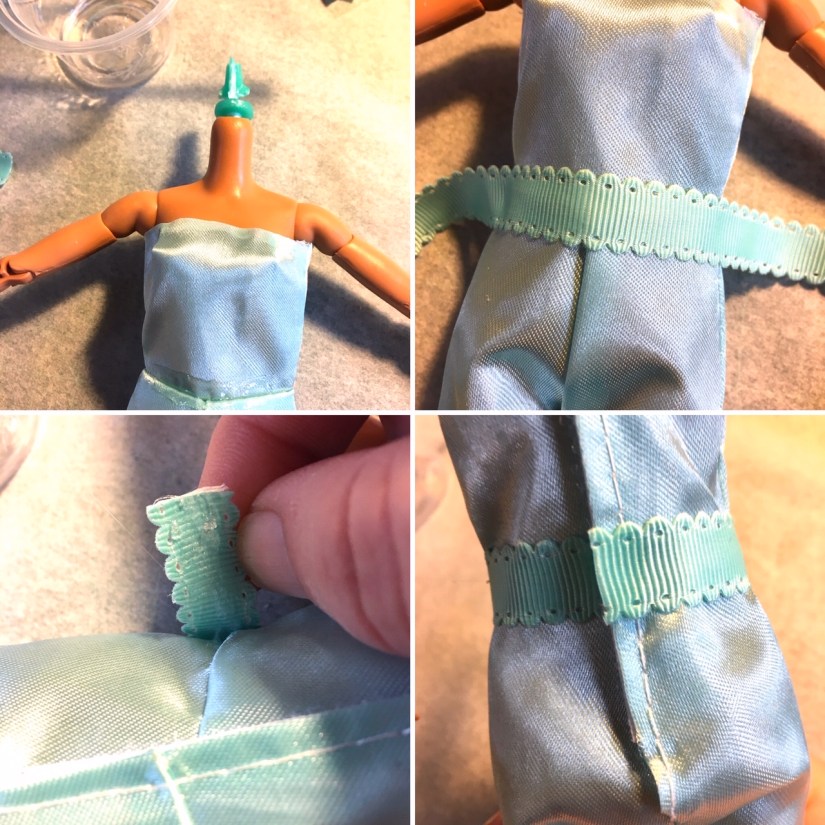
Time to add the final flourishes. Glue the floral accents on one by one to the front of the bodice top.
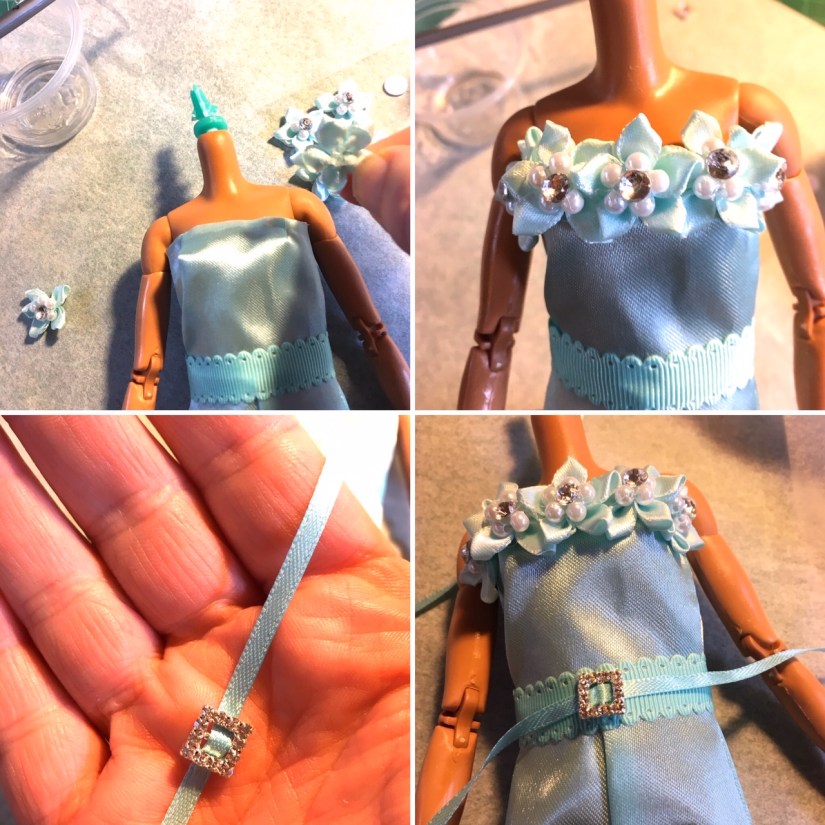
At this point we are just laying the belt detail over this to see how it will look. These rhinestone buckles can be purchased from the Tiny Frock Shop . You can also use a small earring or button if you have one handy!
Simply tie the belt on for a final touch, plus that will allow you to easily remove the buckle if you want to use it for another project.


You are now ready for a fancy party!
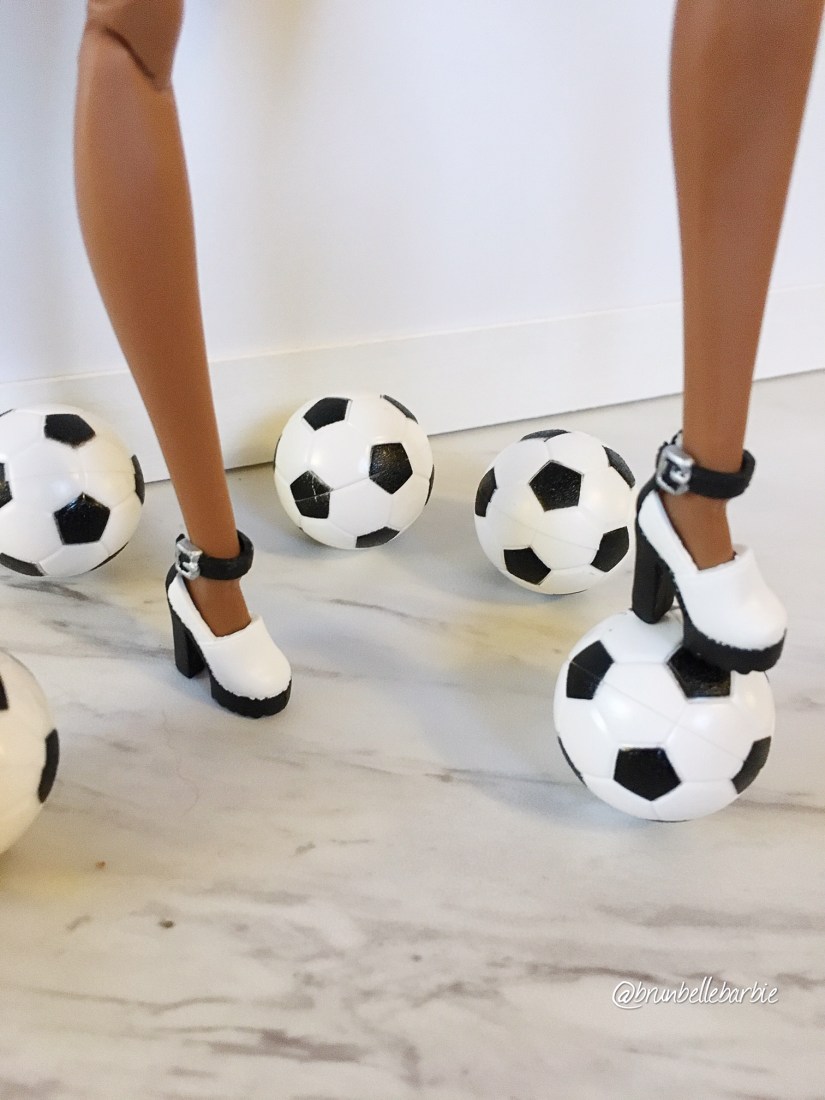
Sporty Black & White Romper
- Fabric Glue – Fabri-tac
- Fray Check – to seal raw cut edges of the fabric
- Scissors
- Pins
- Paint brush
- 1/4″ Ribbon – printed or not. We used some left over designer ribbon from an item purchased at Ross or Marshall’s (the ribbon is for looping onto a hanger).
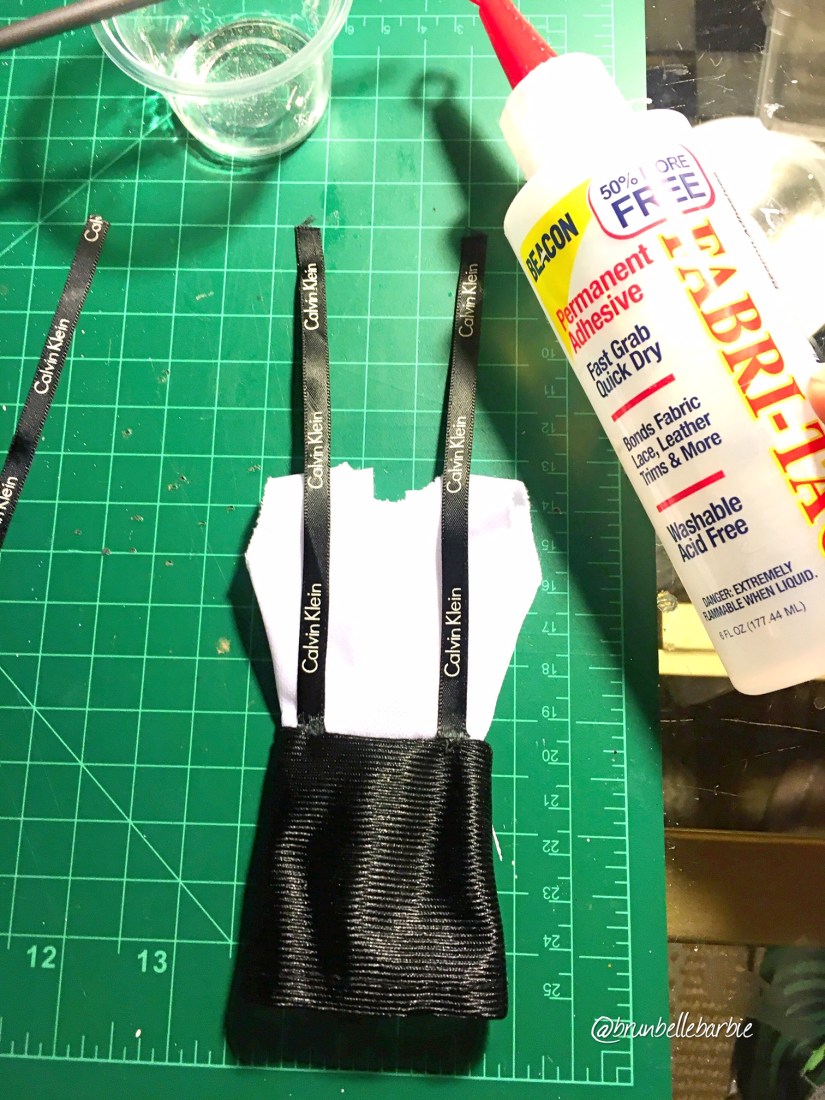
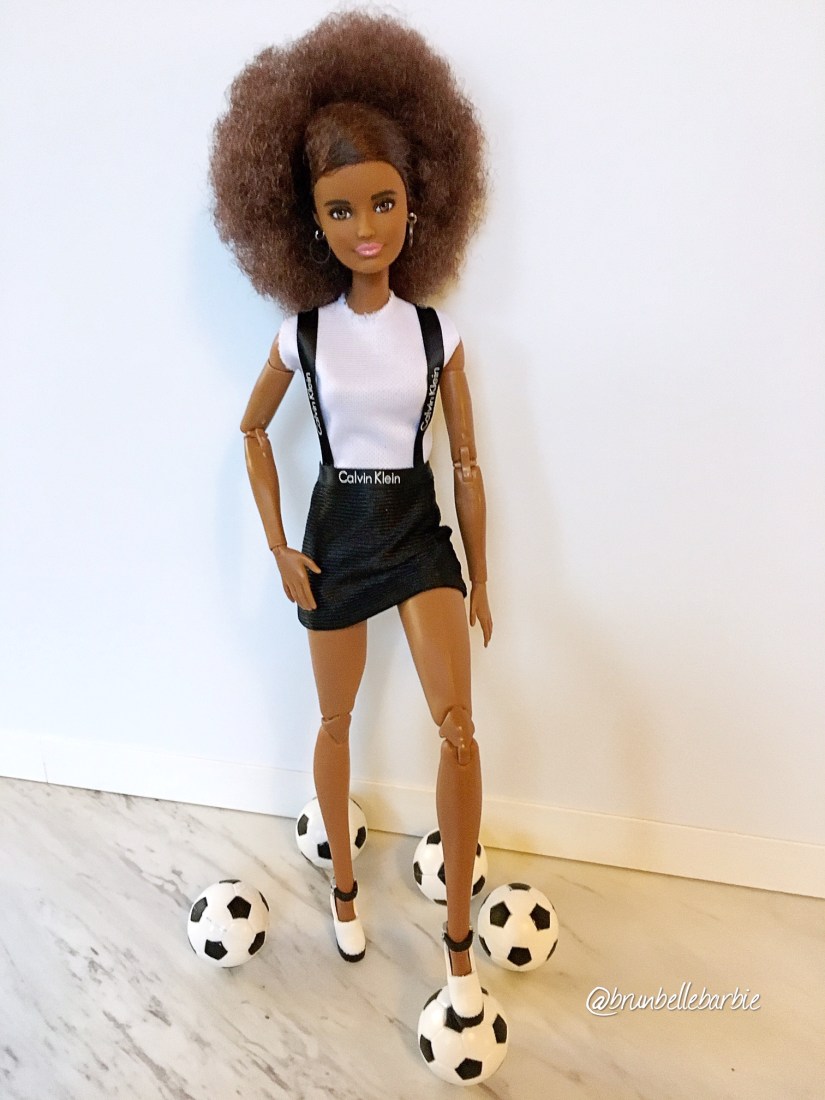
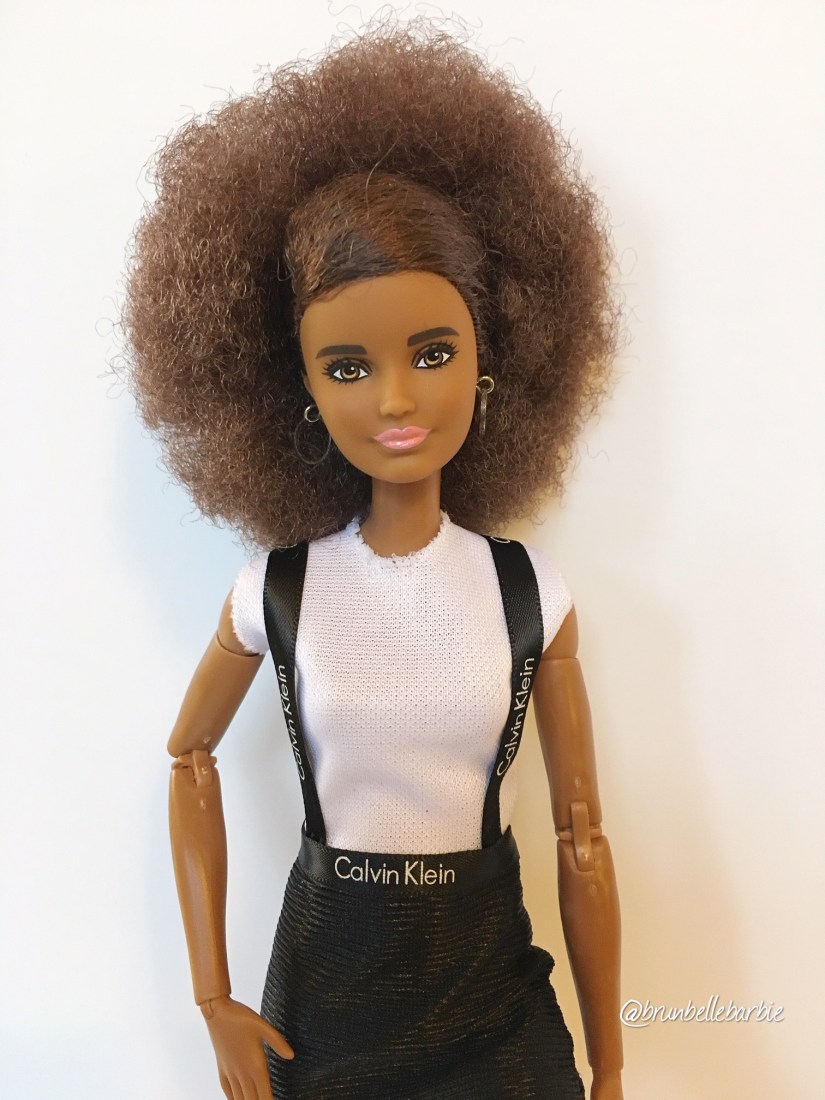
Pin the ribbon straps where you want to place them (front & back). We started by sewing the edges to the skirt top, but decided the fabric glue would work better.
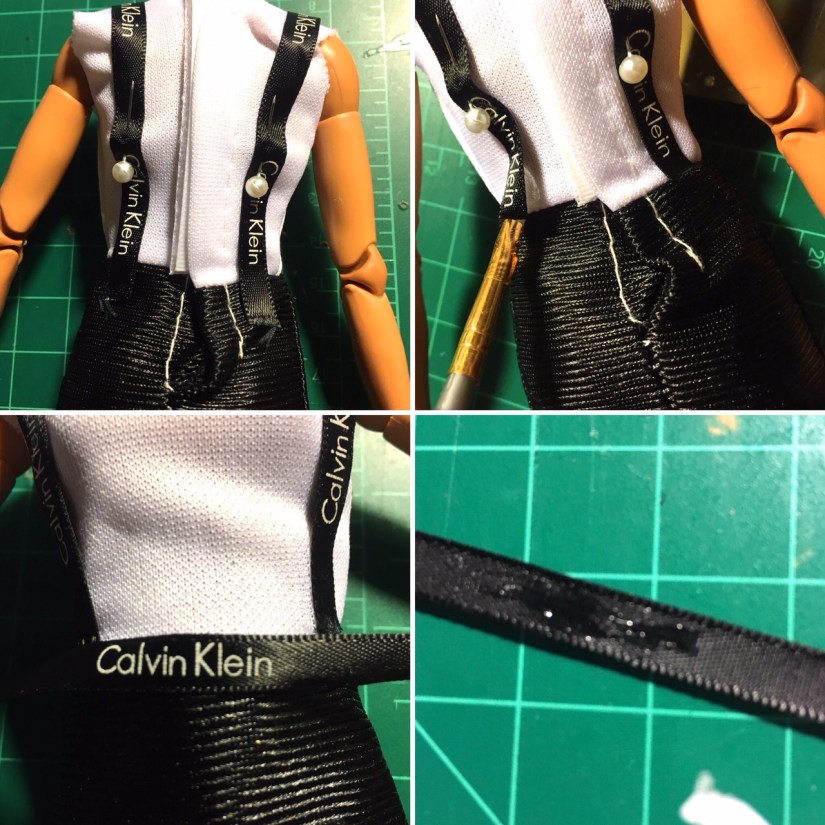
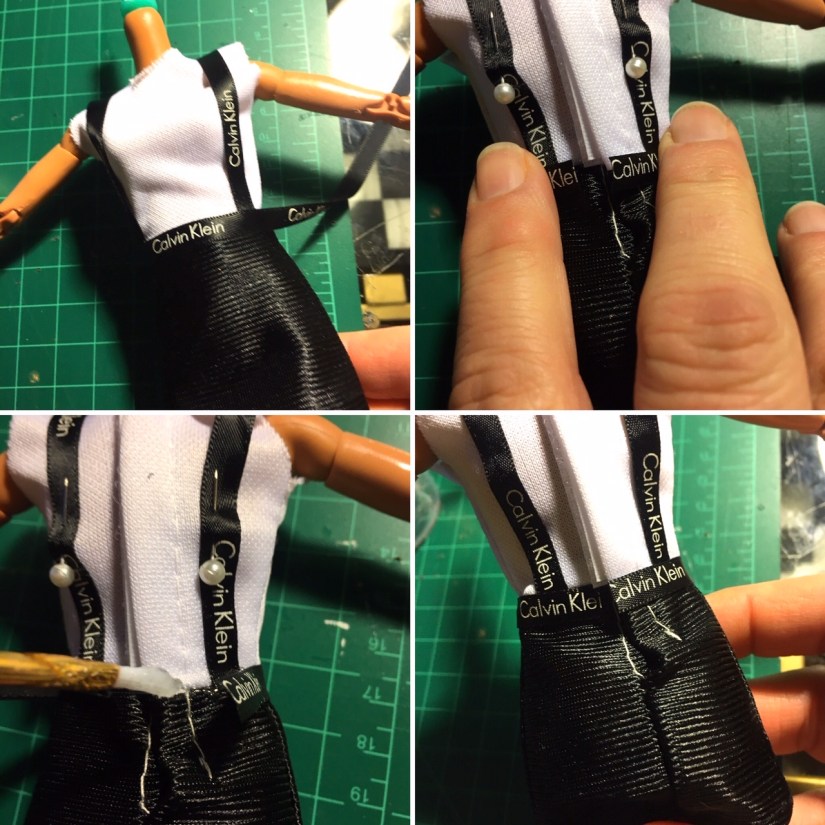
It would have been nice to finish off the neckline as well, but we didn’t want to get too deep in sewing, so it’s just finished with Fray Check. You could also try to turn over a hem with the Fabri-Tak.
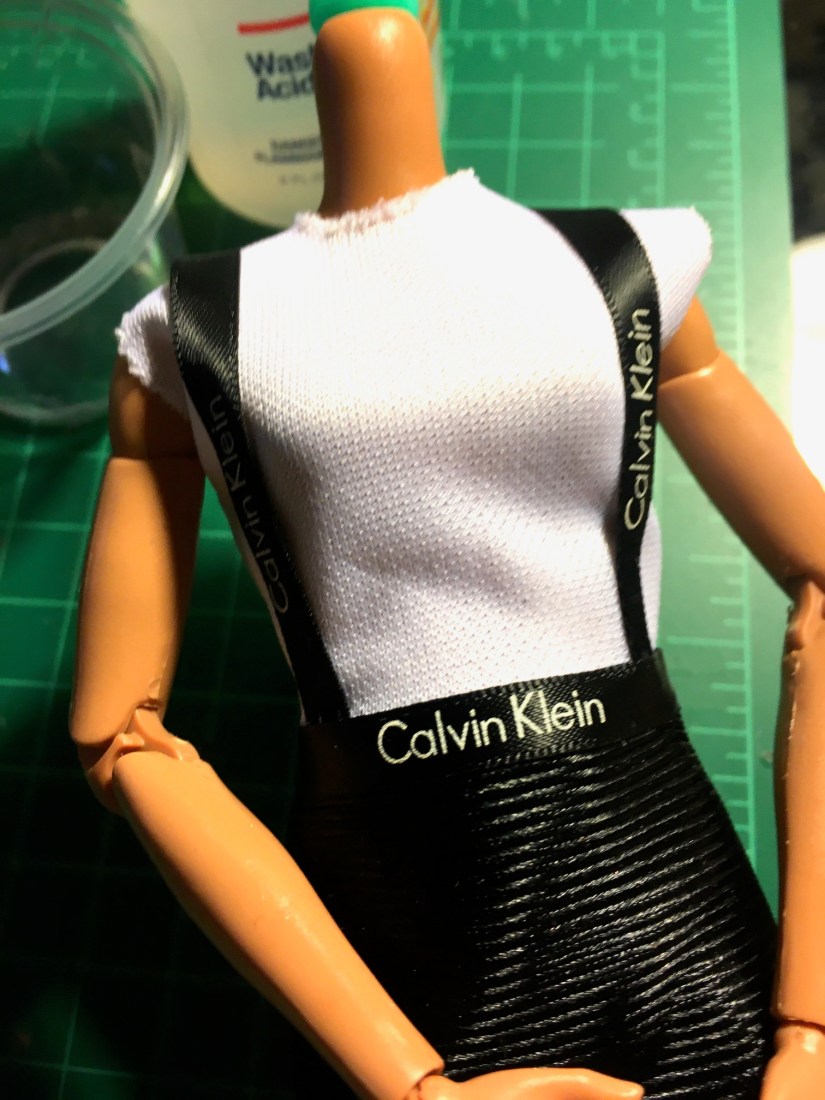
There you have it, a cute sporty look!
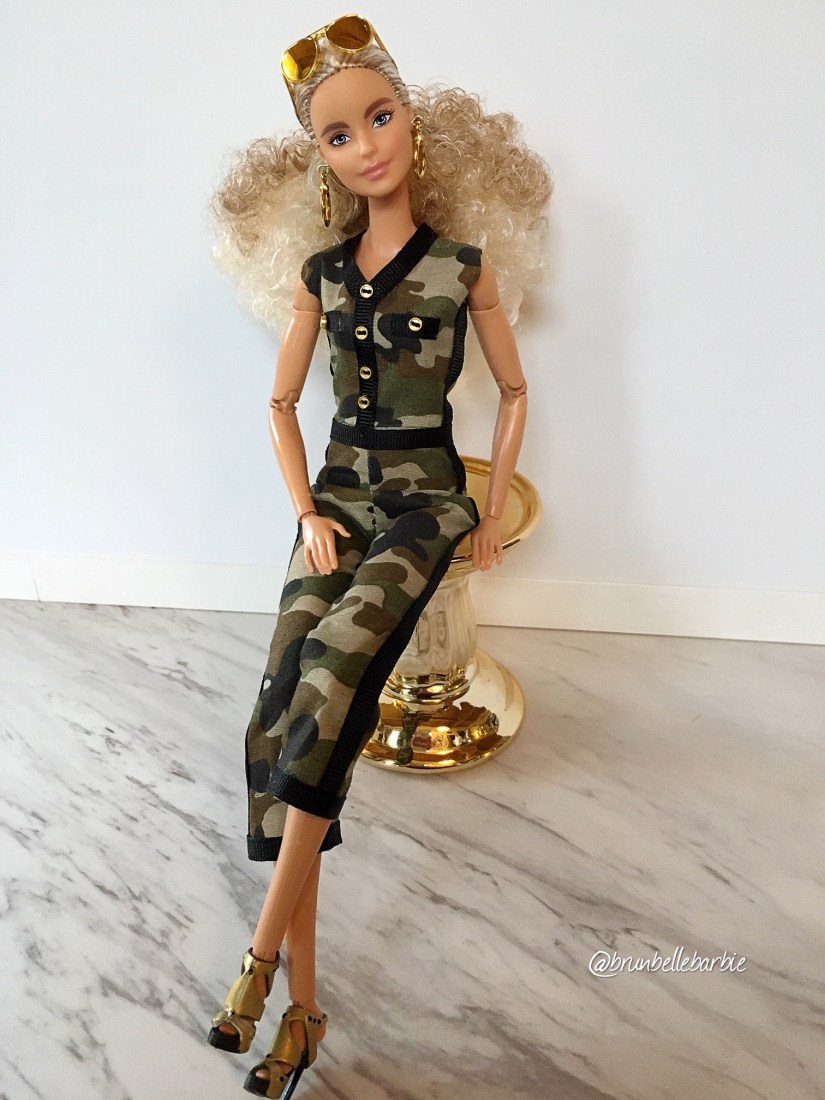
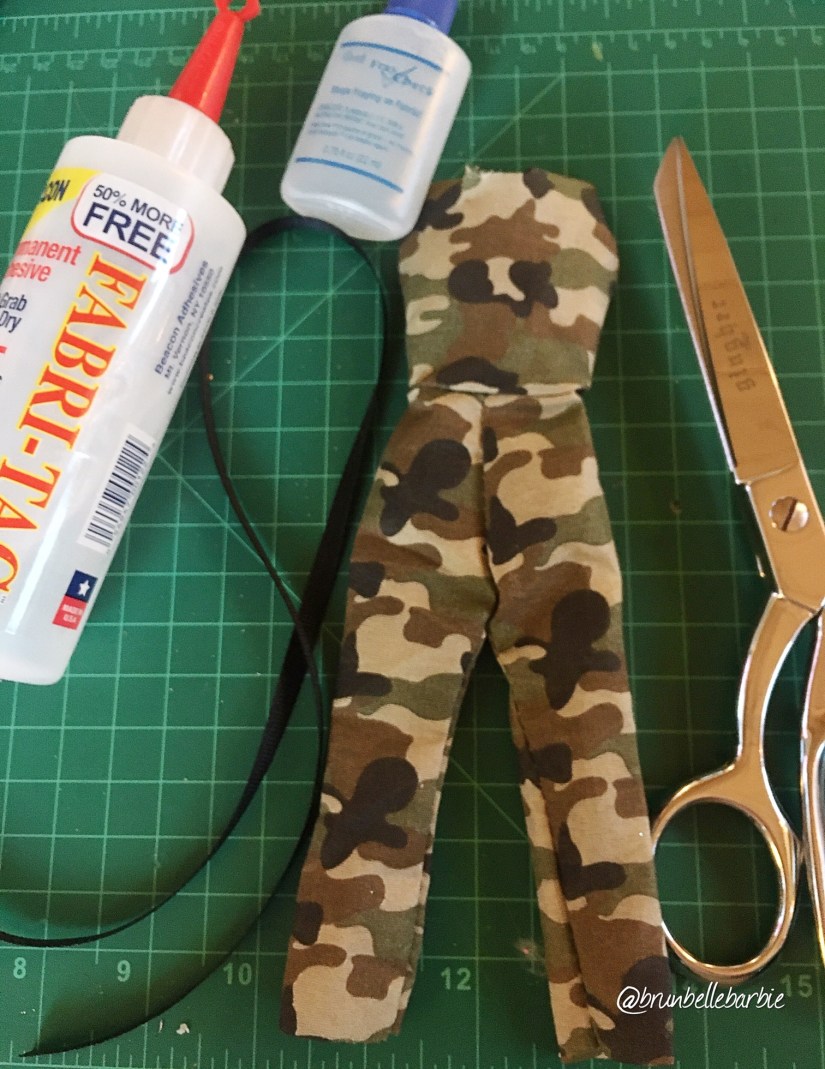
Camo Glam Jumpsuit
- Fabric Glue – Fabri-tac
- Fray Check – to seal raw cut edges of the fabric
- Scissors
- 3/8″ Ribbon – Black Grosgrain Ribbon used
- Tiny Buttons – 4mm Gold buttons purchased from I Sew for Doll on Etsy. UPDATE 1/02/20: Her Etsy store is temporarily closed while she moves internationally, you can also find these buttons here.
- Needle & Thread – You could also just glue on the buttons.

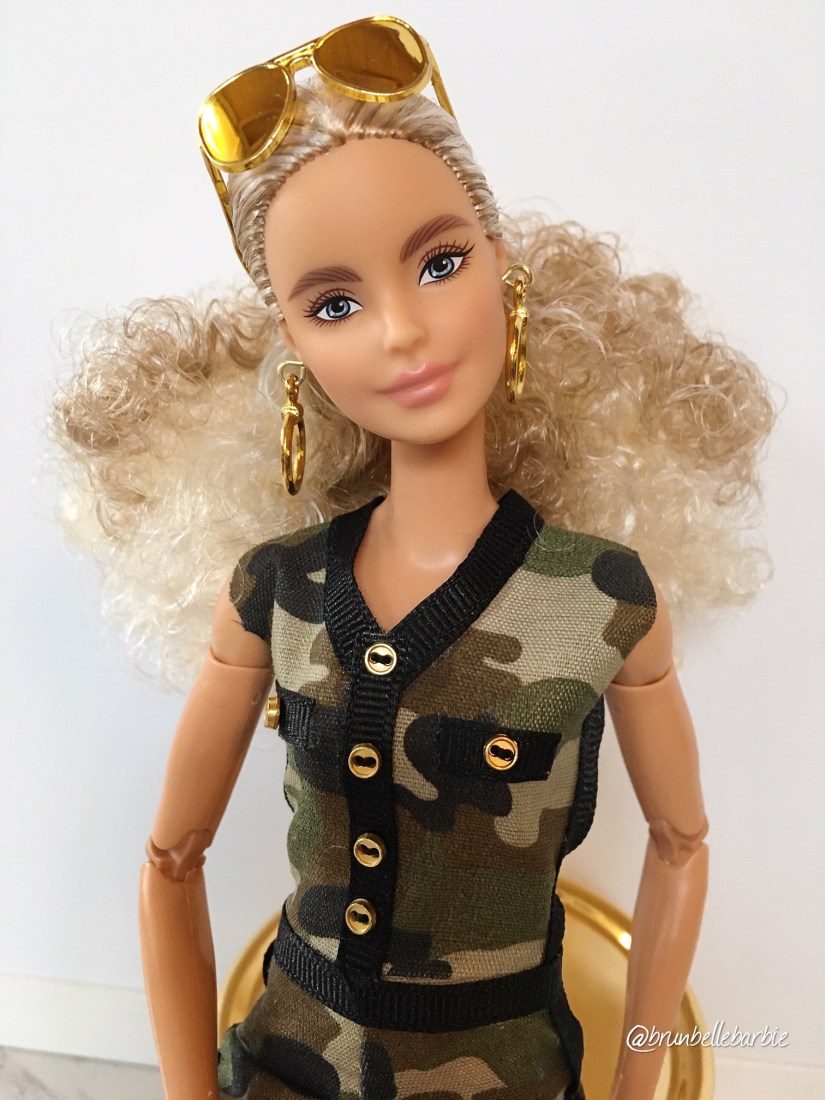
Start by cutting a V-neck and sealing with the Fray Check. Next start laying down the ribbon detail on each side of the jumpsuit.
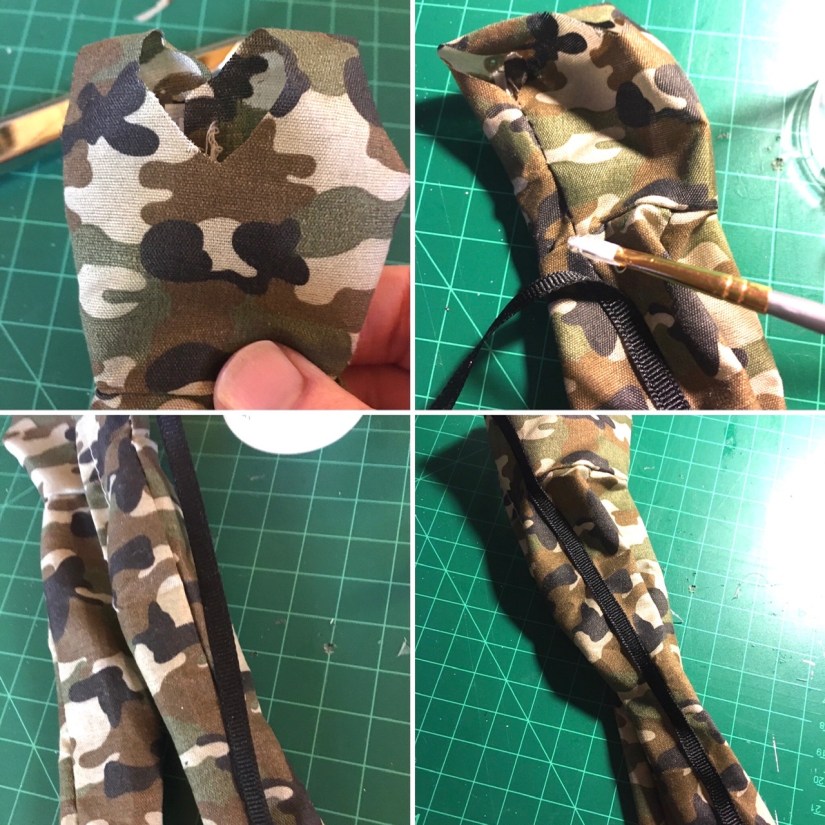
The trim is added from the back of each neck opening. Originally we thought the ribbon would overlap the second piece to cover the first strip and run it down to the waist line, but it did not curve the way we’d hoped. We ended up adding the middle bodice piece over the neckline, but it’s recommended that you add it first (what we would do if done again). Fray Check each cut piece of ribbon before applying to the garment.
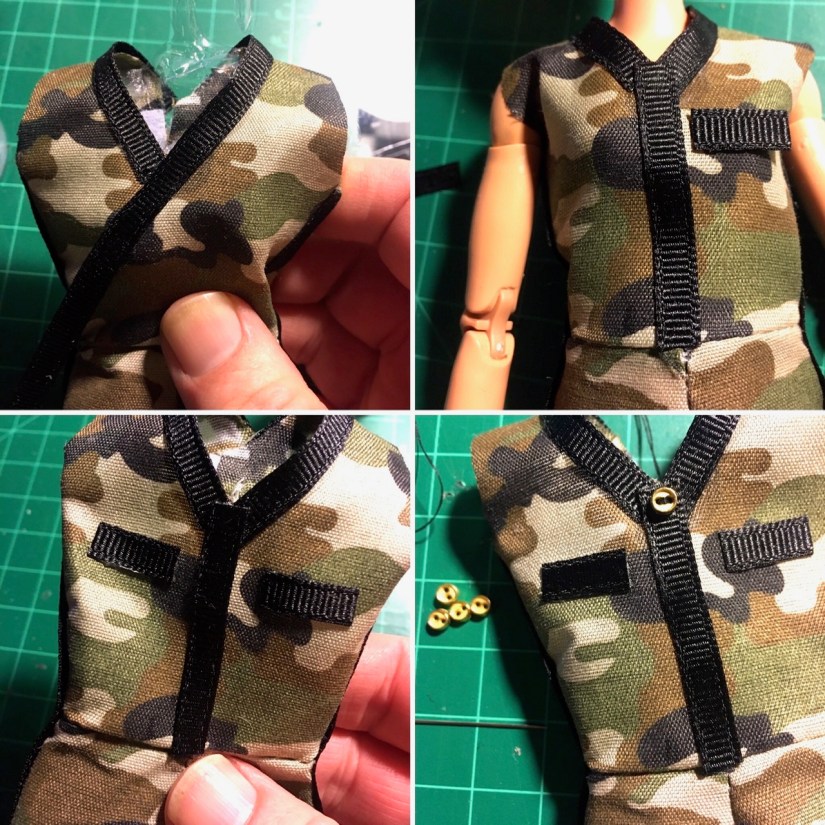
The only sewing done was for the buttons. If that’s not your thing, just glue them on.

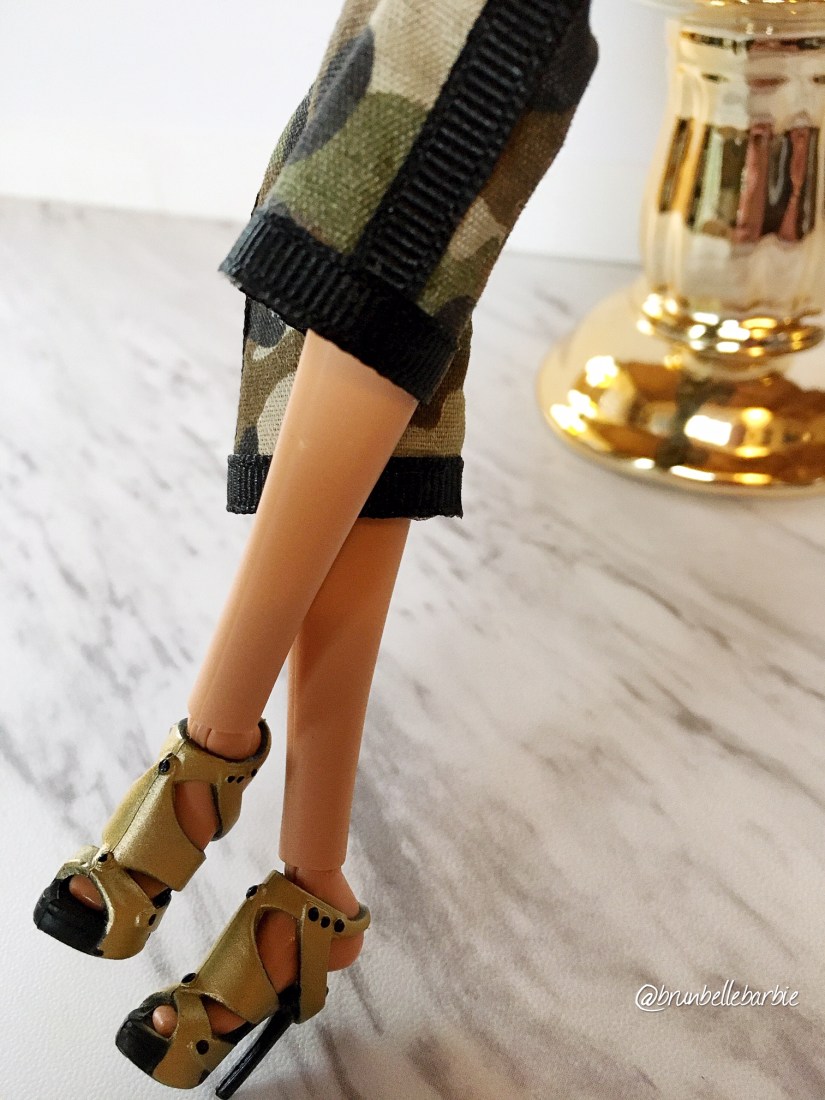
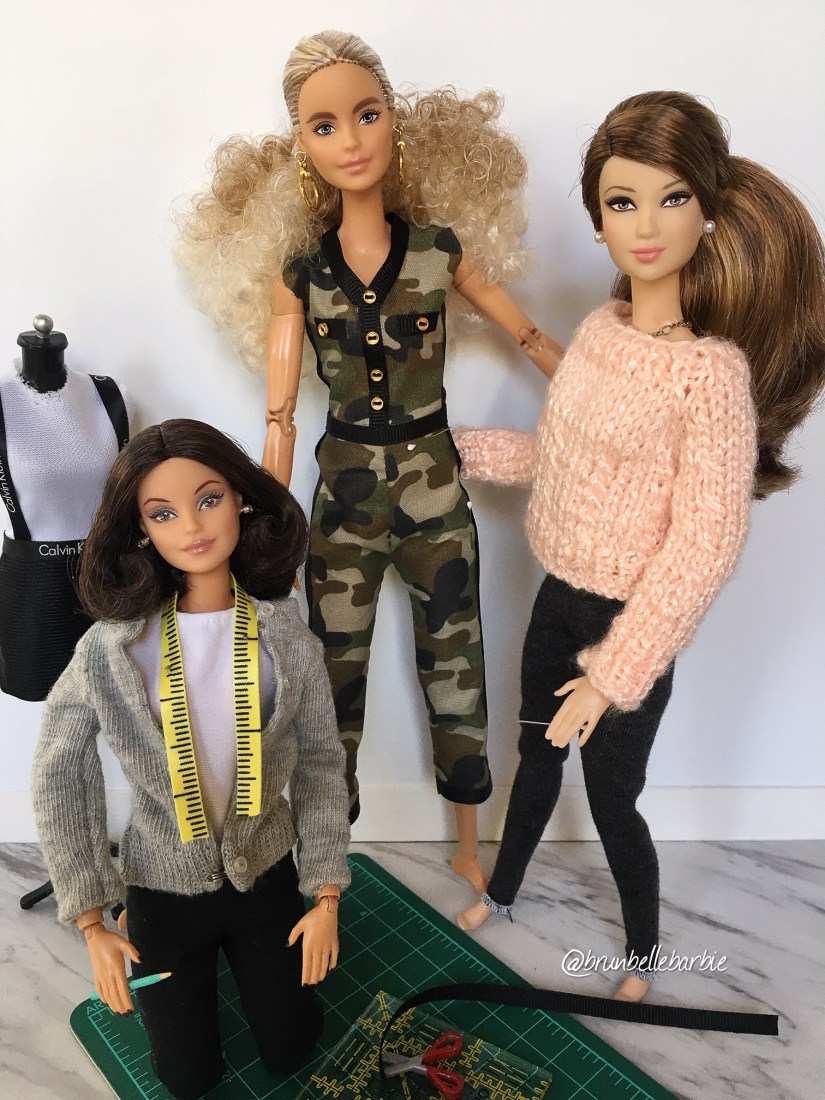
After adding the final hem ribbon detail, you have a super cute edgy but glamourous outfit. And by the way, this fits the Tall MTM body.
Thank you so much for your support over the past few years! We hope to continue to give you ideas and inspire your creativity! Here’s to a great 2020! Hard to believe we are that far into the new century!
XO, Rie & Bruni


Oh wow! I just picked these up yesterday. I haven’t had a chance to do anything with them yet. These look amazing! Great job!
LikeLiked by 1 person
Thank you! 😊
LikeLike
These are such cute ideas. Thanks for sharing!
LikeLiked by 2 people
Thank you for checking it out!
LikeLike
WOW, thank you for the Inspiration ❤️. I purchased on a whim and now inspired to dress them up.
LikeLiked by 1 person
Fantastic! Thank you and good luck! 😊
LikeLike
Can you tell me which doll has the shoulder length dark hair in the grey sweater with the measuring tape in the glam DT segment? She has such a beautiful face .I’d love to have one like her.
LikeLiked by 1 person
Hi there, she is the recent Princess Leia collector doll. 😊
LikeLike
Thank you! I am in awe of your talent! Could you maybe do some how-to’s on the Christmas scenes? They are so fantastic! I love it all and would love knowing more of how you made things like the light post and the bistro set inside the store. I see something different the more I look and I cant seem to stop looking! Thanks so much for sharing with us.
LikeLiked by 1 person
Thank you so much! It was a really fun project to plan and set up! I may consider doing a few how-to’s closer to the holiday season. I will certainly make a note!
LikeLike