
I’m not sure what came over me, but I decided to start looking for one of the giant KidKraft doll houses. I’ve never made over an actual dollhouse and have always wanted to. I did a fair amount of research and decided which house I wanted, how much I was willing to pay for it, and planned where it would live in my home. Once I had those points covered, I started searching on Facebook Marketplace.
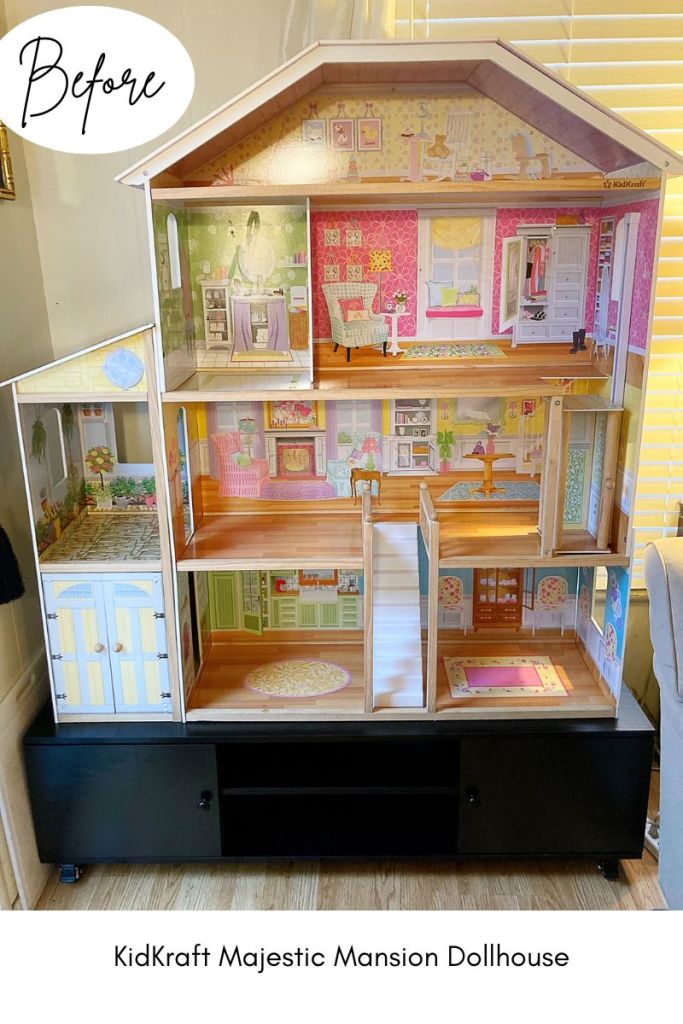
It took a few weeks to find the right one close enough to me, so in between rainy days I was able to pick it up this past weekend. Although I have an SUV, it’s so large, I had to dismantle part of it to fit in, plus I had my dog, so he needed a bit of space! You can find the house details at the KidKraft website.
My goal with this house is to make it feel like a decor piece in and of itself as it’s going to live in the corner of my living room. I also really want to use what I have on hand and have collected or made over the years. For me this is a budget project, but I have an unusual amount of supplies, so it won’t seem like a budget project.
I’m very eager to get started. I’ve already mapped out a bit of a design plan since that’s my favorite part, but that will have to wait for a bit.
I reassembled and cleaned the house and have placed it on a TV stand that I added casters to so that I can move it while working on it. The next step is to remove a few items and start priming the house.
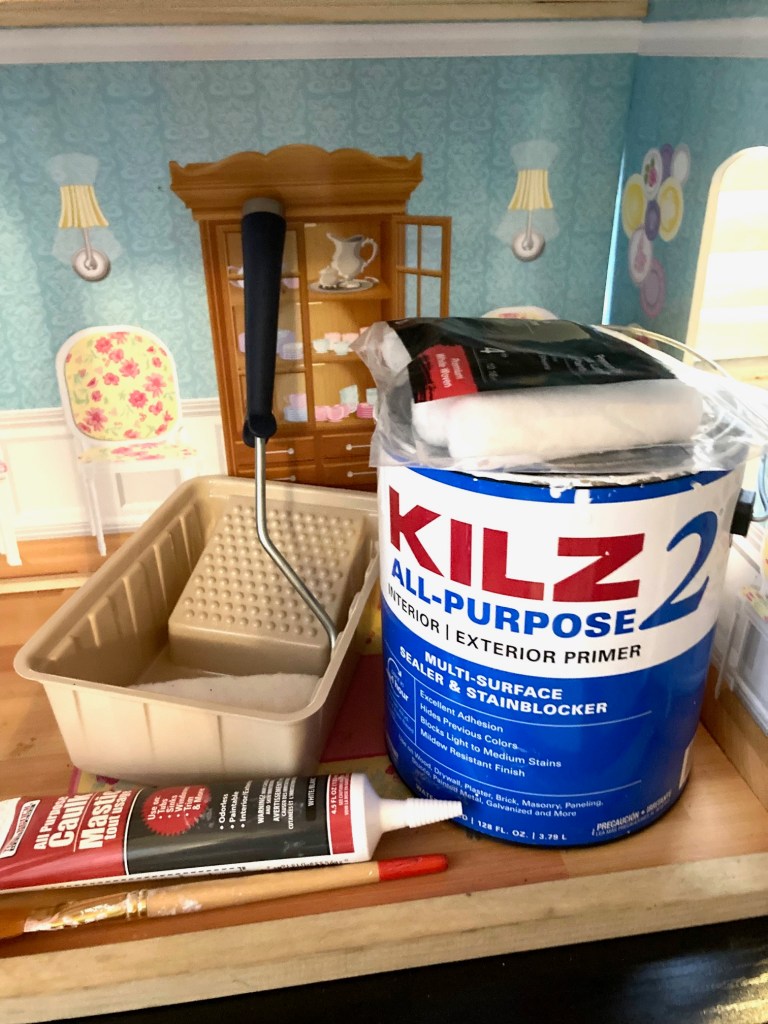
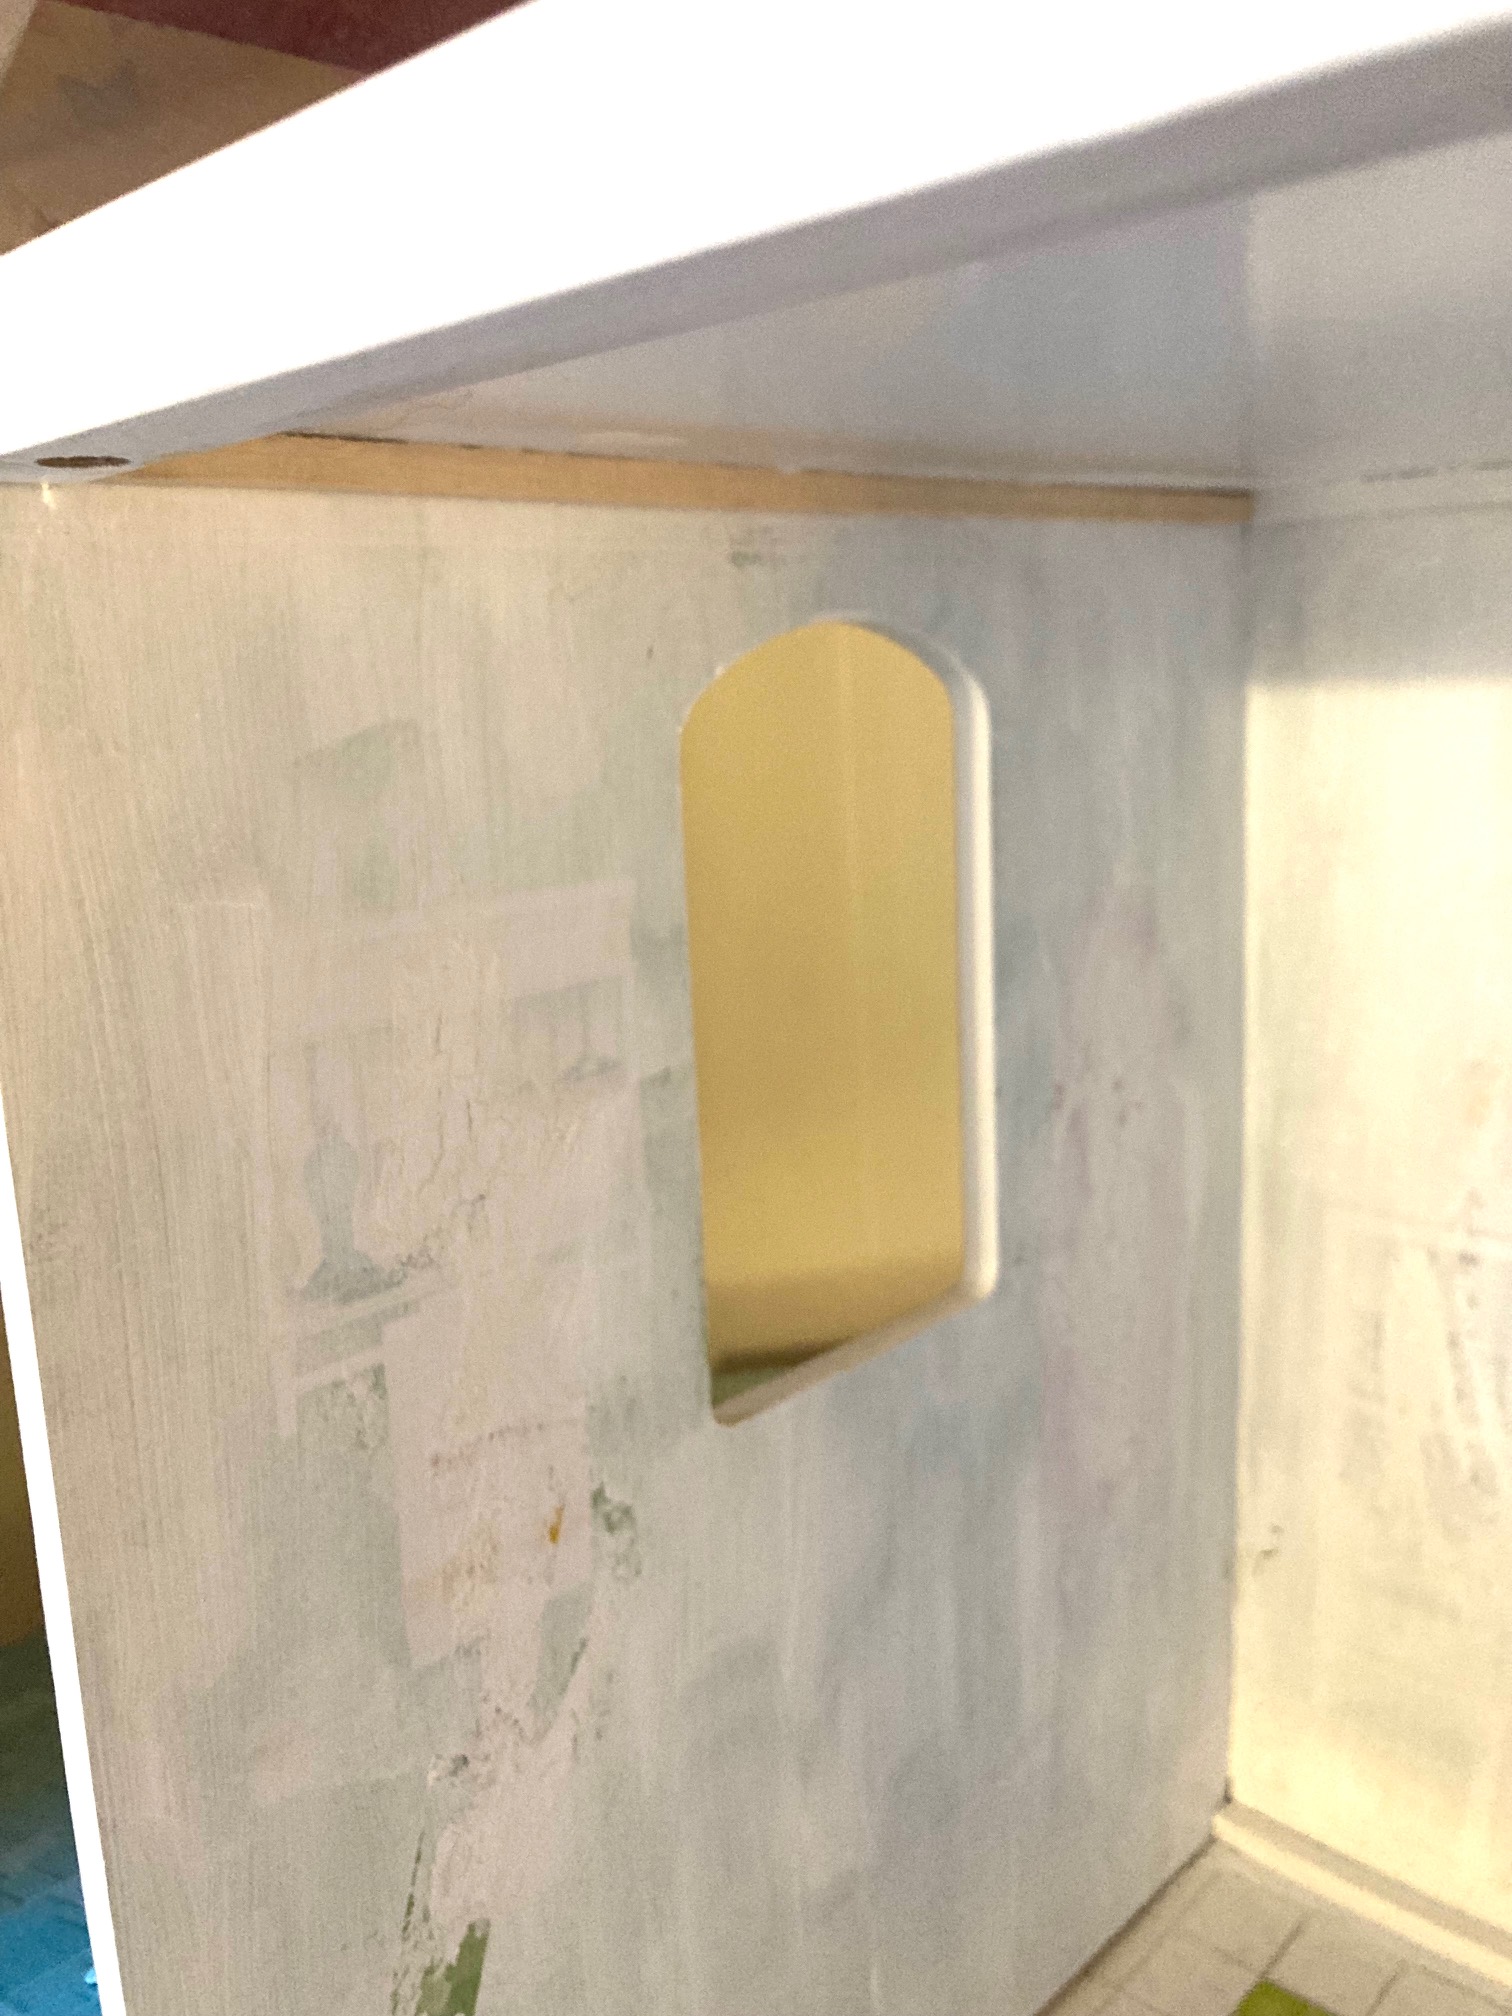
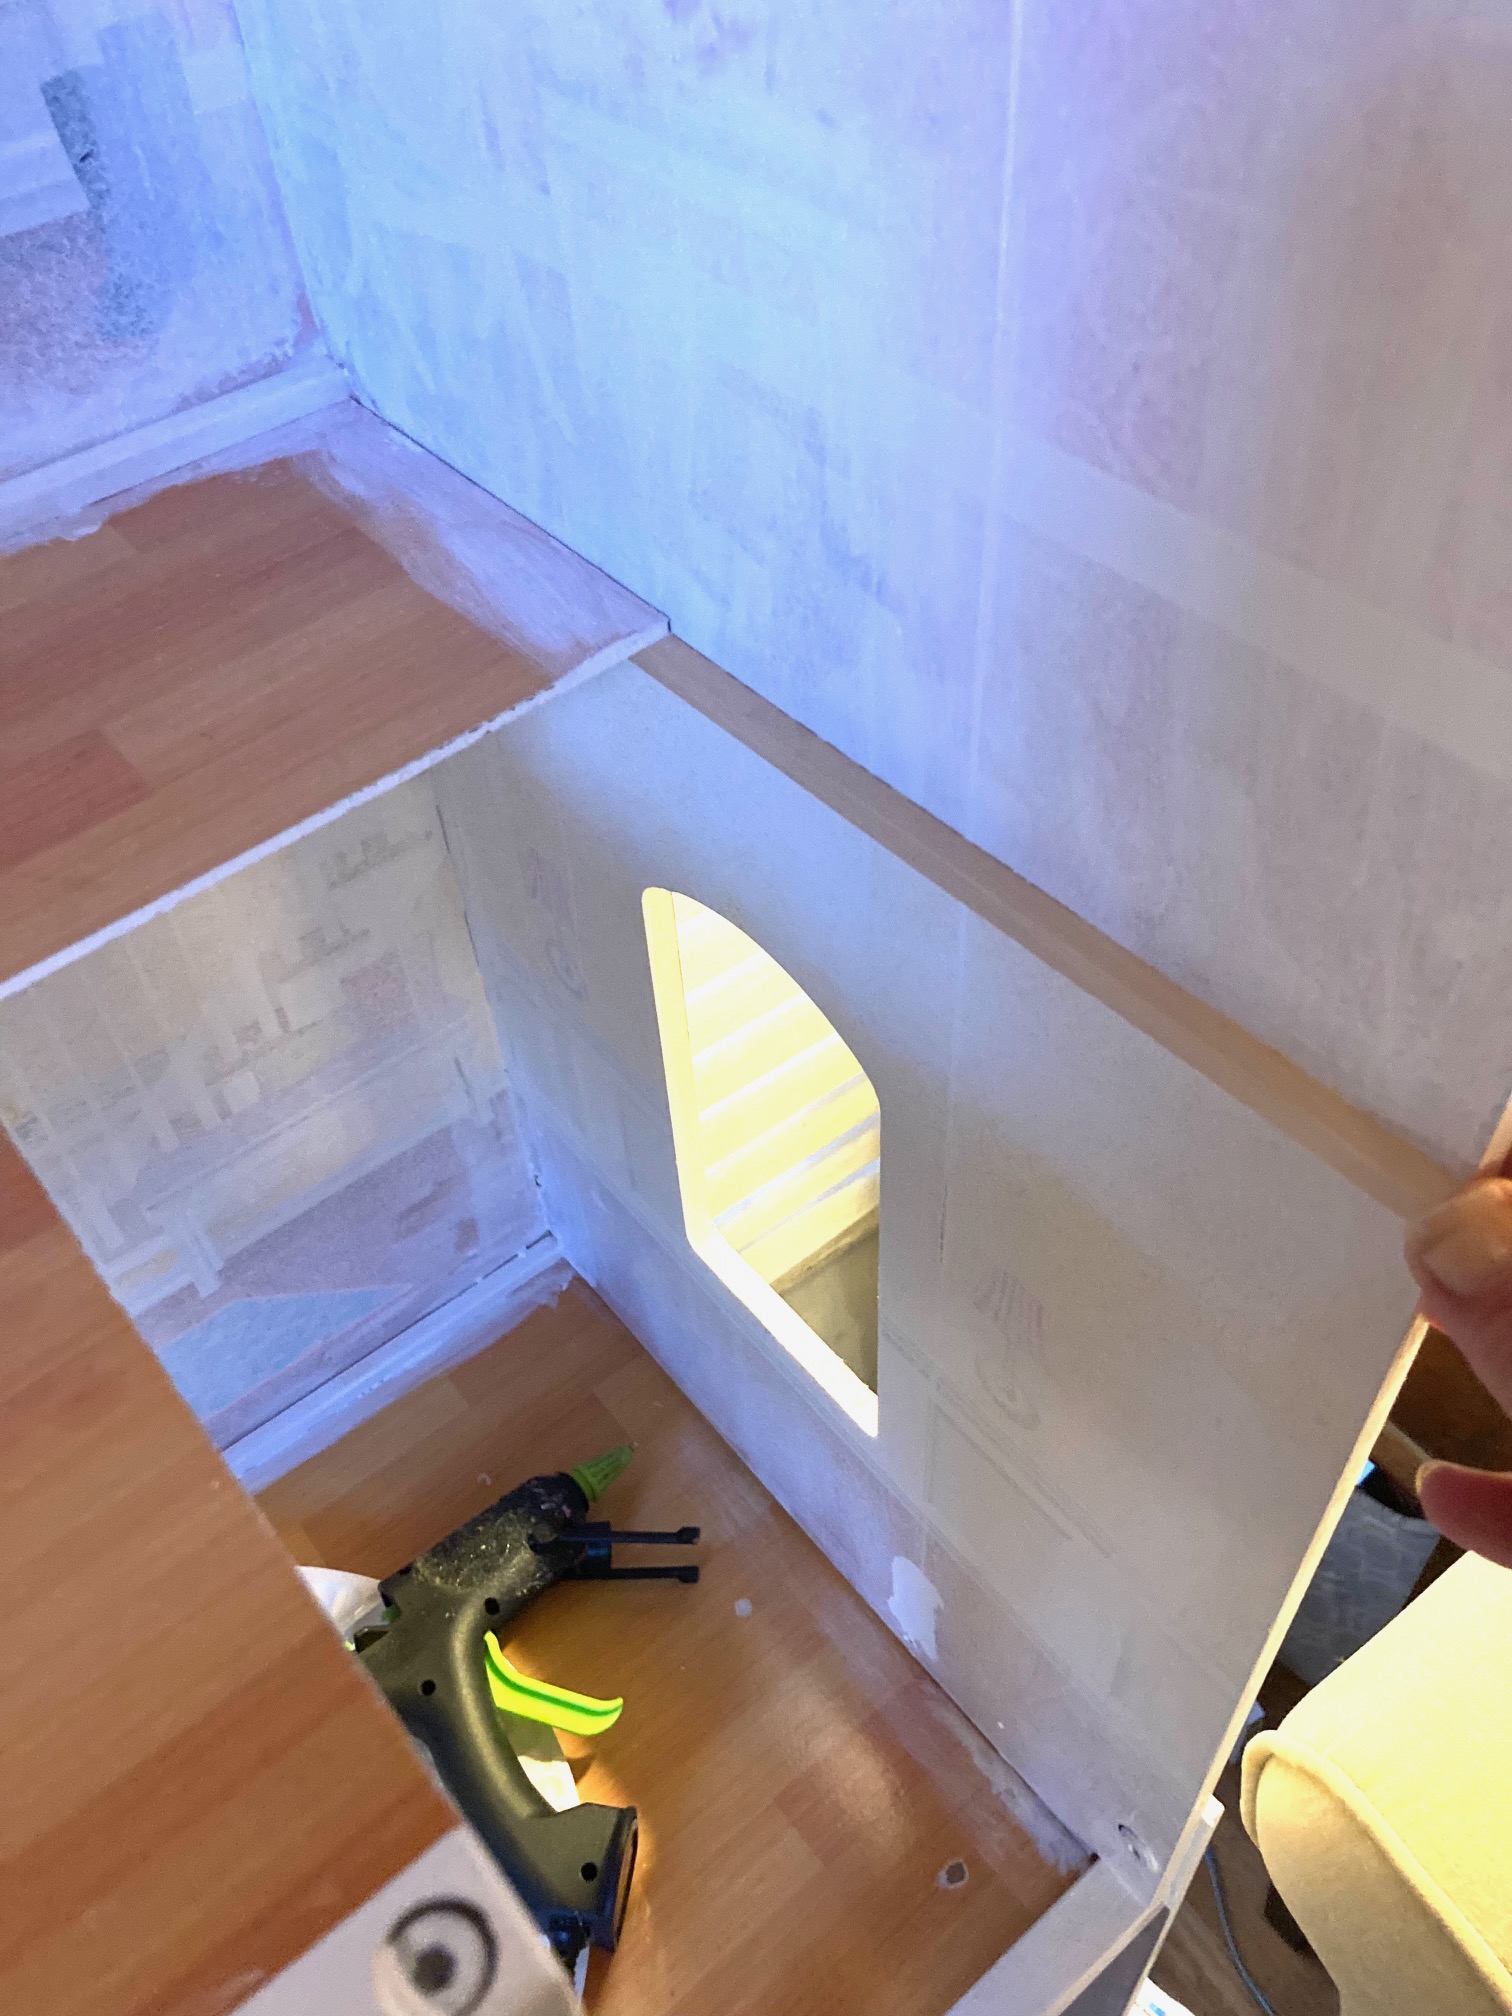
Day 1 was simply assessing the structure and starting to paint what I could. I’m not going to lie, much of the structure does not like paint, so sanding and persistence was key. I feel like I didn’t get too far and now we are back to the workweek.
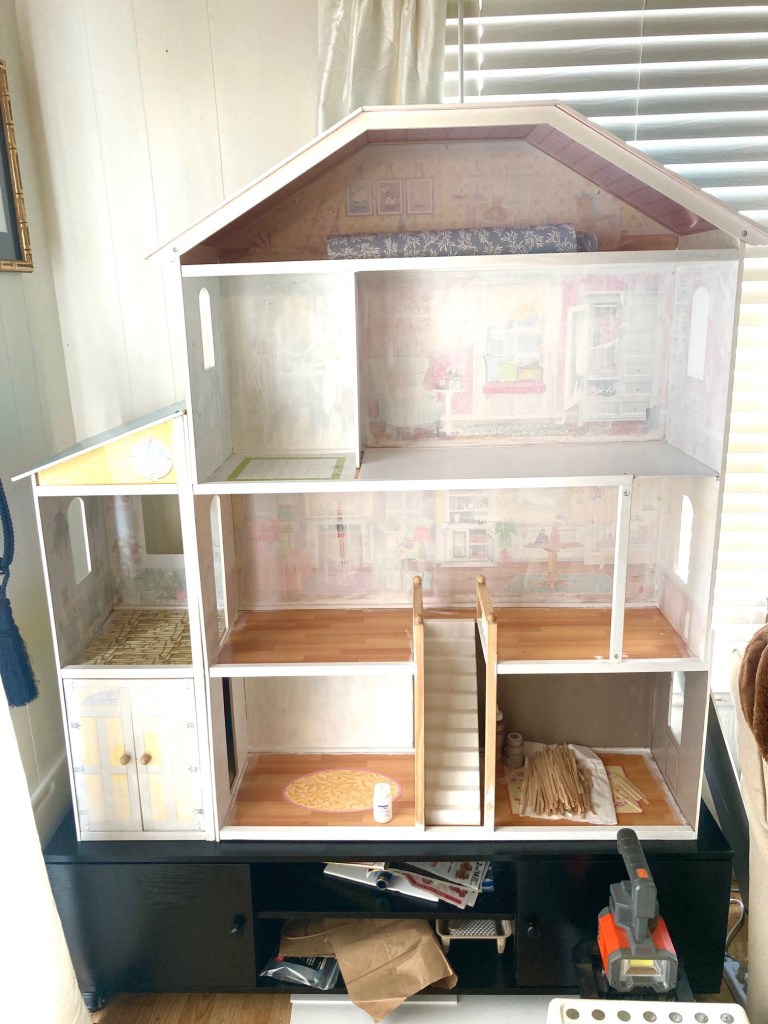
I also added some support pieces to the floors since they were a little warped. I also decided to add a sheet of high quality foam board to actually apply the floor treatments. I have to hold myself back from the fun stuff for a bit!
My hope is that this will go relatively quickly, but my plan is to share the progress with you here.
There are some great makeovers that I’ve found on Pinterest as well.
I hope this project excites you as much as it does me and that you will follow along the progress!
Keep creating! Until next time…
XO, Rie & Bruni


I have a Kidcraft house that I’m in the process of redoing. I got mine off the curb when my neighbor put it out for the trash. haha. Mine is on top of an old tv stand as well. I was able to make a room out of the space where the VCR would’ve gone, I pretend it’s their rec room. I also took out the center staircase so I could have a kitchen, laundry room and bathroom on the first floor. It also made the living room much bigger without the stairs. My instagram is @emmabelles_mini_life if you want to see it. It’s the video with the Barbie’s sitting on a deck. I do have 1/12 scale houses mixed in as well.
LikeLiked by 1 person
Cool, I’ll check yours out!!
LikeLike
I have run out of room, but I drool everytime one of these comes up on marketplace for like $30.00 or less. You are right though, dealing with the slick surface of the paneling is a pain. Someone on a miniature site said to spray with a matte sealer before priming…which makes sense. I know in plastic houses, you have to desticker-degrease, then clean with alcohol to get a decent surface to accept any paint or spray paint. Have fun, will enjoy seeing your progress. Sandi
LikeLiked by 1 person
Yeah, it is huge, but I’m excited! The matte sealer is a good idea…That’s what I definitely would have done with plastic. It’s going okay so far, I am going to put up some wallpapers so I just need to make sure the pattern doesn’t show through. If it was completely up against a wall I would turn around the panels since they are solid white. It’s definitely a process!! 😊
LikeLiked by 1 person
Oh I can’t wait to see the progress! My daughters were given one of these for Christmas. But I have to restrain myself from giving it a makeover. Looking forward to seeing what you do with it.
LikeLiked by 1 person
Thanks! Oh, that would be hard…it’s cute on it’s own for kids, but yes, it has so much potential!
LikeLike
Great job so far! I have one very similar to yours that I bought from a neighbor for $60, still in box. I used contact paper with tiny prints for my wallpaper & it stuck perfectly without priming. Easy peasy. They have stayed on for 3 years now in humid heat, as well as cold temperatures. I haven’t customized my floors yet but might tackle them soon. Hugs, Eni
LikeLiked by 1 person
Cool! Some of the papers are just too thin to put over the original patterns, so a layer of primer was needed for this project.
LikeLike
I’m excited to watch your progress! I’ve made over several kidkraft houses and it’s lots of fun. My insta page is @patti_cupcake if you want to check them out. I love your instagram inspirations too!
LikeLiked by 1 person
Thank you! I’m trying to get another update up! They are fun! I actually already follow you too!
LikeLike
what did you use for support on the floors? I just picked up a $10 KidKraft house with the third floor quite warped and I’m not quite sure what to do with it 😬
LikeLiked by 1 person
Warping is really tough, the back walls for me were more warped than the floors, but I added some supports under each floor (square dowels basically) and I overlaid the floors with really high quality foam board and did my floor treatments on those. Good luck and have fun!
LikeLike