
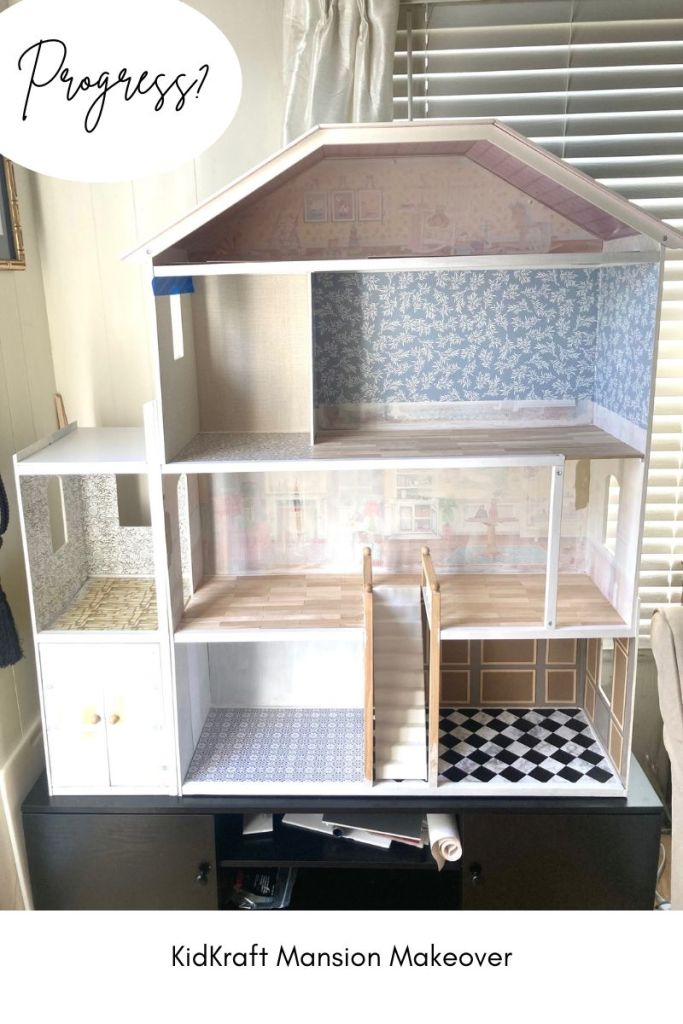
It feels like I haven’t gotten very far after 1 week, but I actually think I have! As I’ve gone along, I’ve definitely seen tiny details that need to be added here and there and then I decided that I wanted to use the patio area for another room…so this is an evolving project for sure! I think this week was all about using self adhesive papers for walls and flooring. Read on for more…
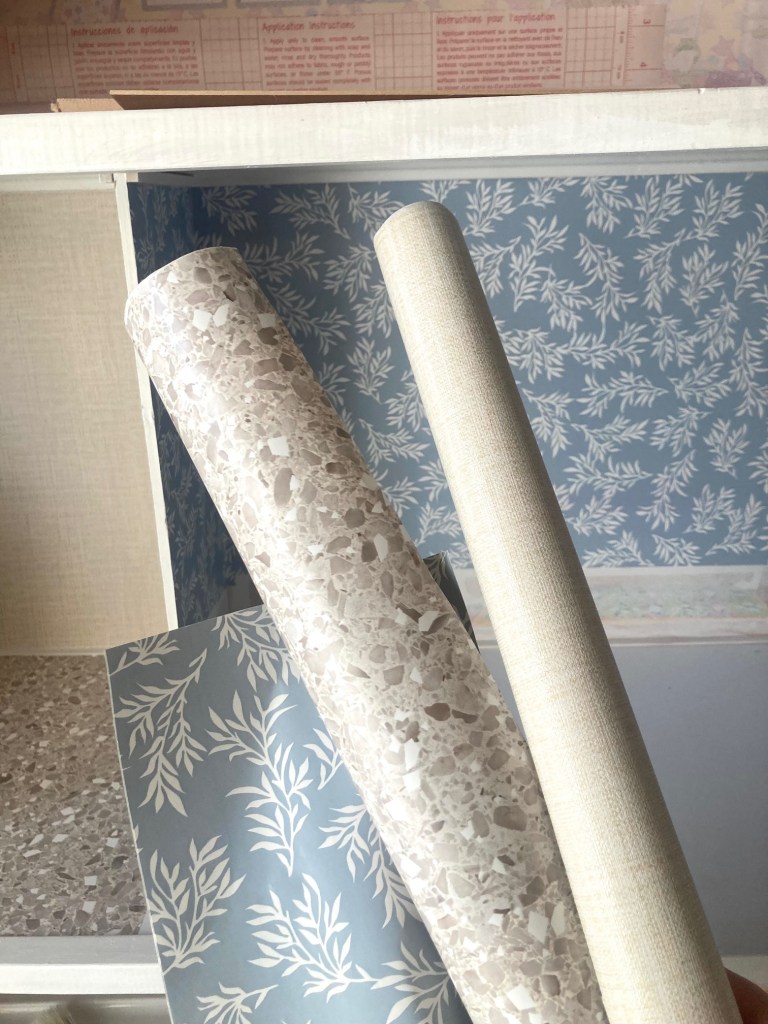
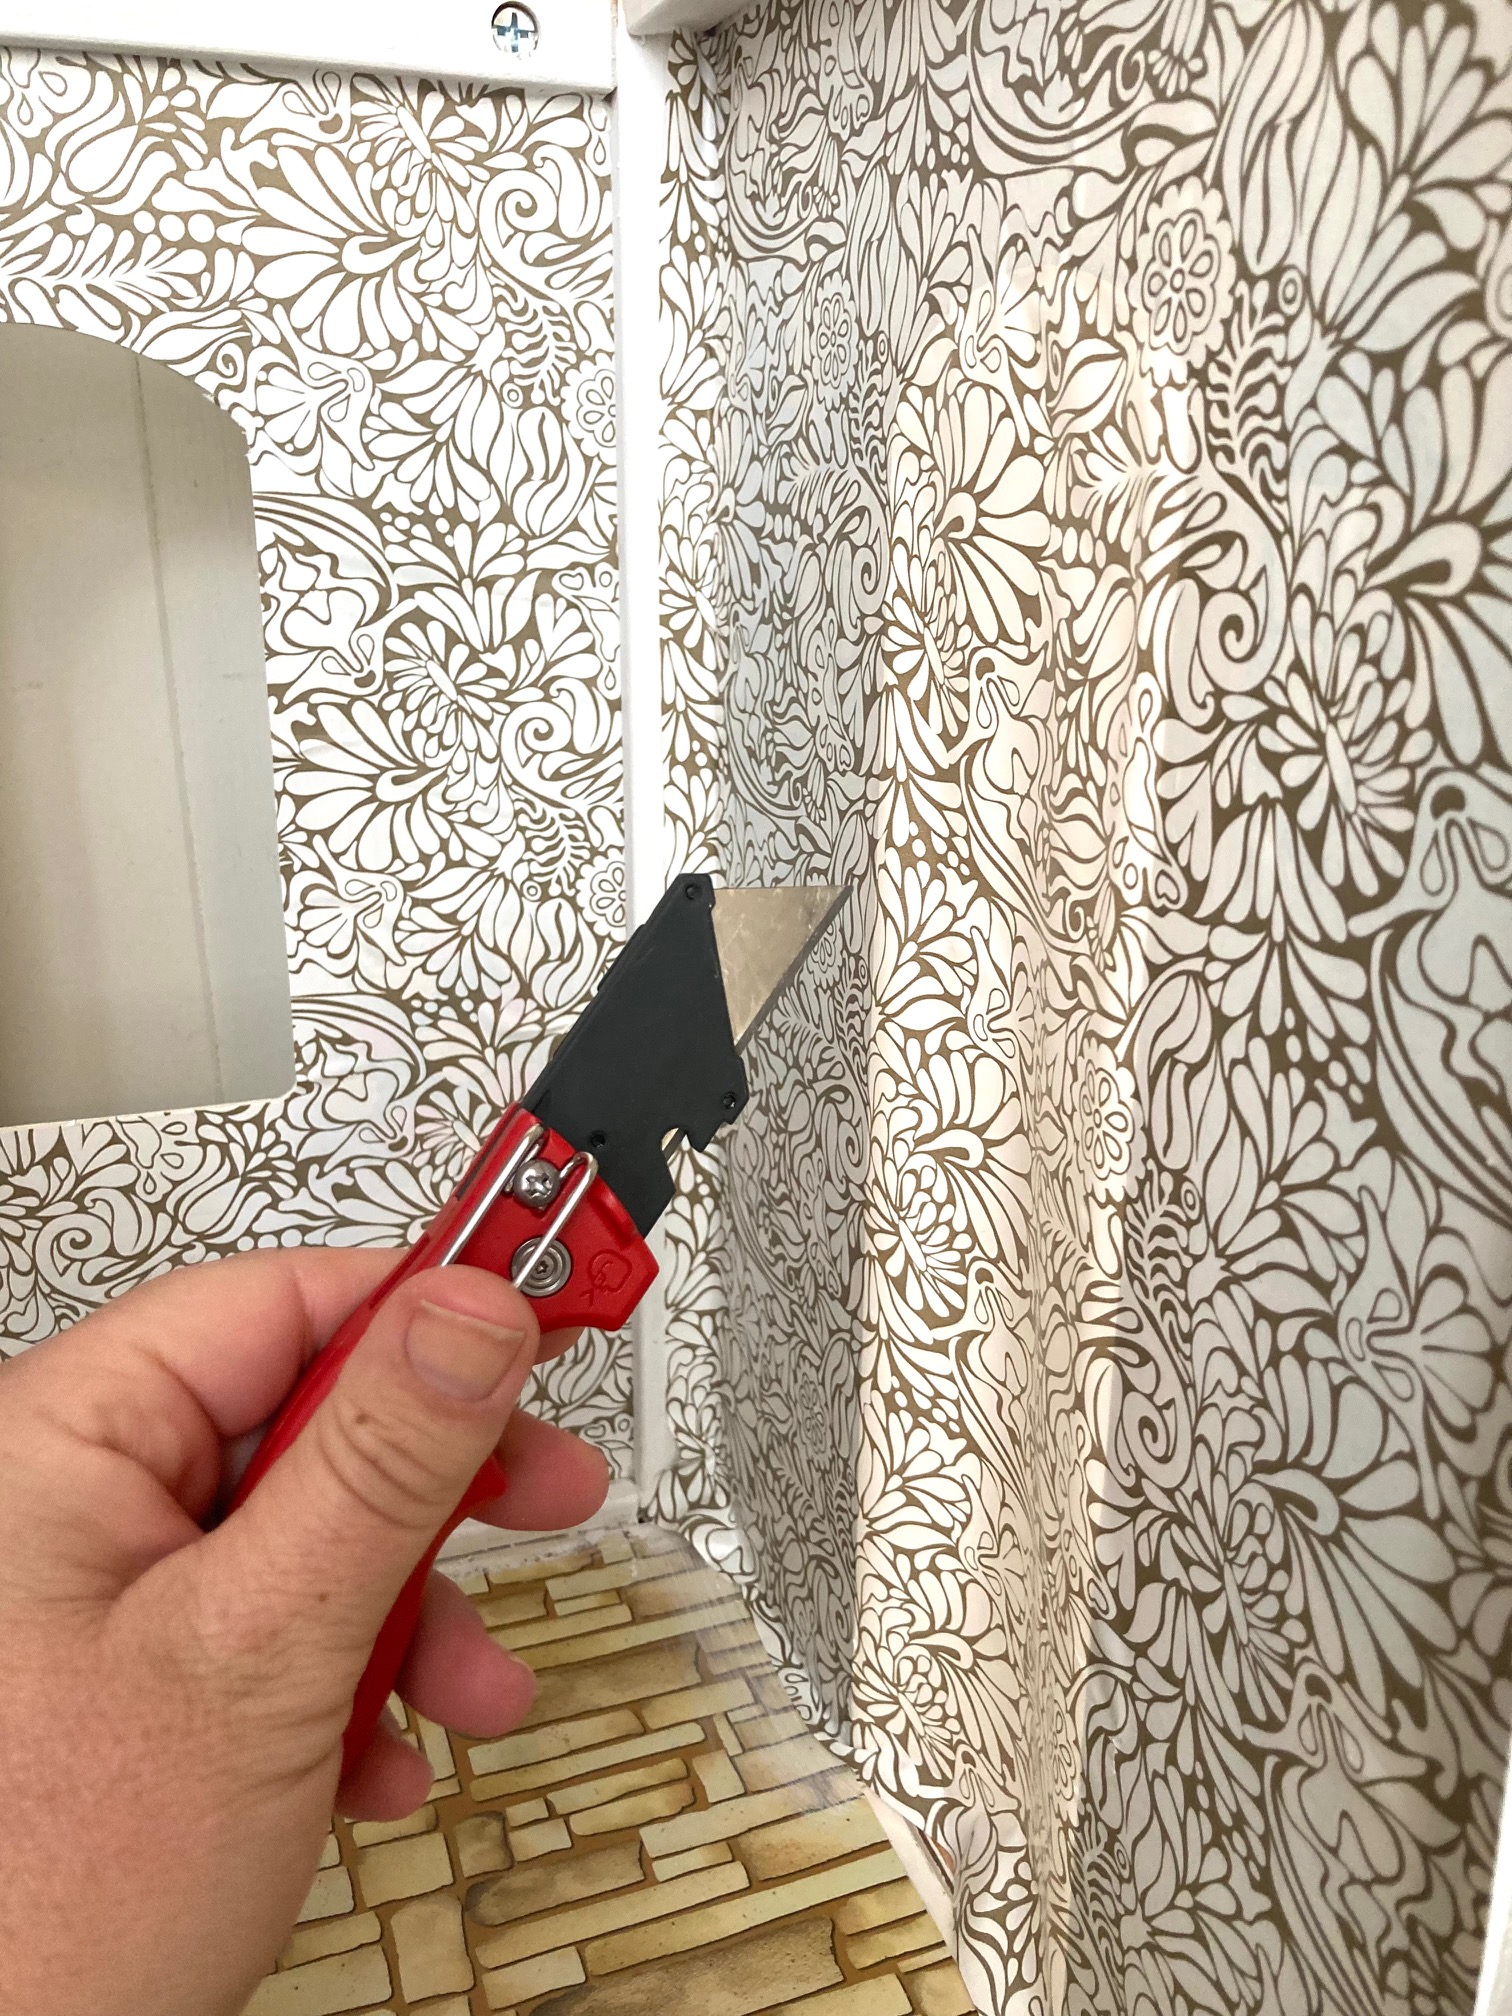
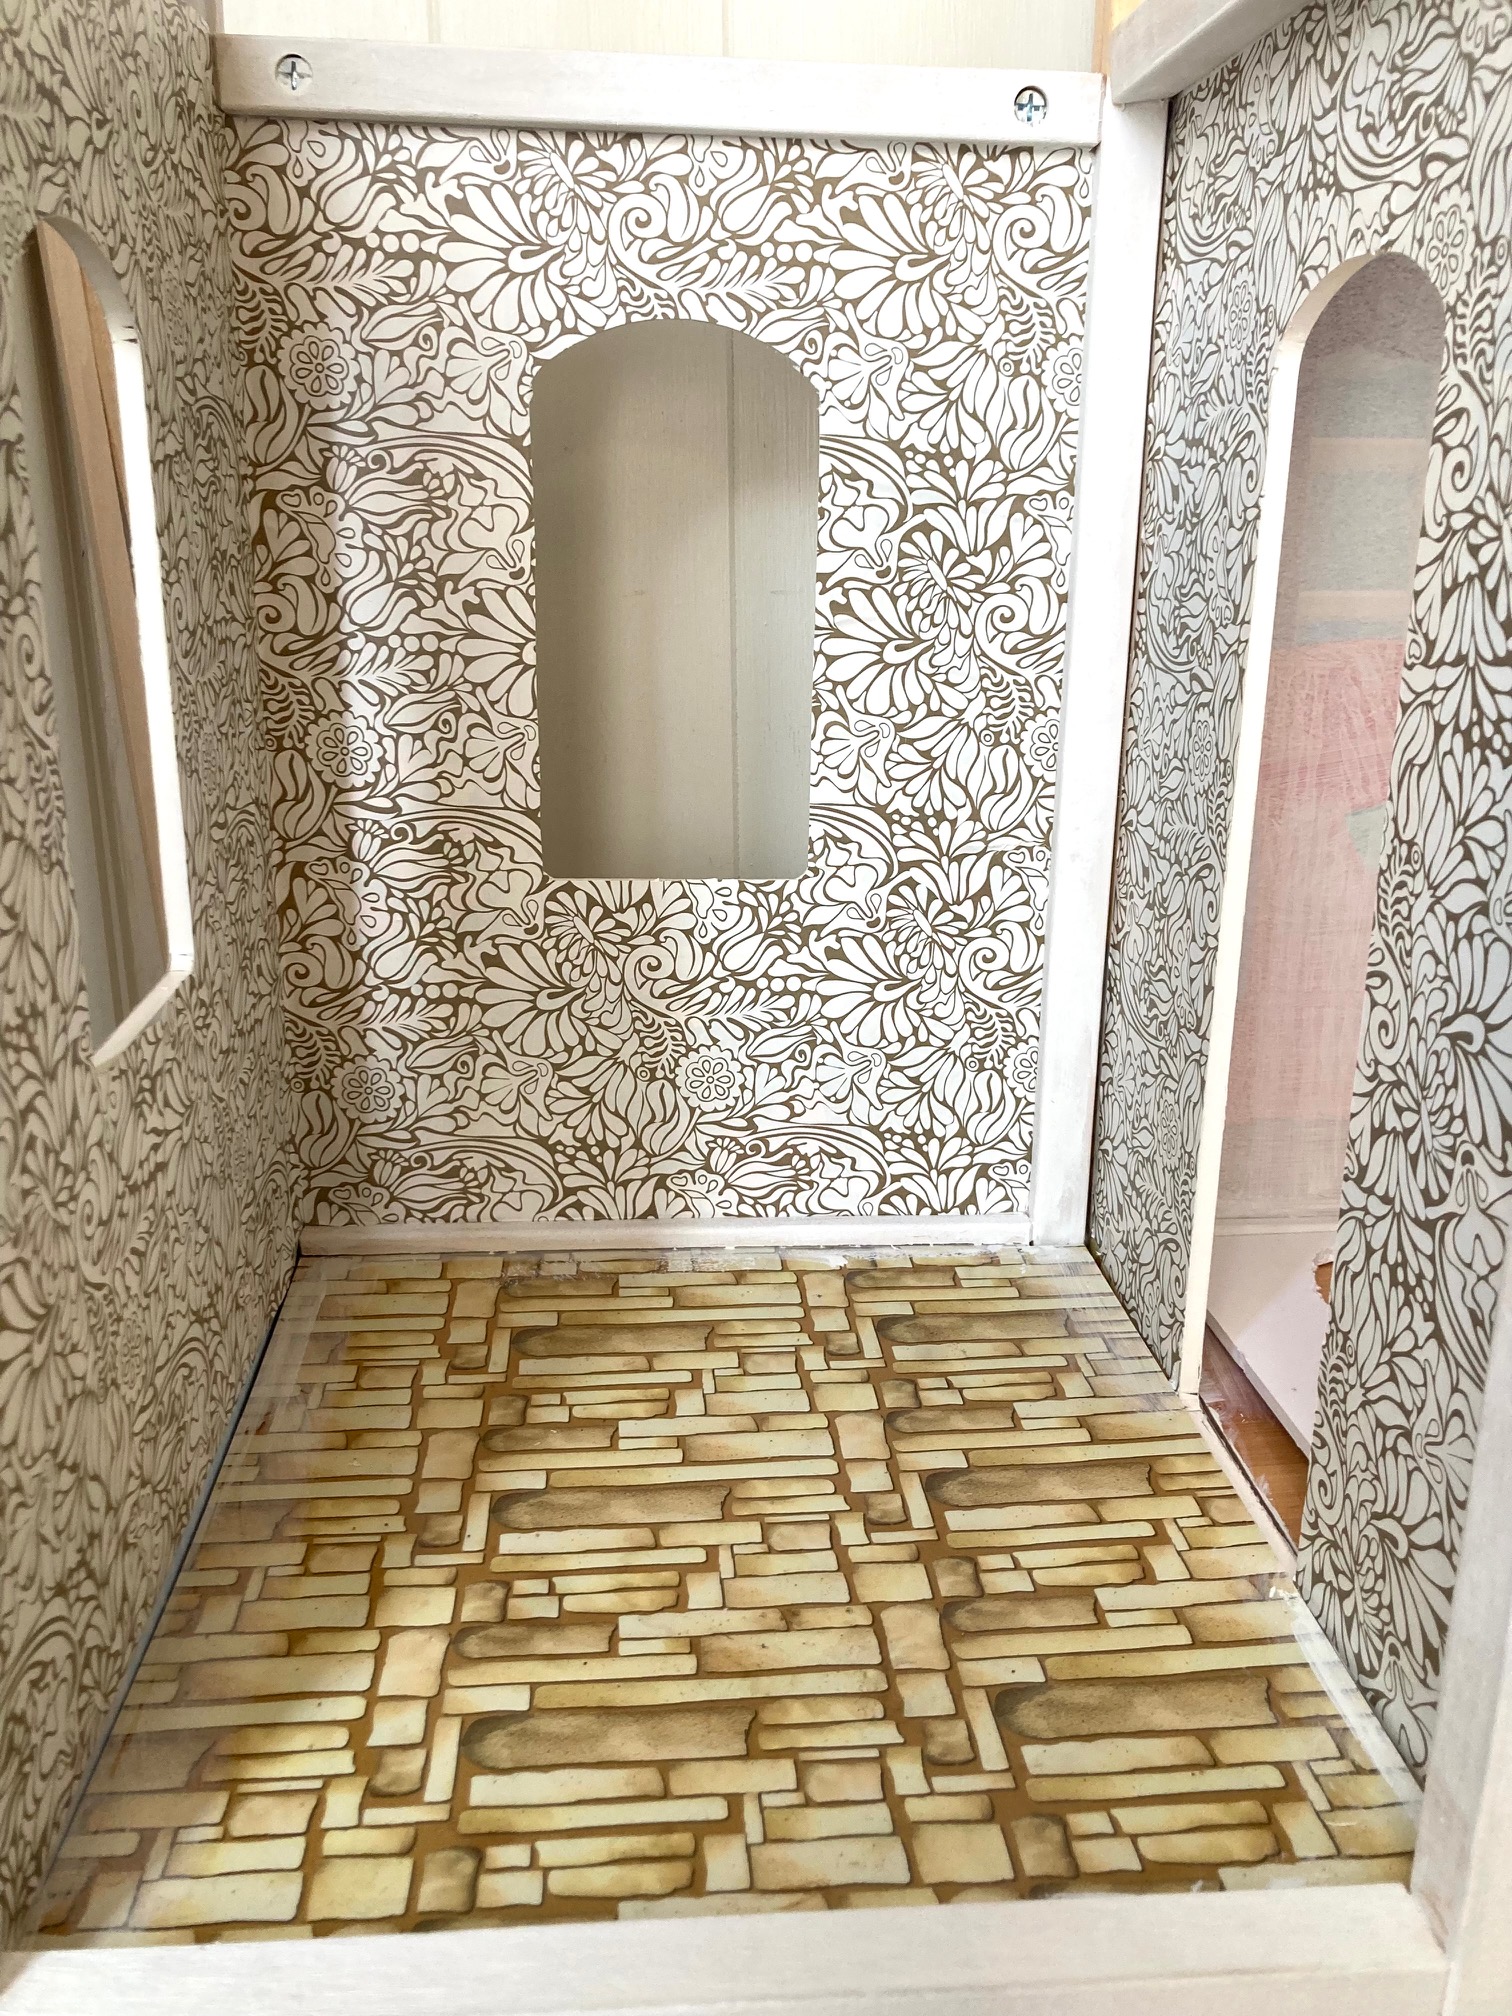
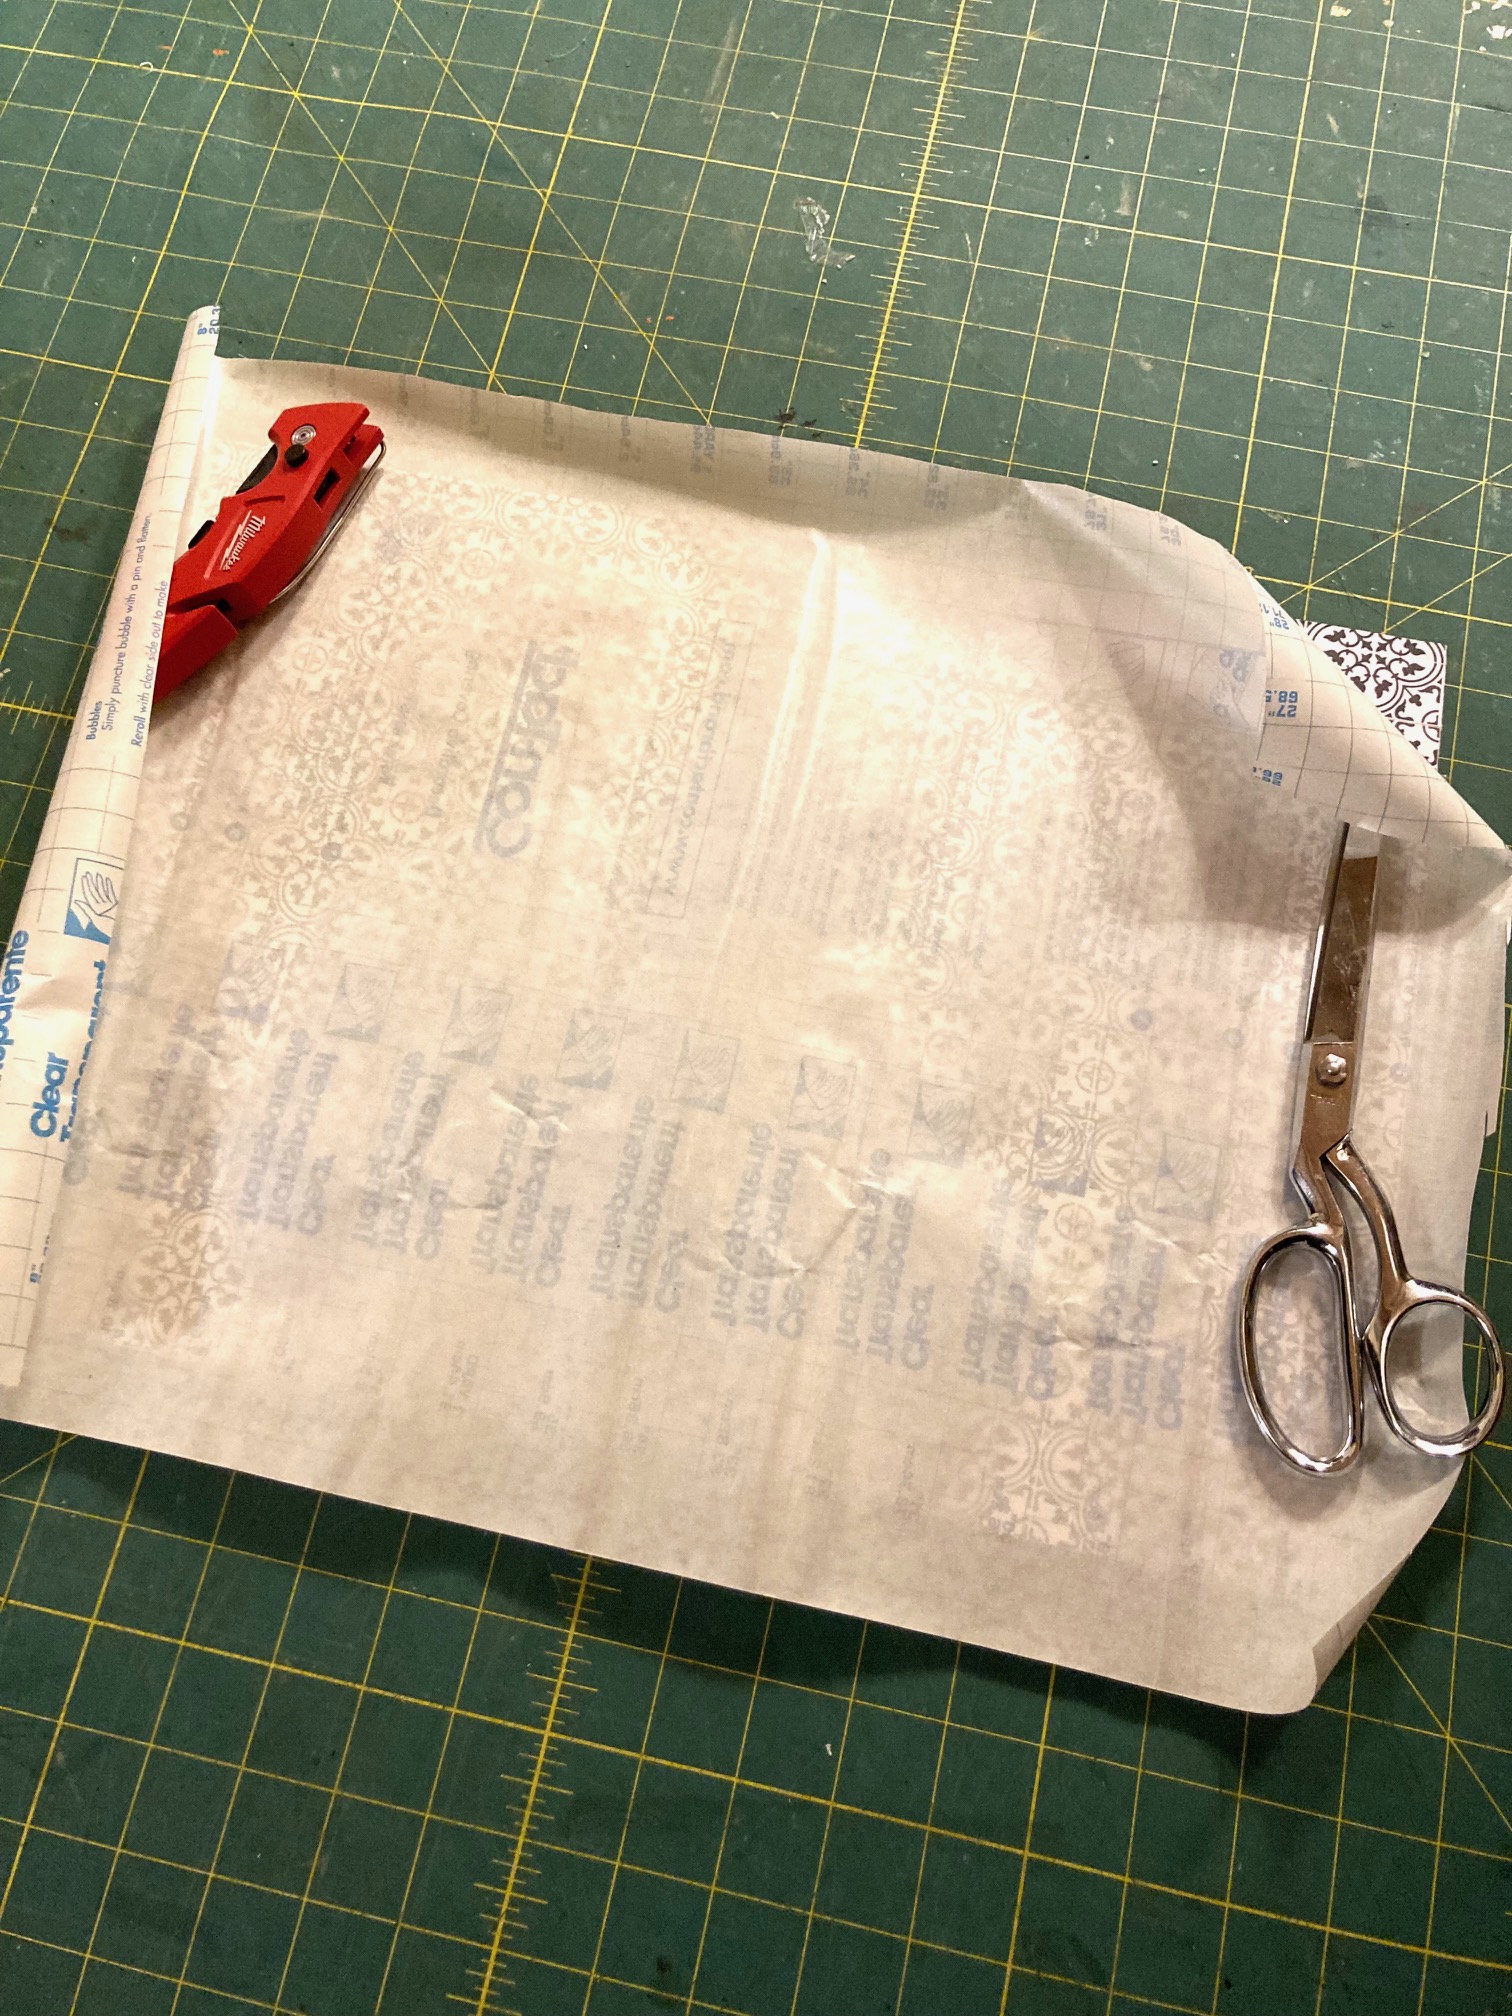
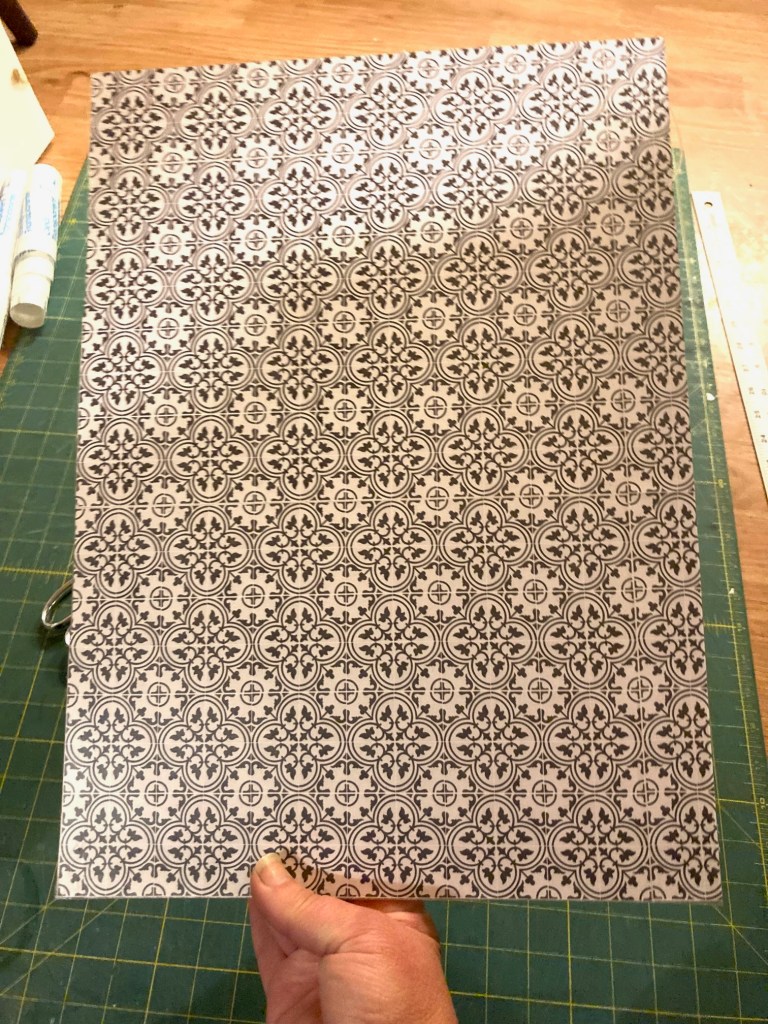
I chose to use a variety of self adhesive papers for a few reasons, one, I have a lot of it that I have wanted to use as wallpaper, two, these walls are not the easiest to paint and cover, and three, they add personalization and uniqueness.
I’ve tackled many of the rooms so far (the ones that aren’t going to be a full paint treatment and the attic). The main floor upstairs and the dining room are the main rooms that I am painting because I am adding a full molding treatment. The dining room is ready to be finish coated, but I am still working on the living room.
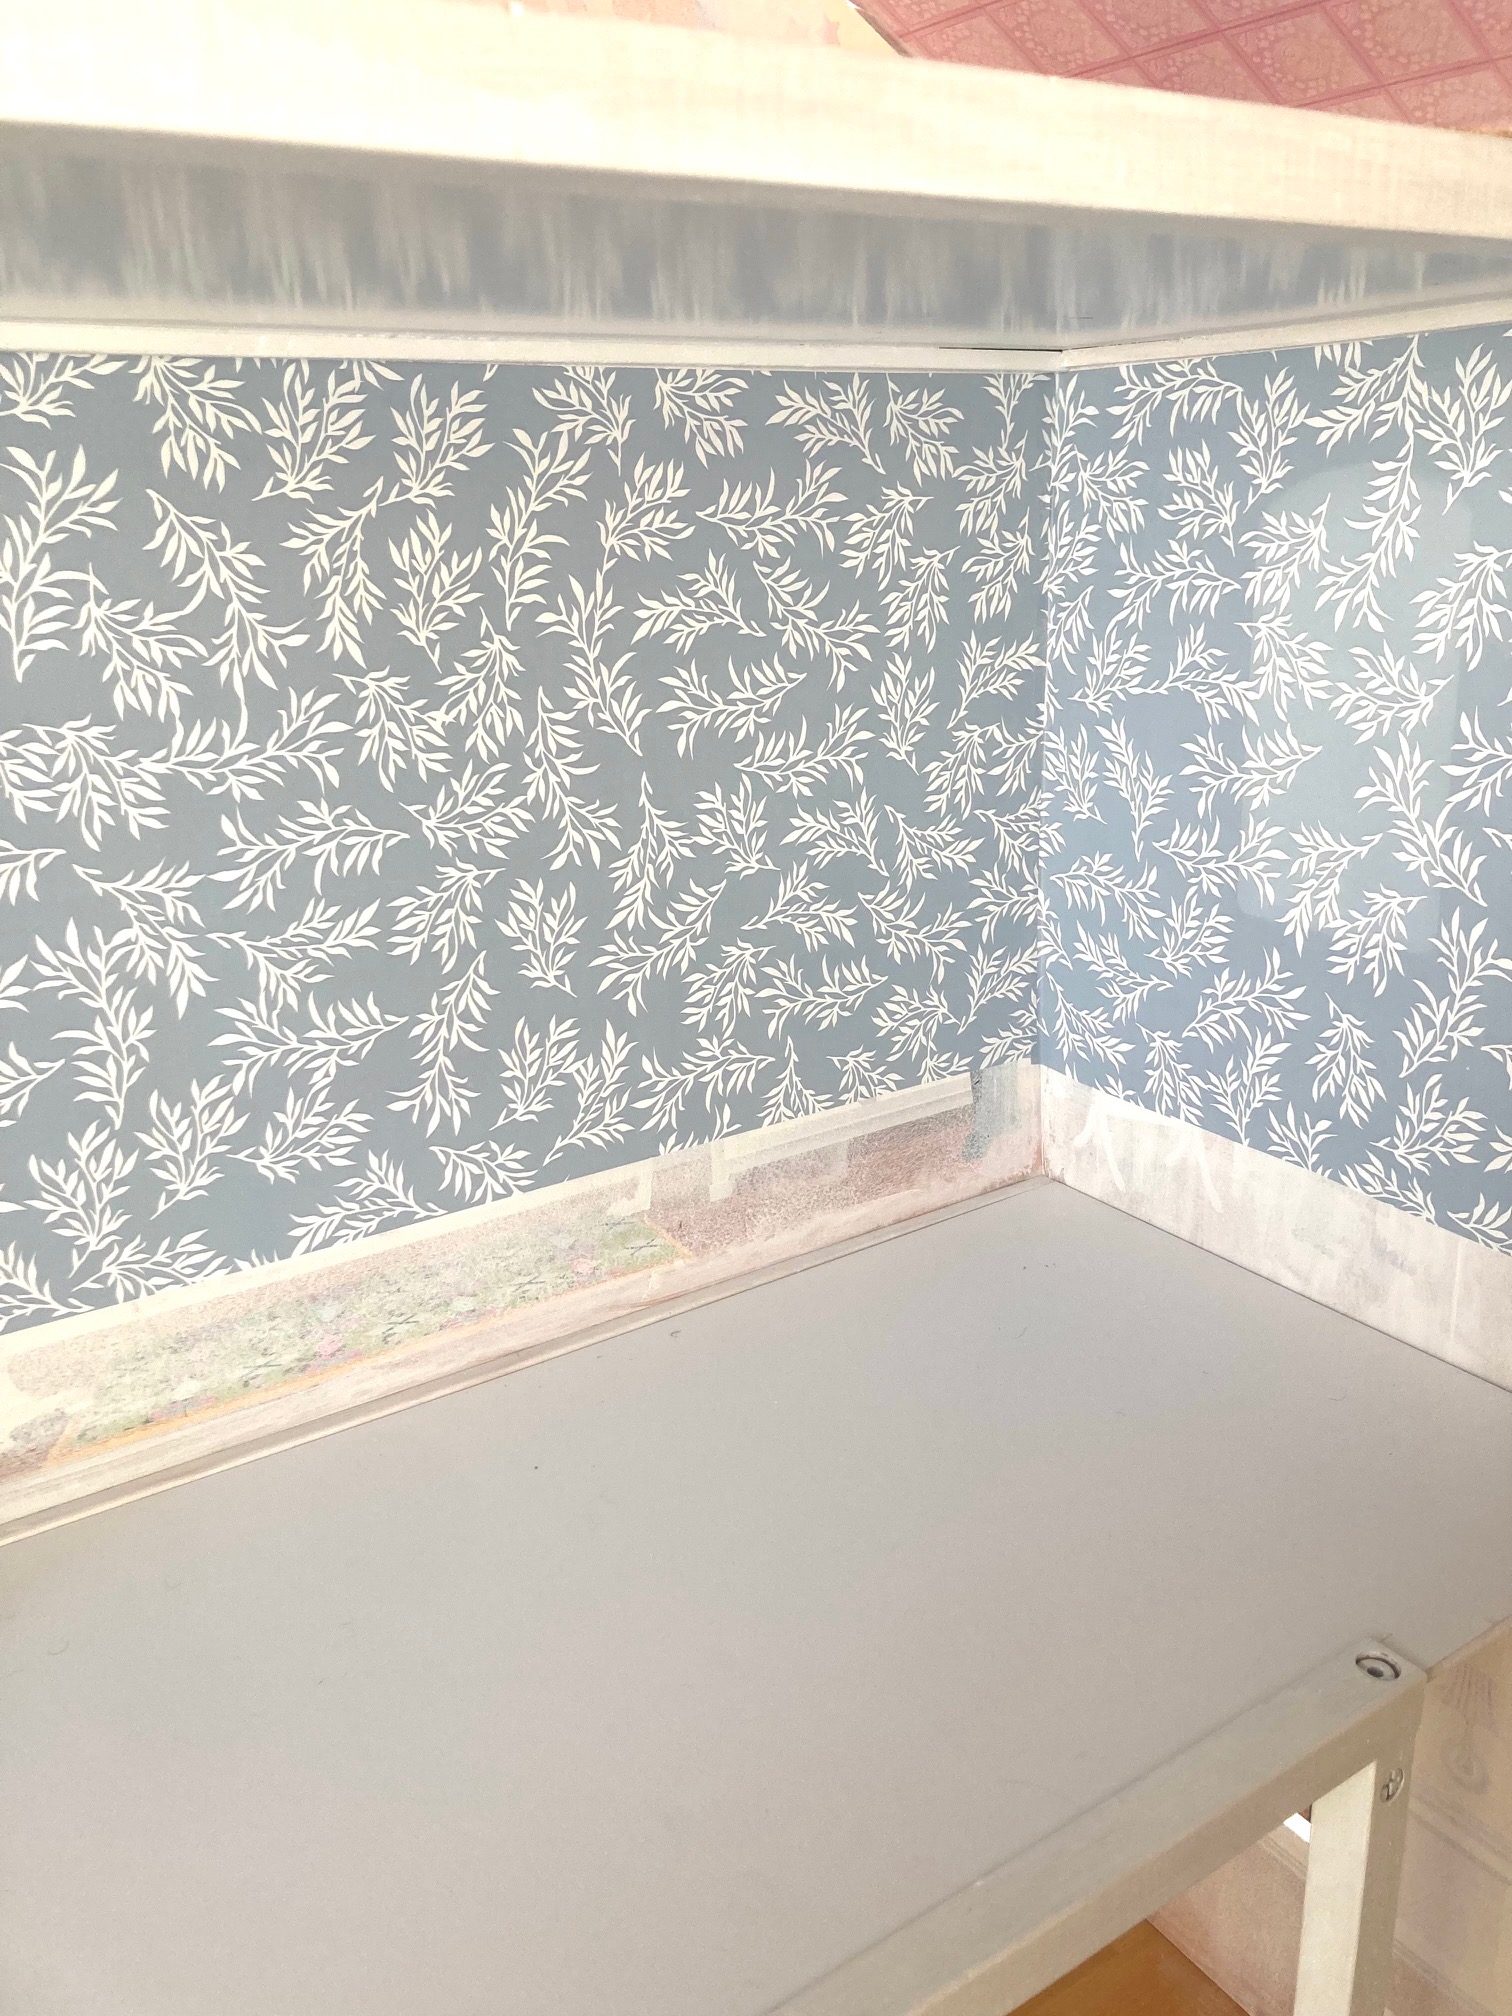
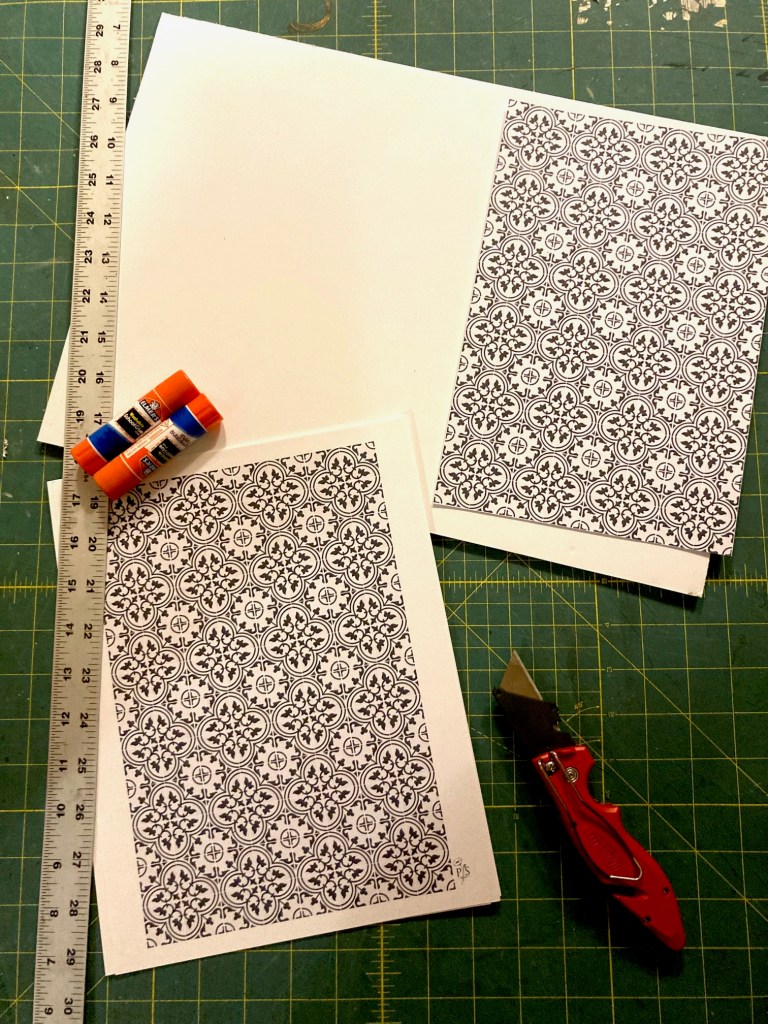
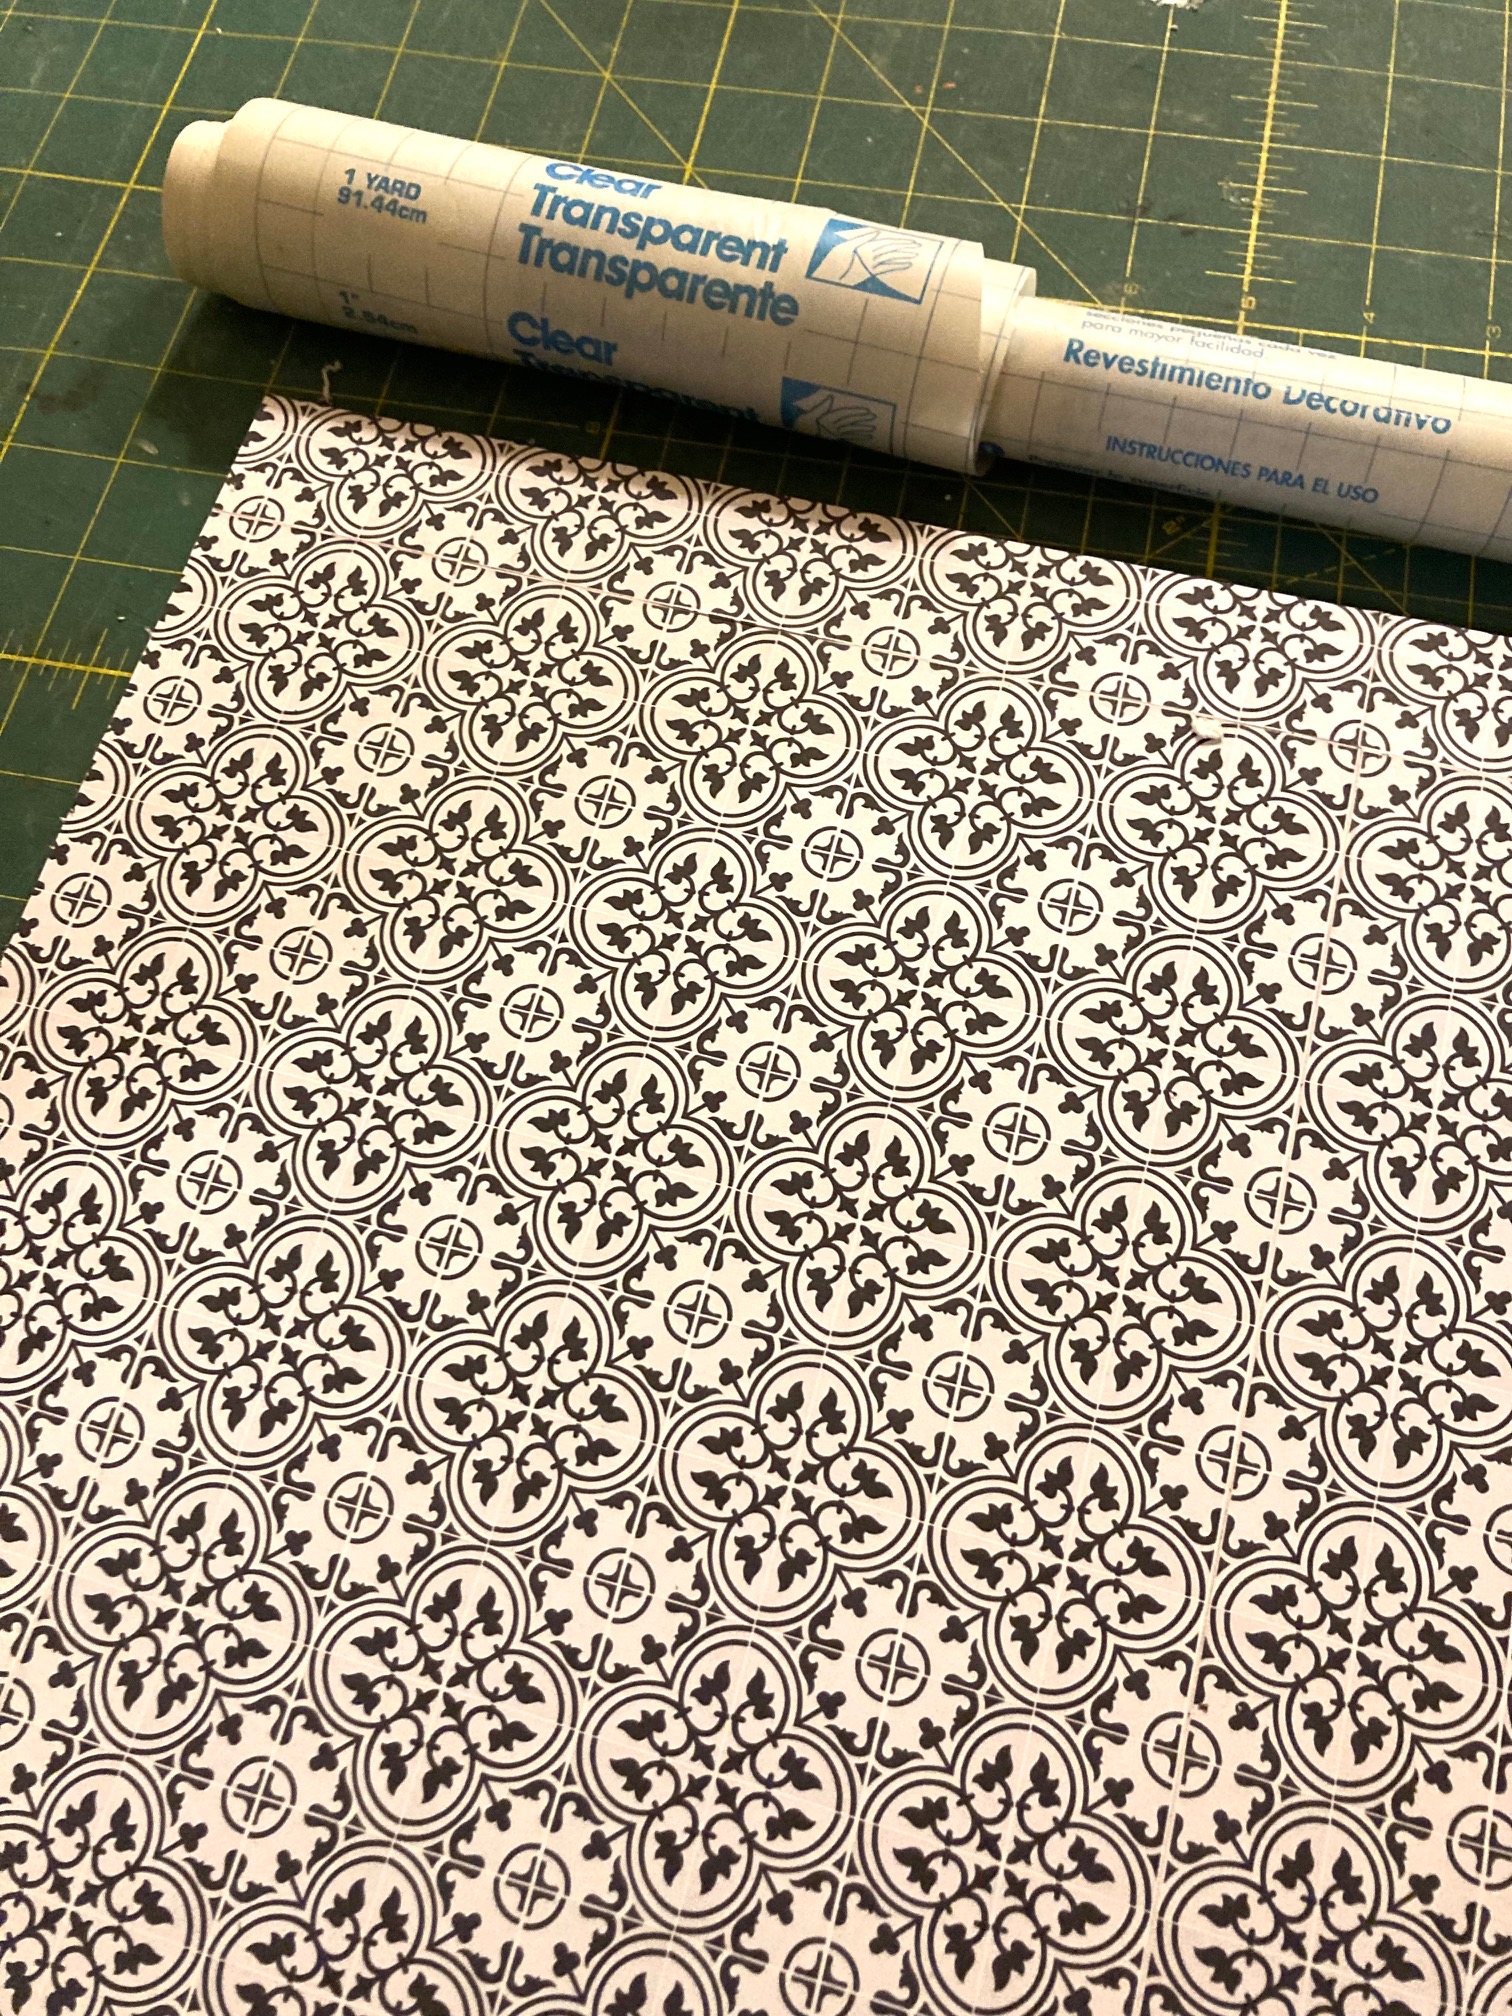
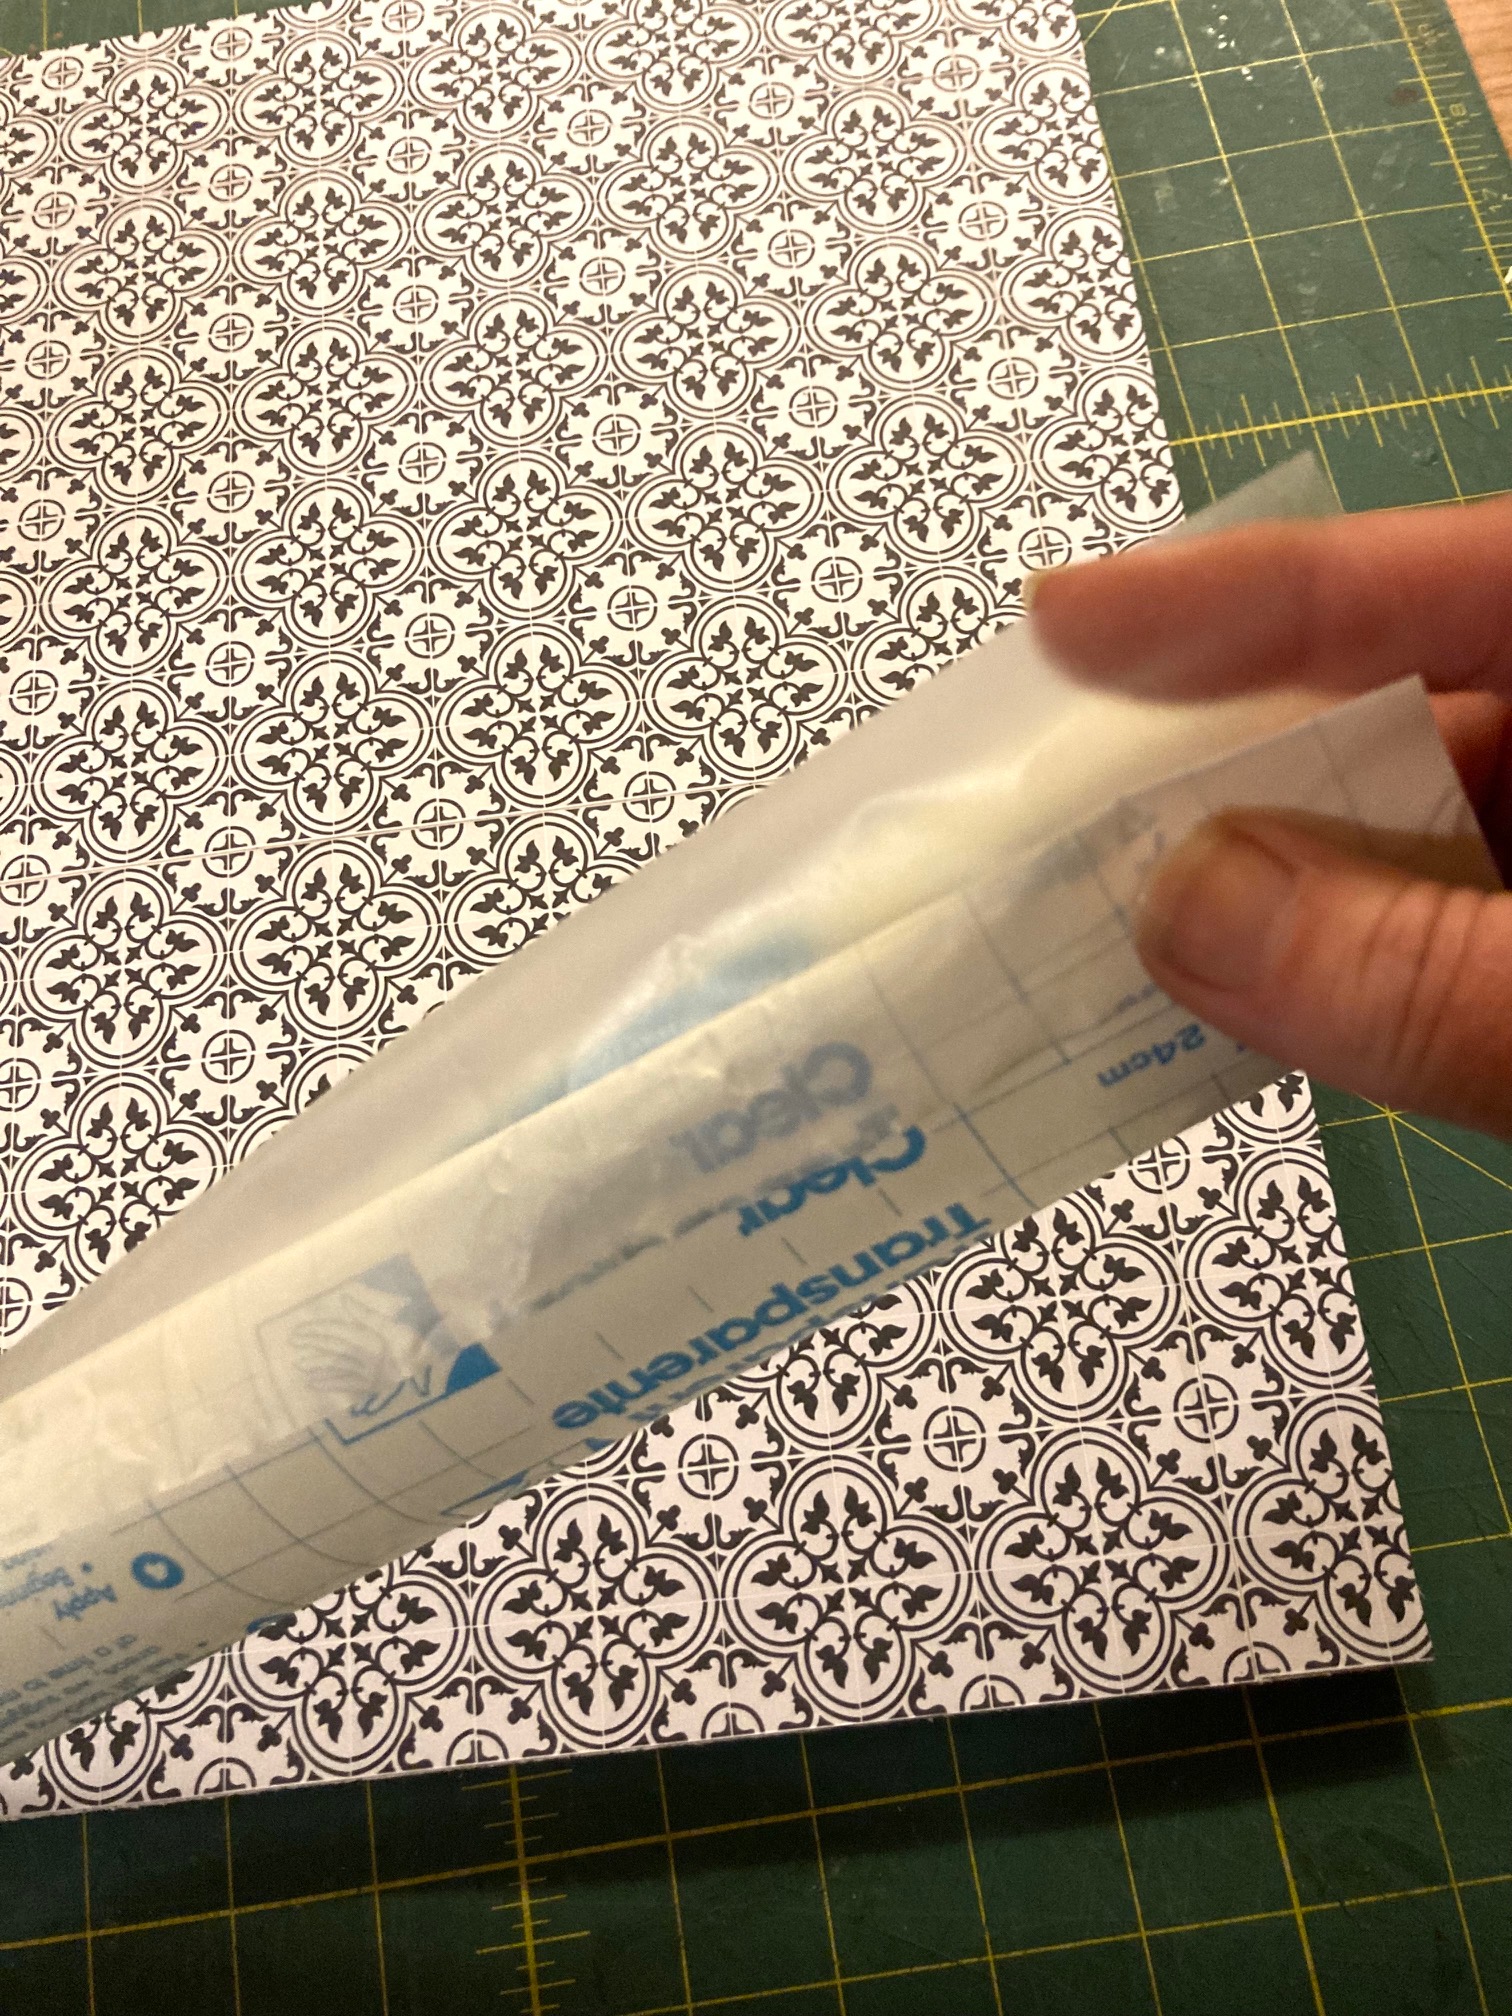
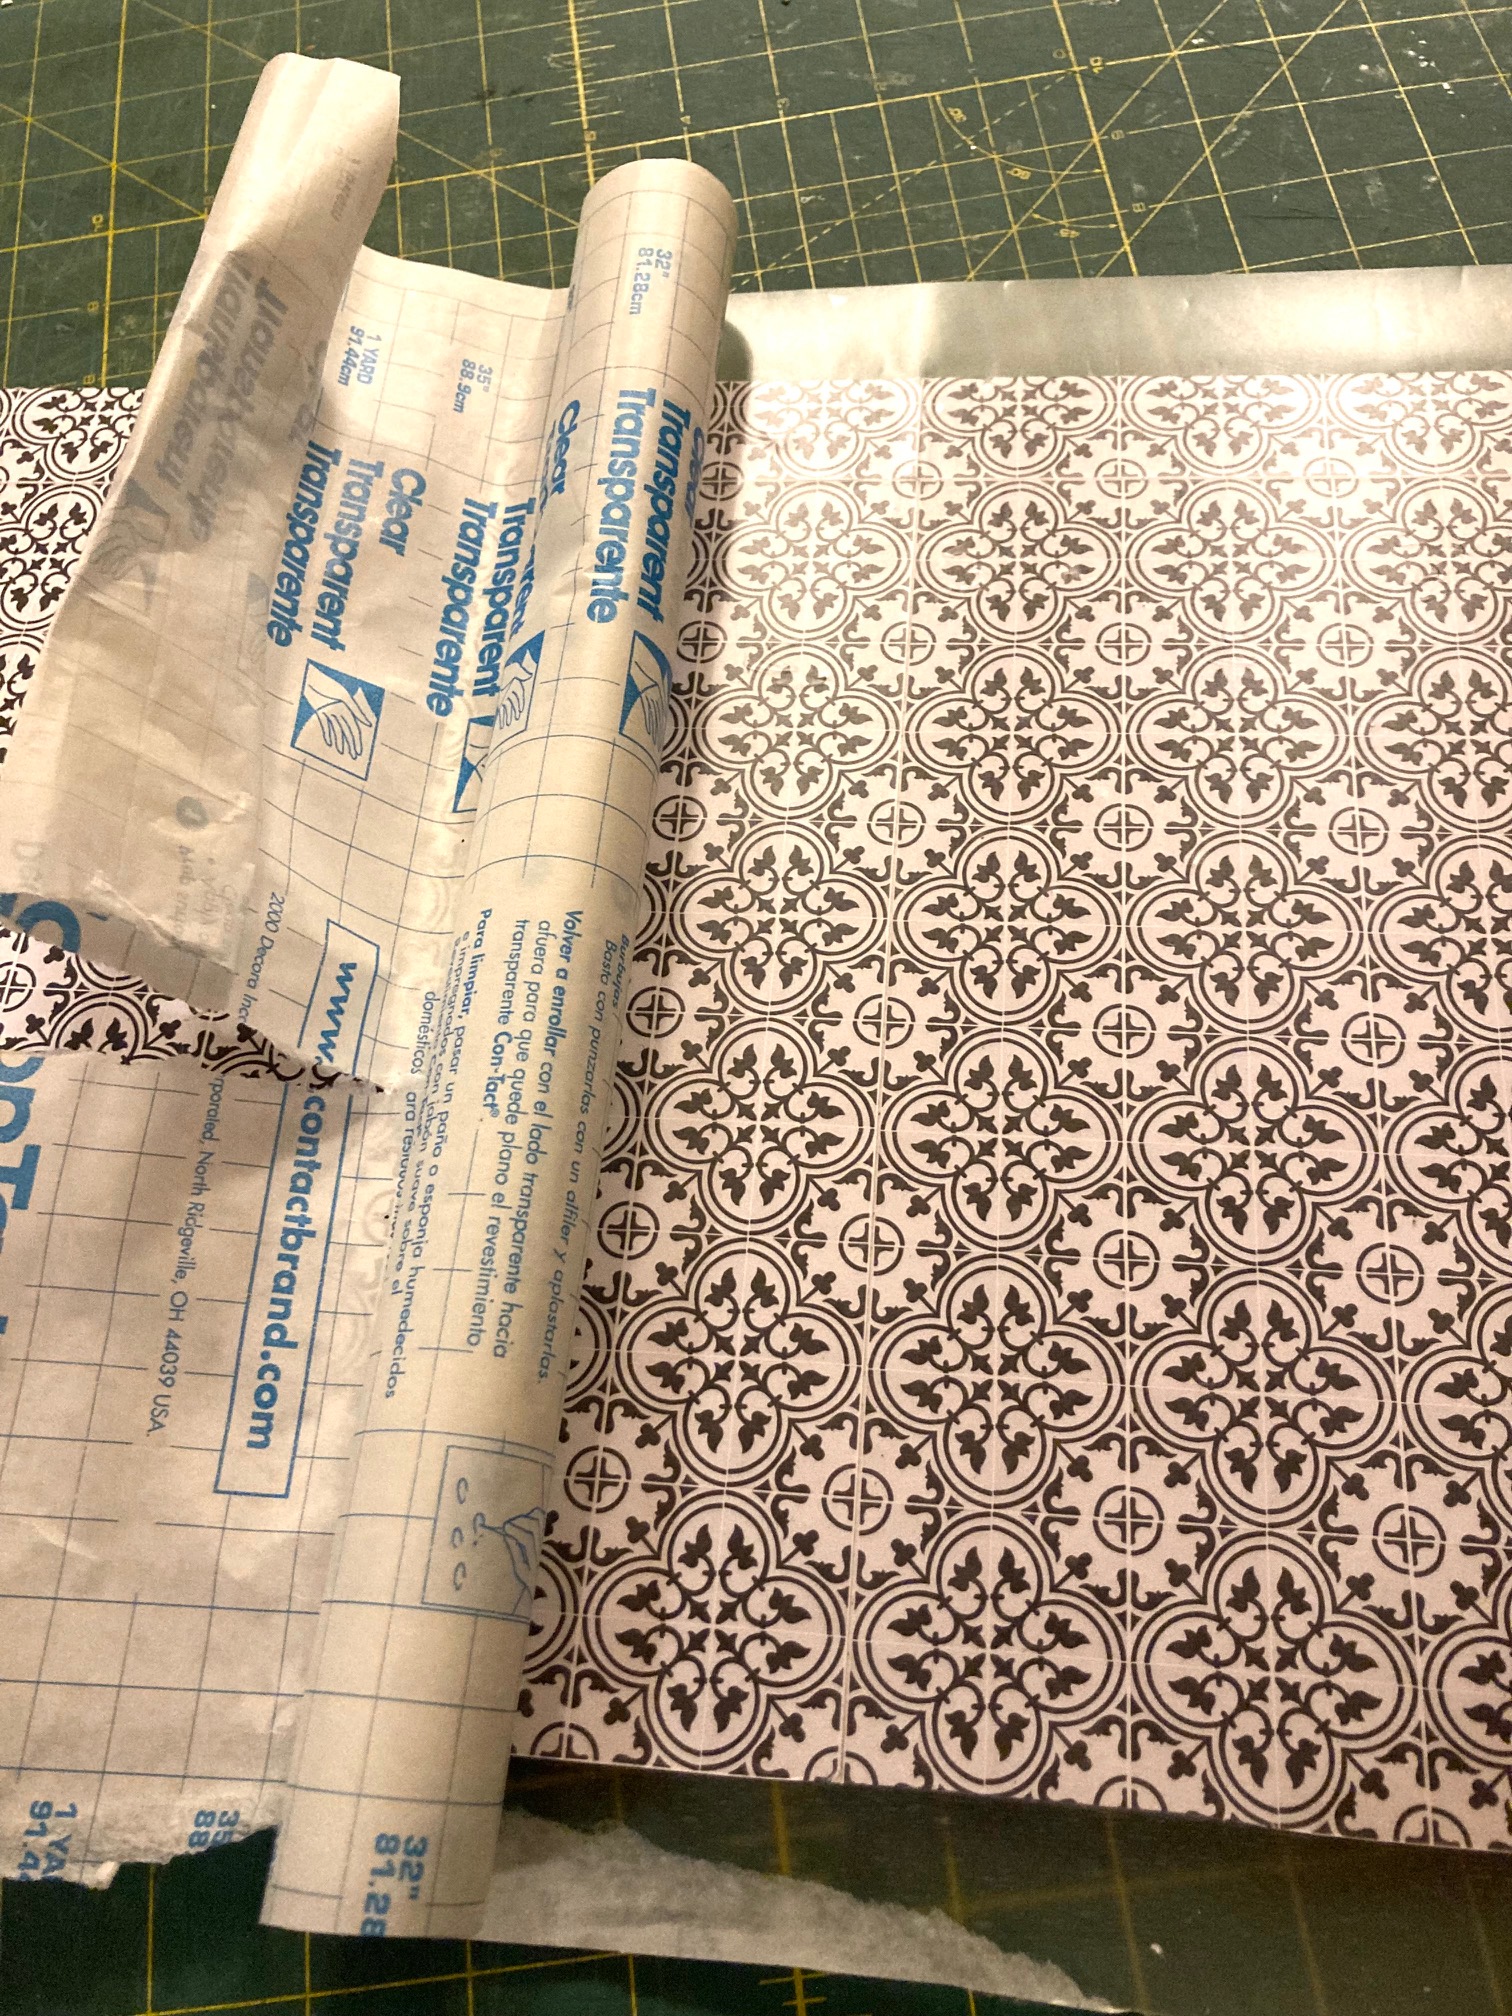
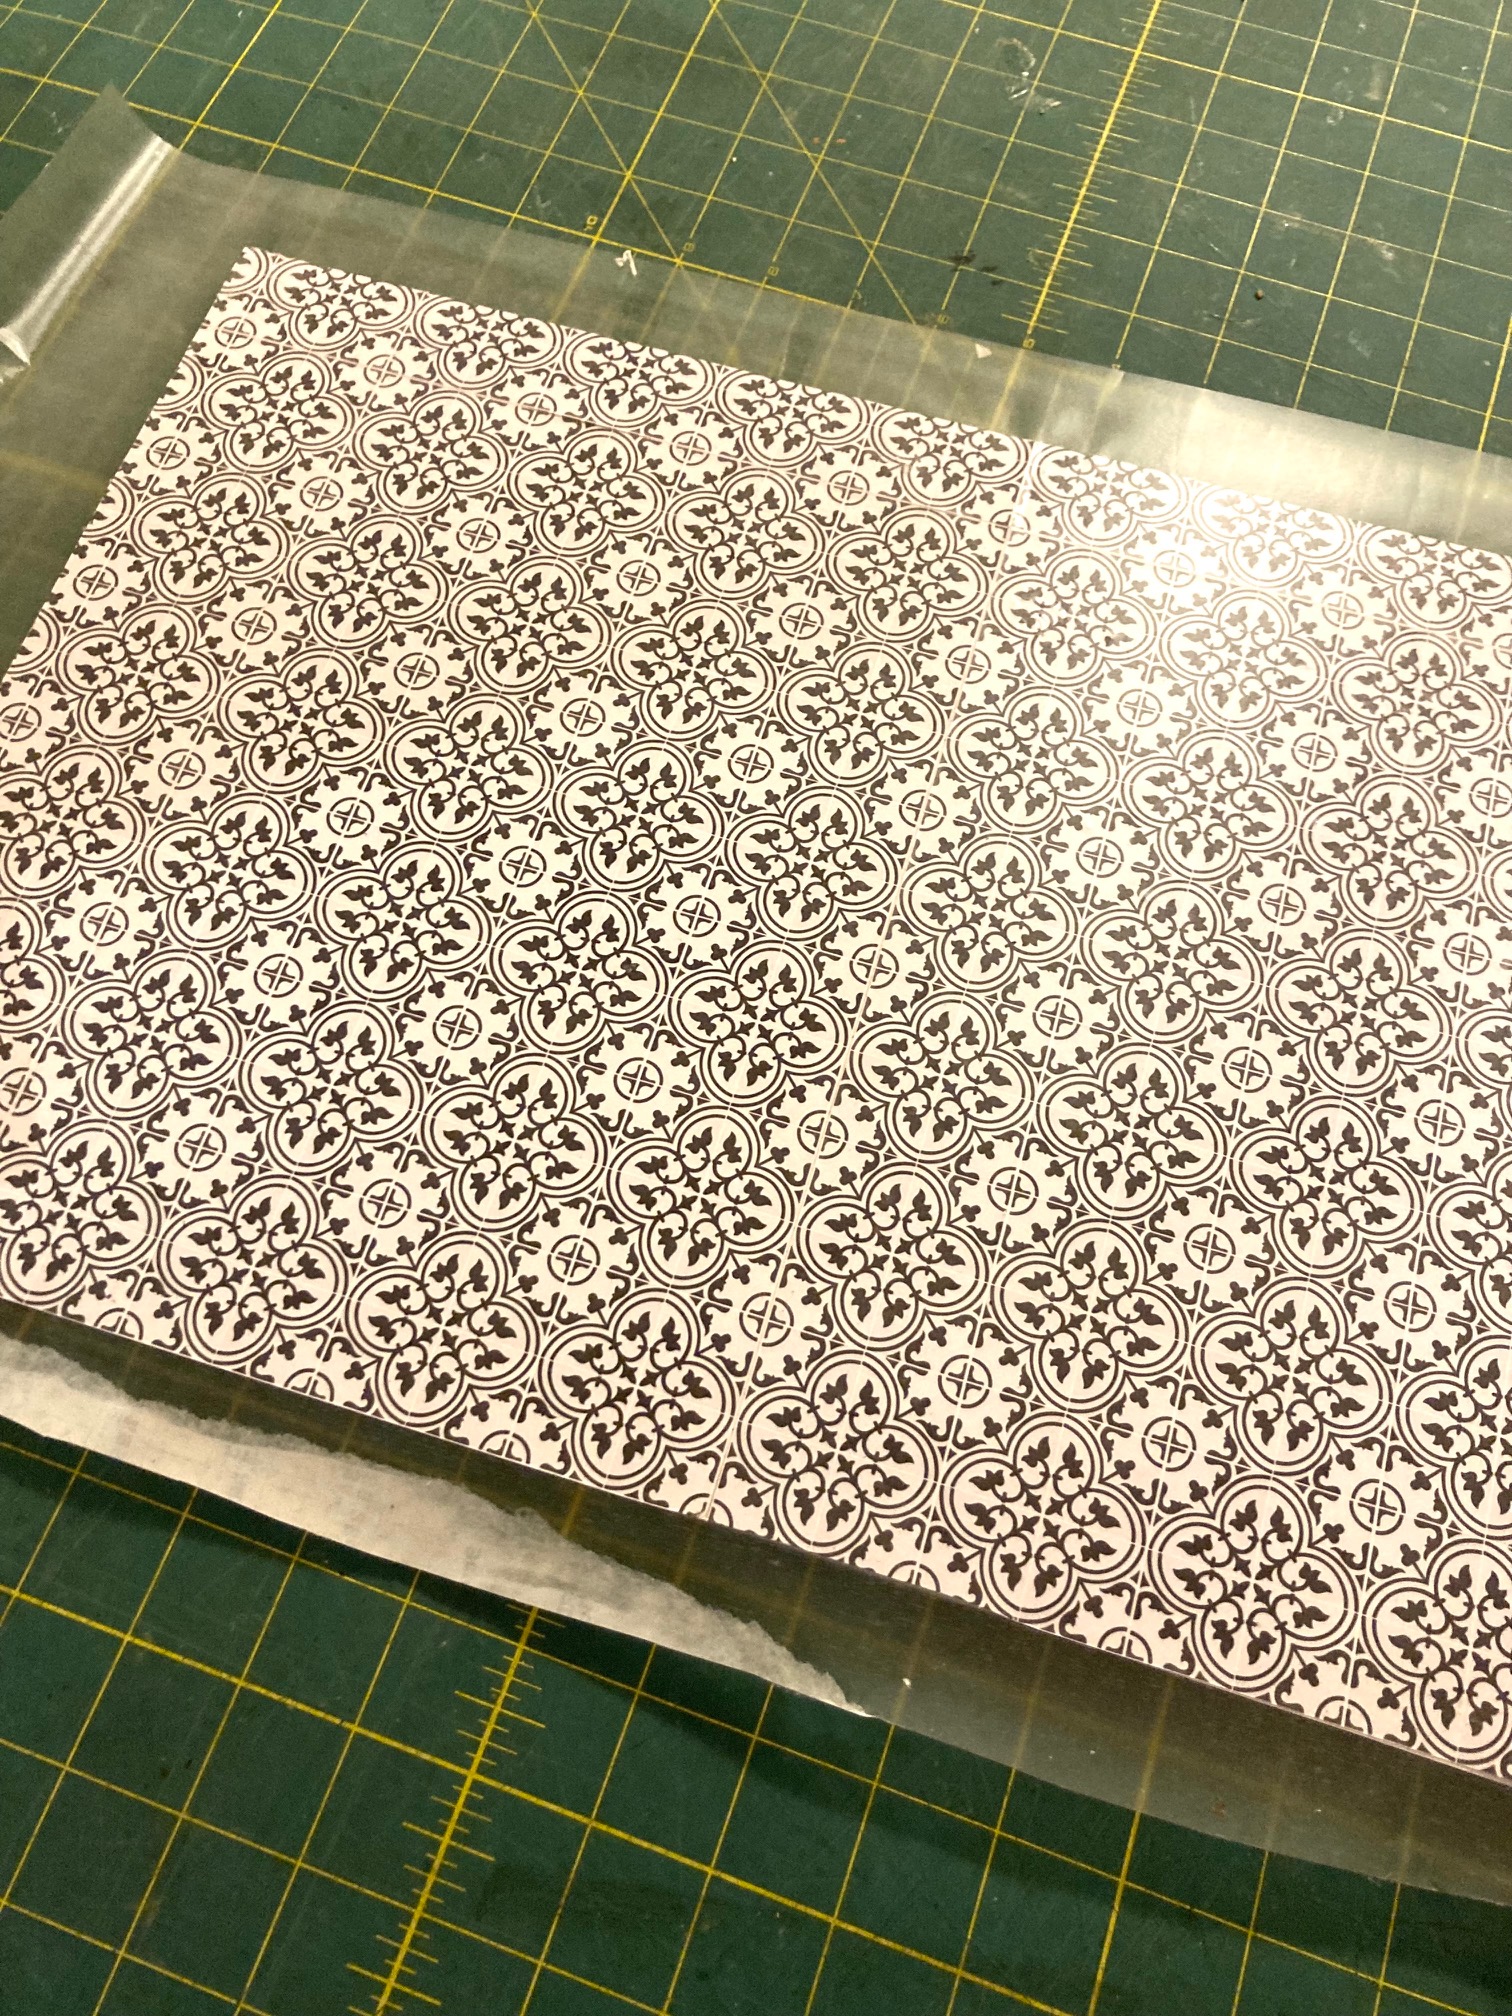
For the bedroom and bathroom area, I added contact papers for wallpaper and in the bathroom as the tile flooring. Both the blue patterned paper and the neutral terrazzo paper are actually from the Dollar Tree and are my new favorites. The grass cloth patterned contact paper is an old but goodie that I have ordered a few times. You can find it in my Amazon shop here.
Disclaimer: I do earn a small commission if you purchase items in my Amazon store.
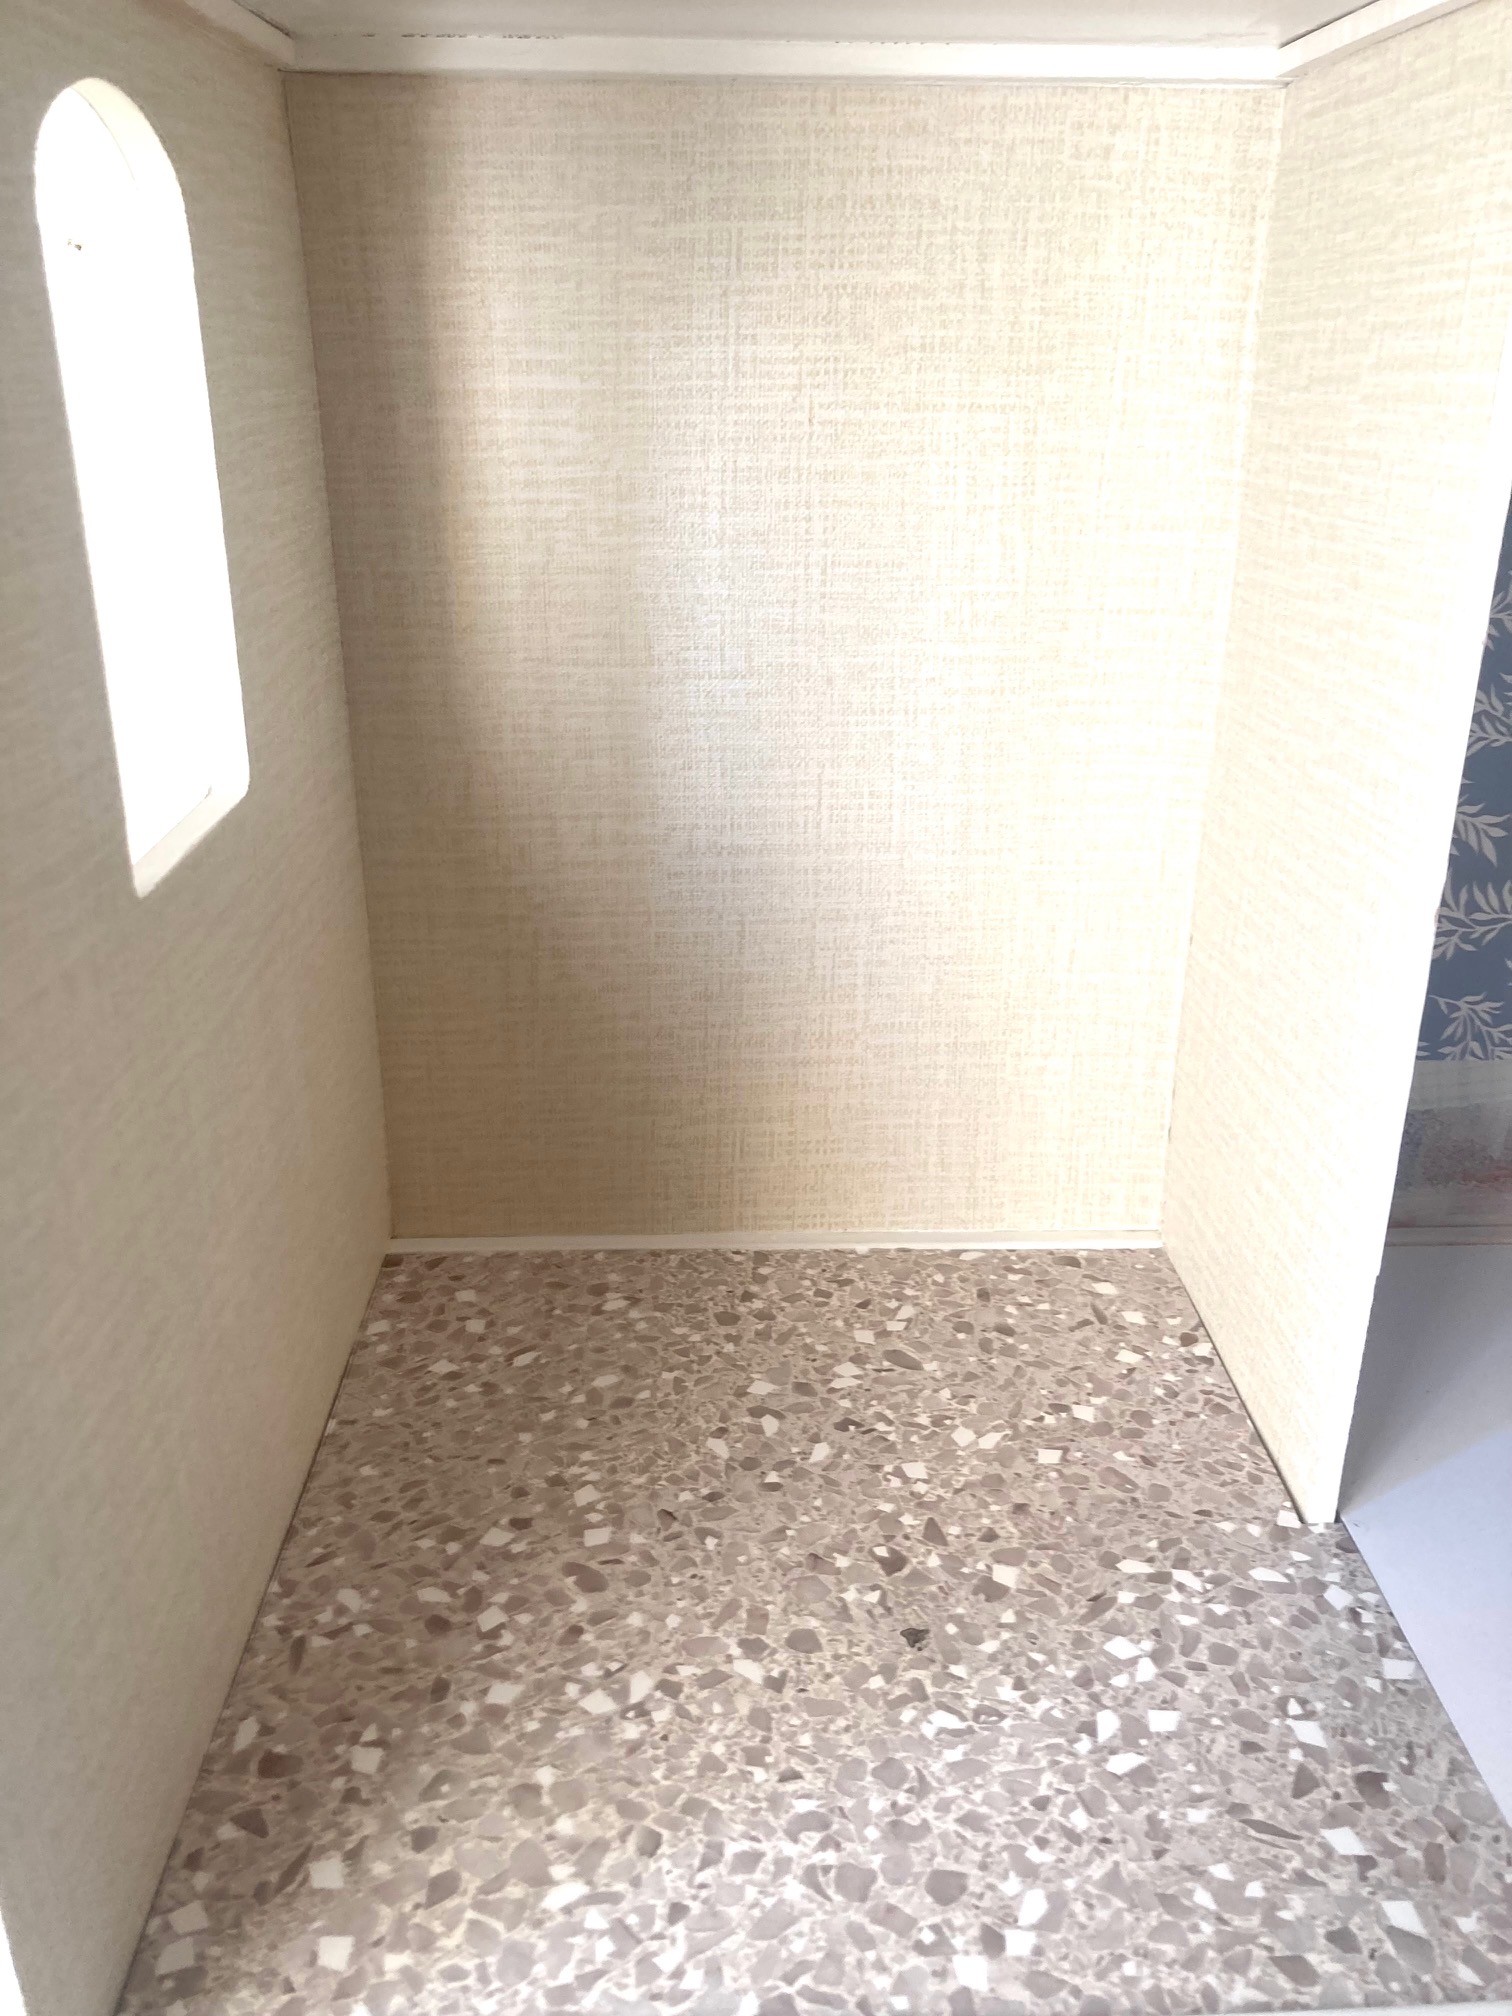
Note that I am covering a few windows/doors in a few places to maximize usage. I will be adding a wainscoting to the bedroom so that is why I didn’t cover all the way to the base.
I also decided that I would use the room designated for the patio as an office, so I used another favorite from the Dollar Tree.

I will be changing the flooring in here, I just haven’t decided if I want carpet or more wood flooring. I’ve also decided to build a pergola on top of this room to have a true “outdoor” room.
The bottom floor is going to be the kitchen and dining room…here, the walls are still in progress, but I have completed the floors.
Kitchen Floor
I used this fantastic printable from Poppyseed Mini to create the kitchen floor since it’s really similar to my real kitchen flooring. Find Ashley’s printable here.
After gluing the printables to my precut piece of foam board, I add clear matte Contact Paper. This seals the paper and makes for a smooth, not too shiny surface.
Dining Room
For the dining room, I wanted a checkered pattern to contrast the darker paint color, so I created this flooring out of 2 items from the Dollar Tree!

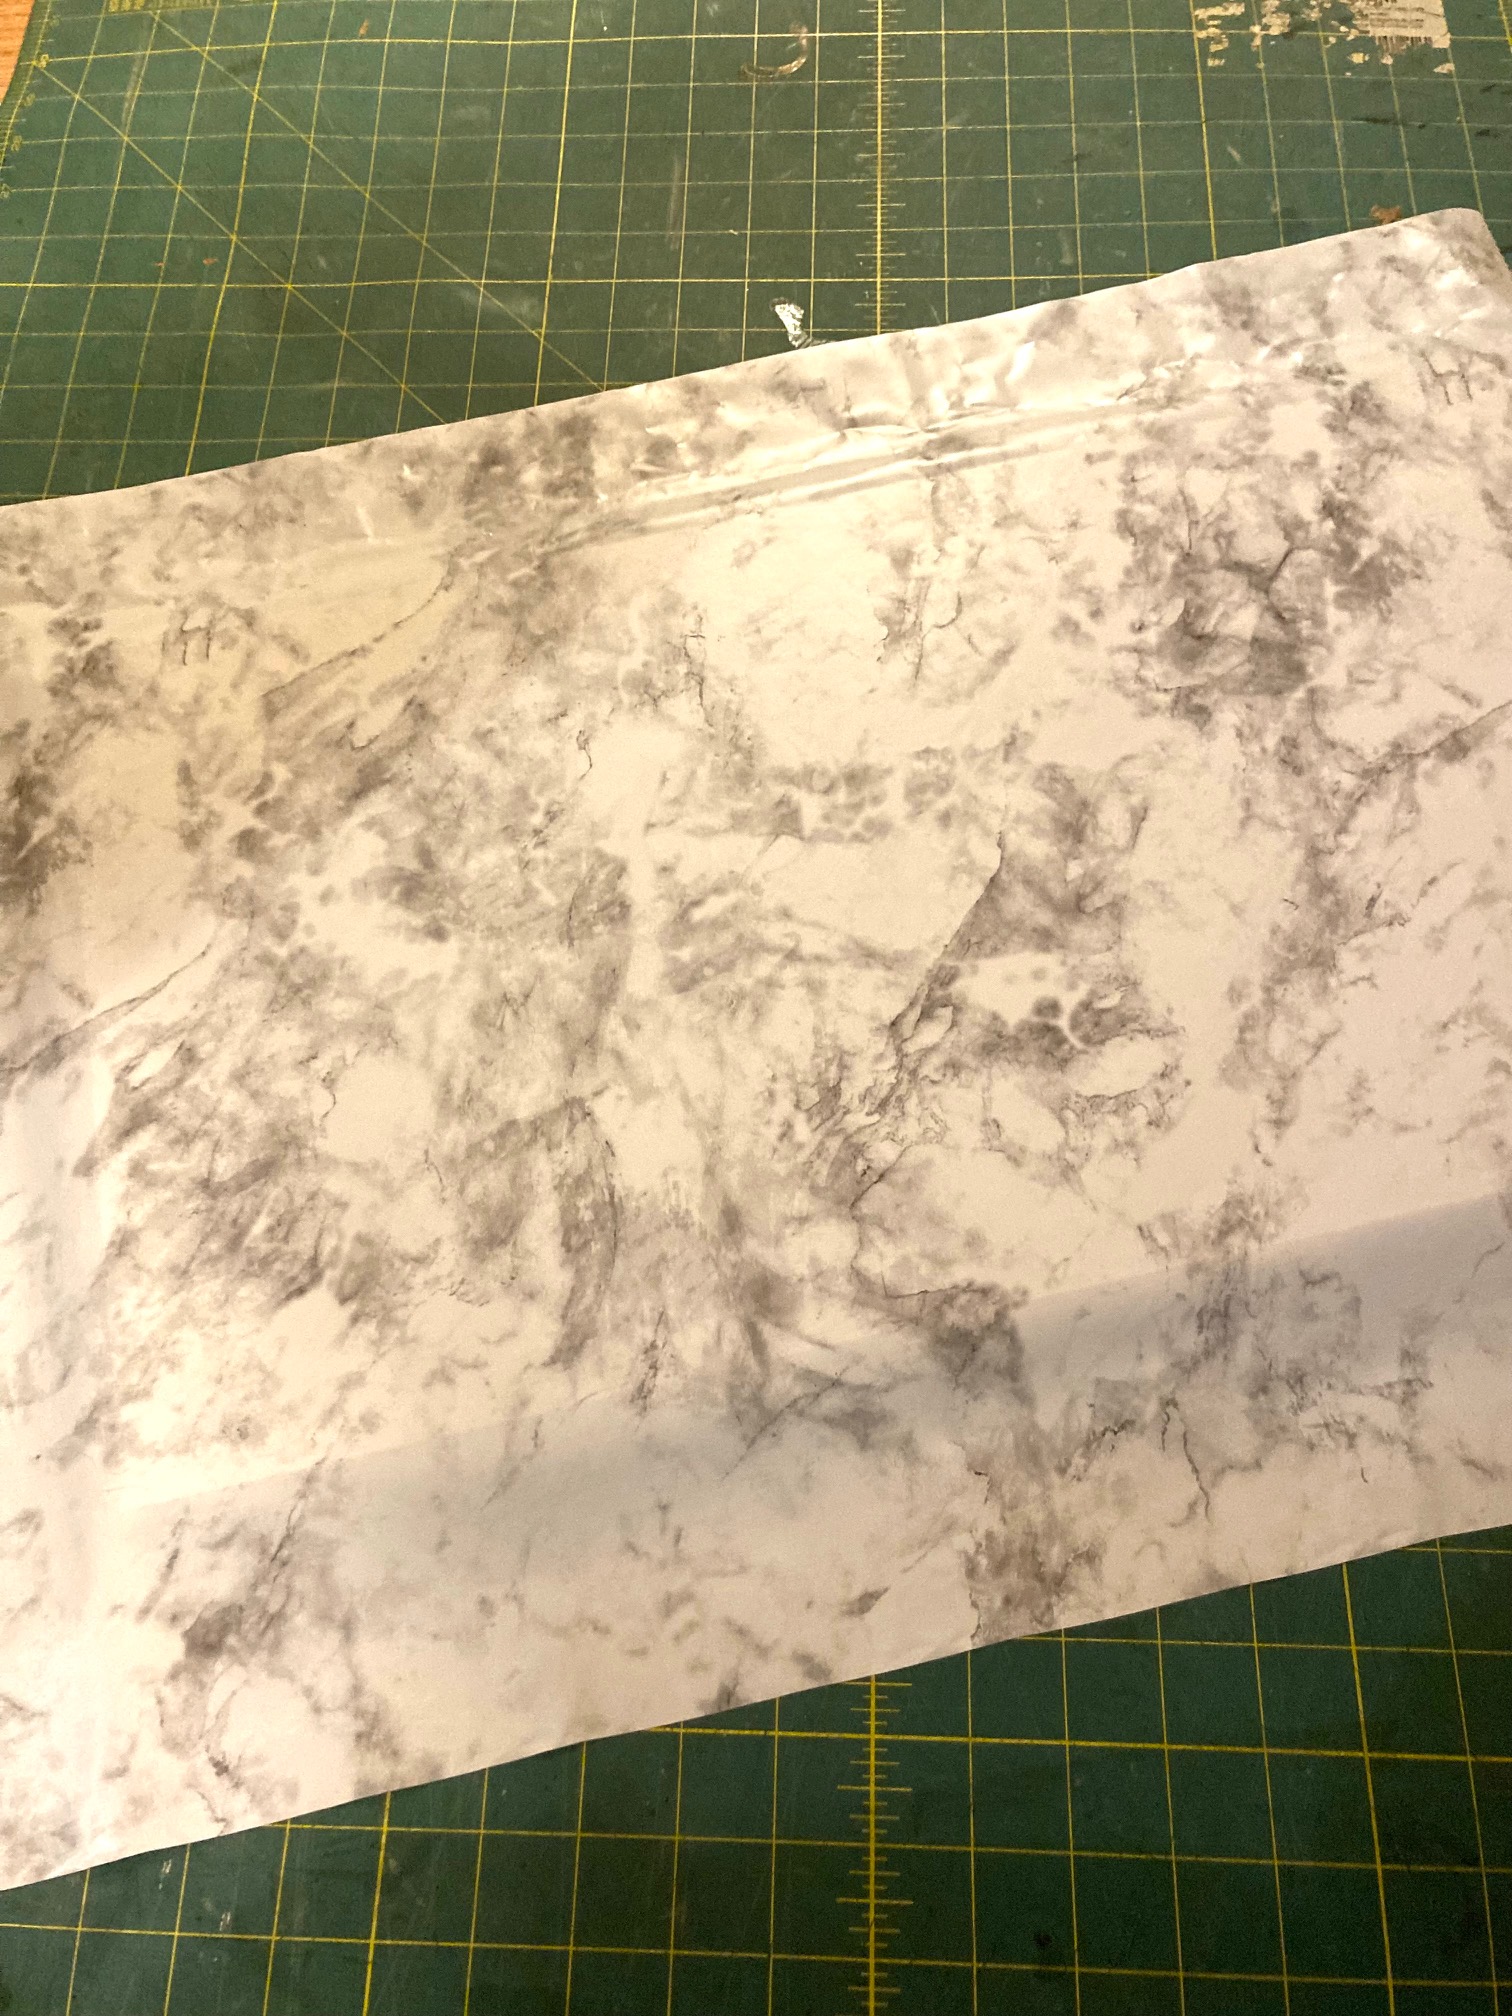
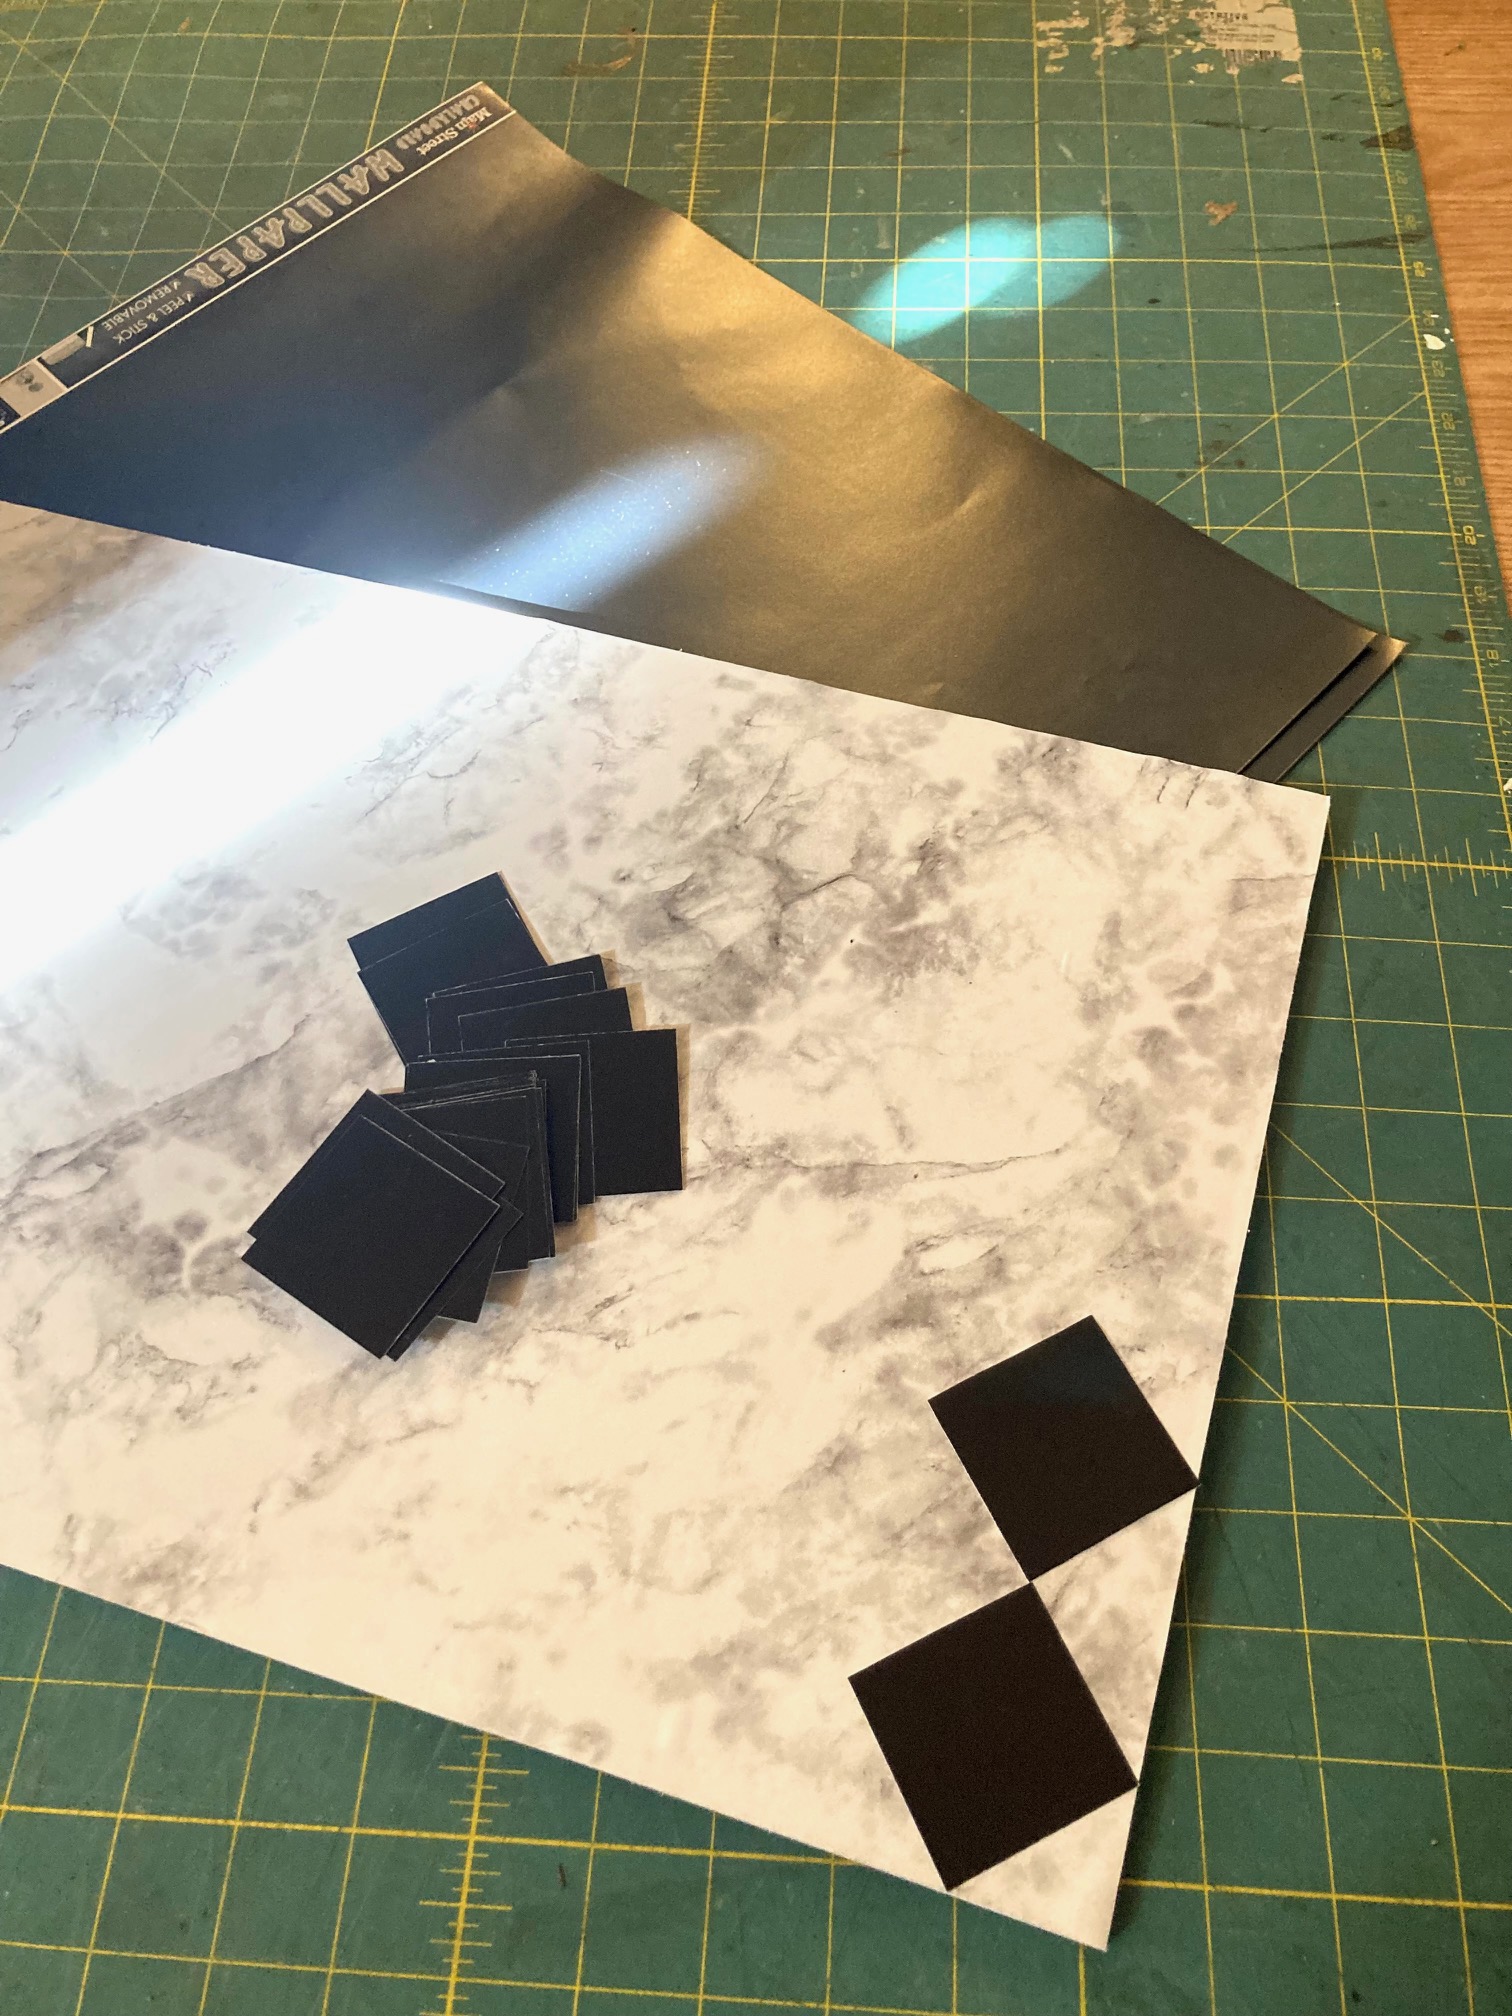
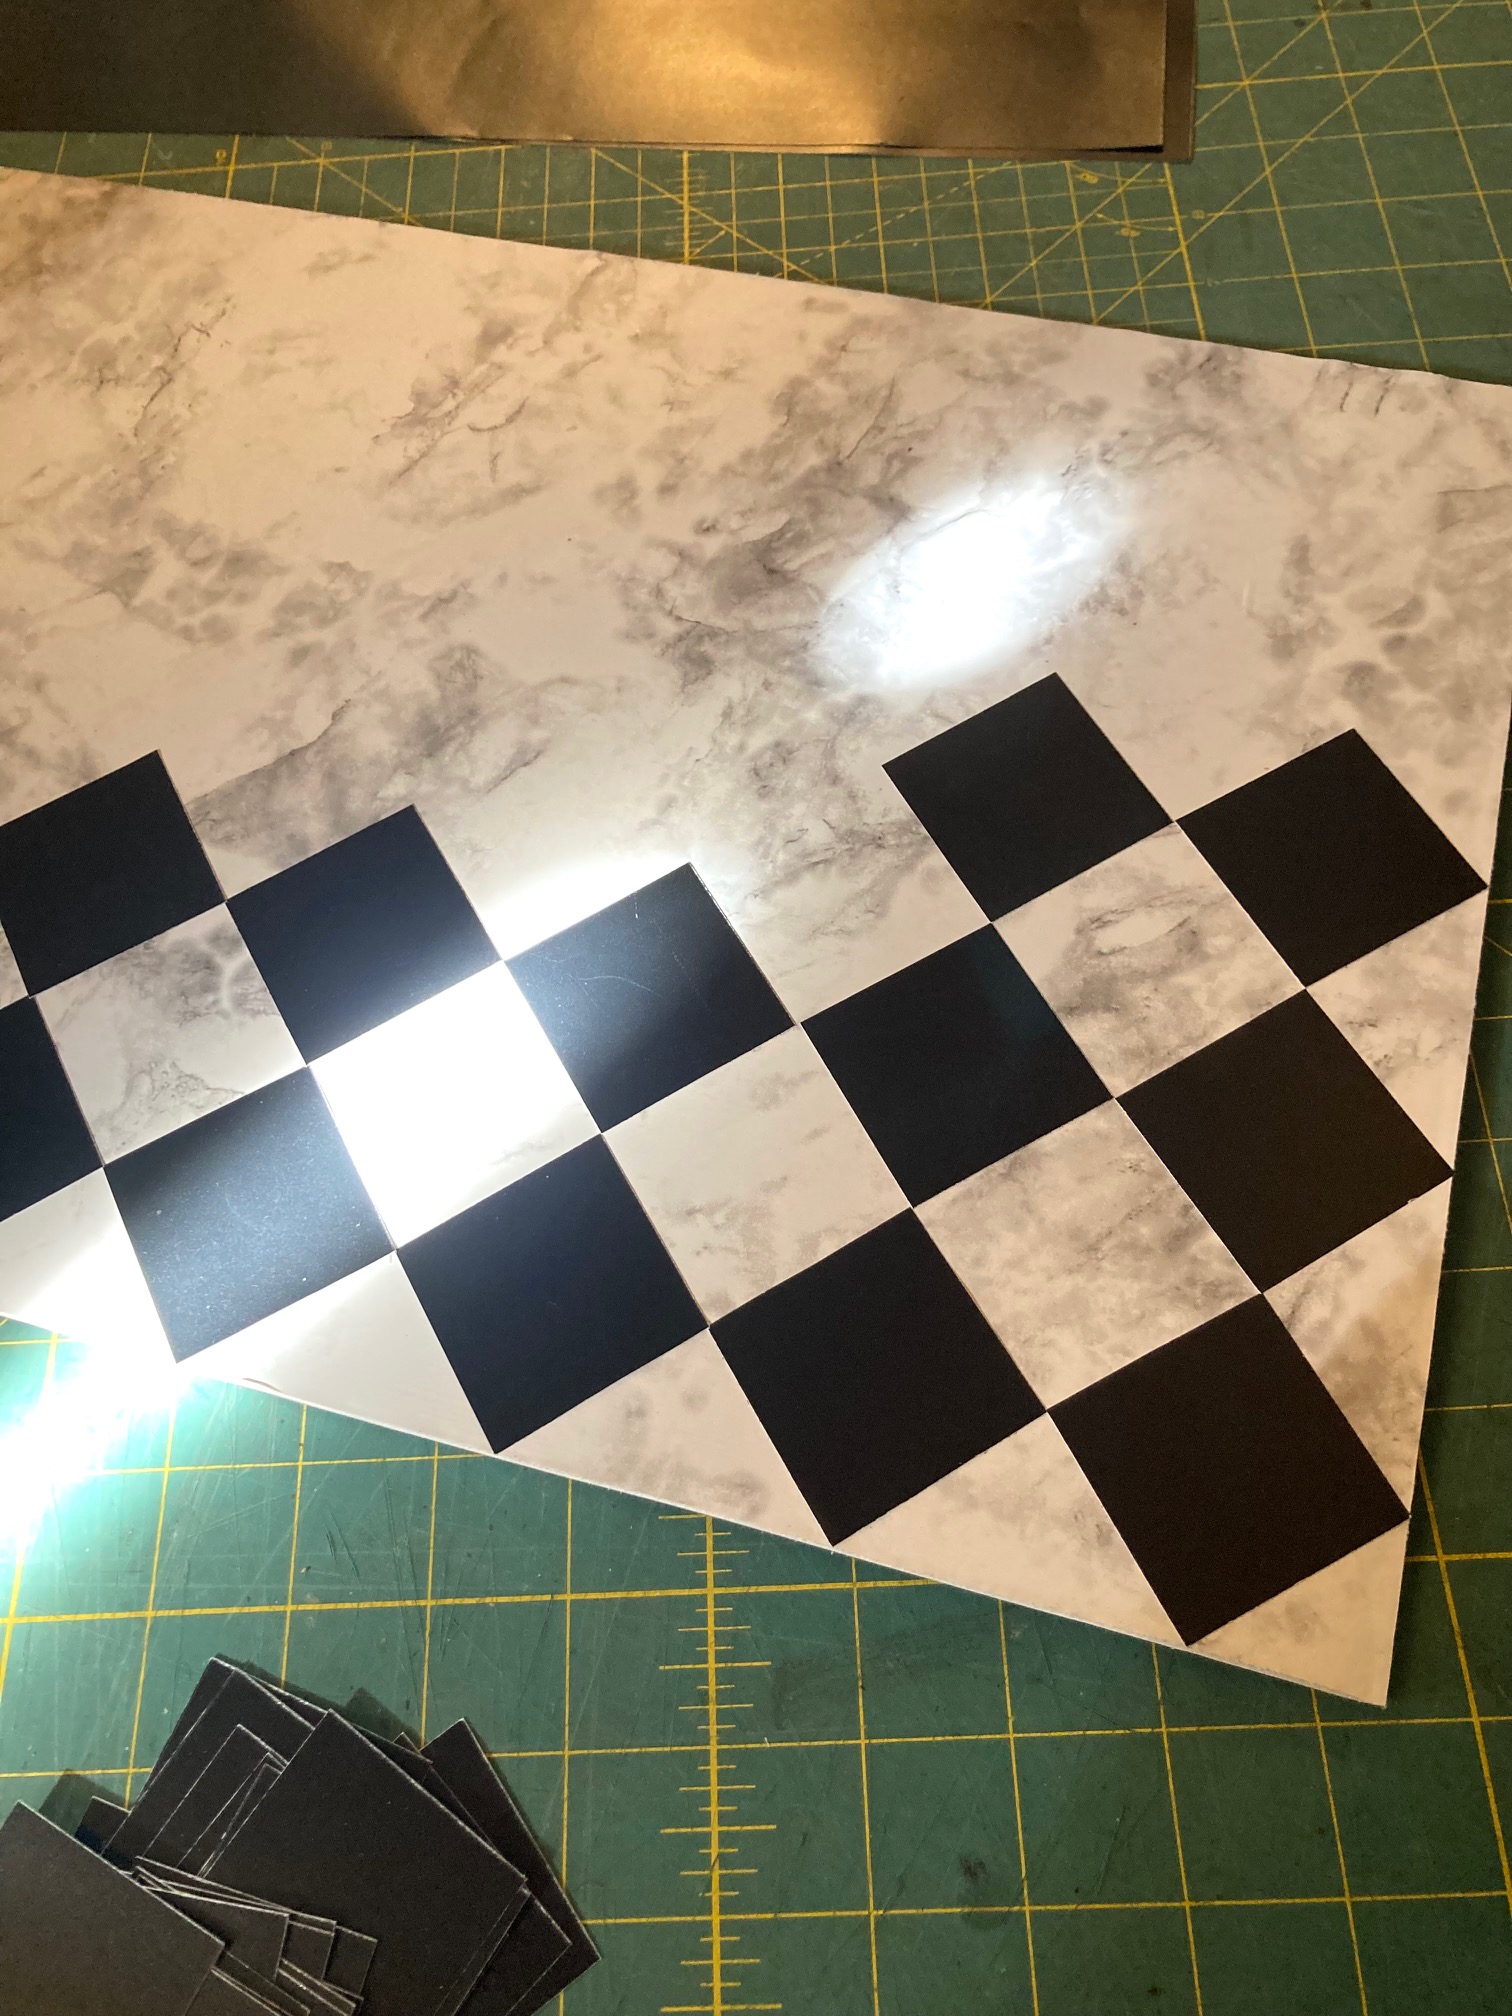
I cut the self adhesive chalkboard sheets into 1 3/4″ squares,
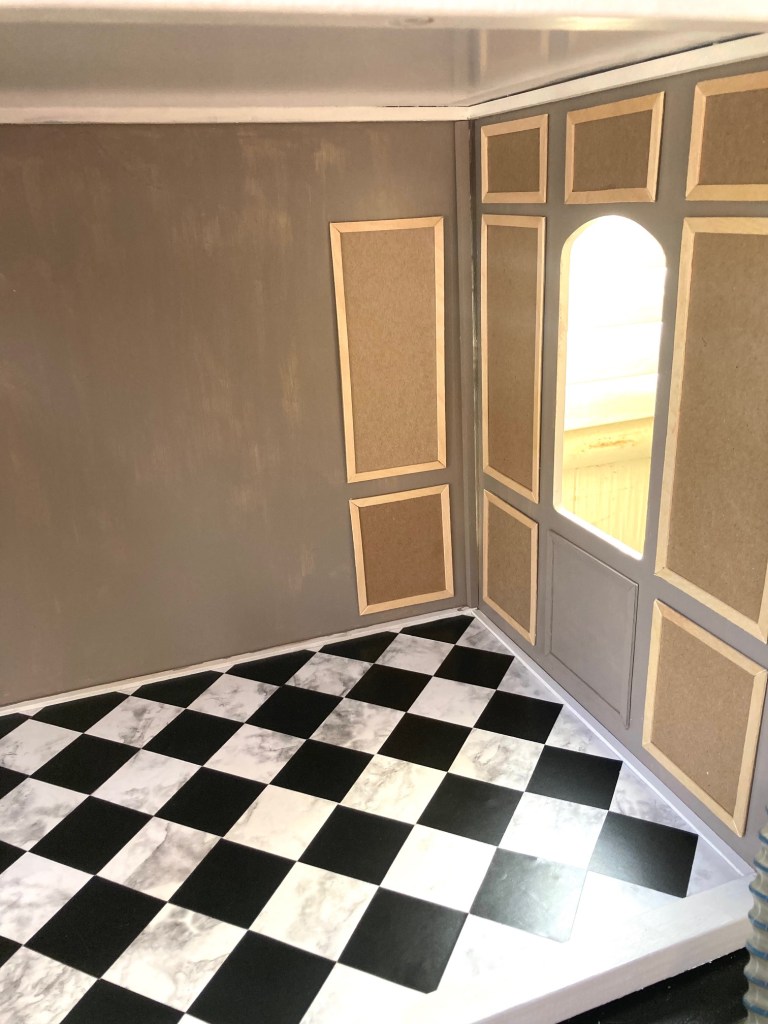
I can’t wait to add a dining set and lots of plants to this room!
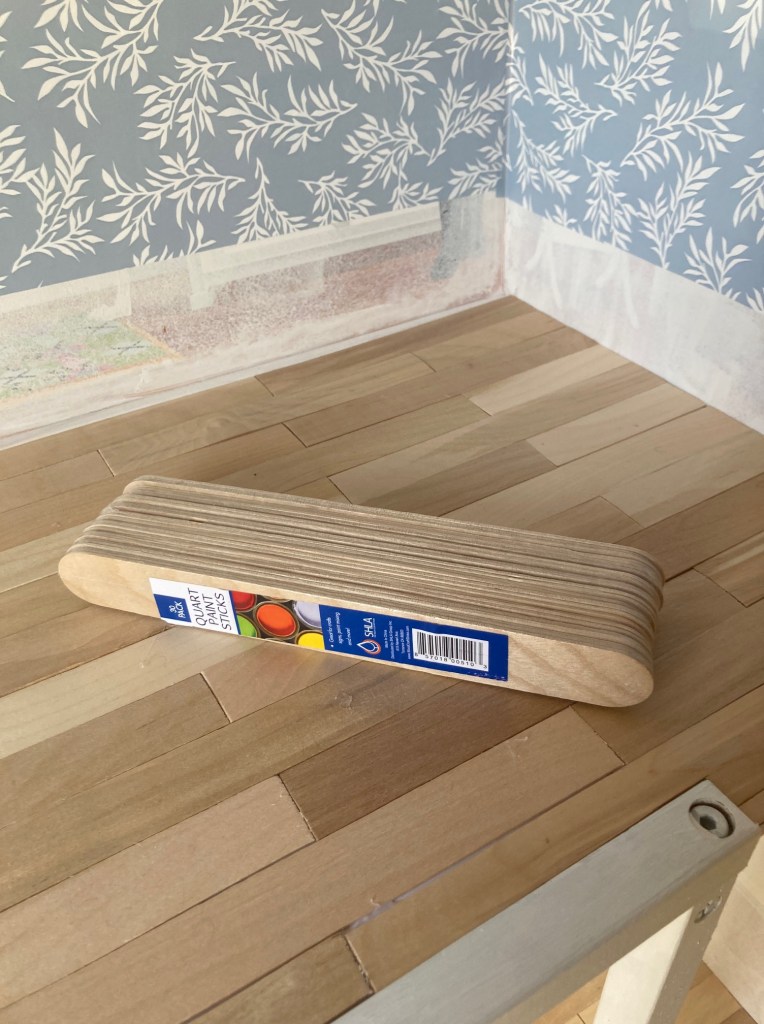
Bedroom & Living Area
In a few of the other living areas, I used the Home Depot paint sticks to create the wood flooring. I will be staining the wood, but it won’t be too different.
I hope you enjoyed this progress report! I’d love to see you try some of these floor treatments. Let me know what you think so far!
Keep creating! I’ll be back soon with another update!
XO, Rie & Bruni


It’s looking great! I love the checkered floor. I might have to eventually give that a try.
Angie (LilysCozyCottage)
LikeLiked by 1 person
Thank you! I was so happy to be able to do that with what I had and on the cheap!!
LikeLike
Great progress! Cutting my own checkerboard & applying wood sticks sound a bit too much for me, as much as I love the look for you, but I do love the idea of applying clear matte Contact Paper over the printable to seal it. I think I may stick to using contact paper for the floors of mine, since it worked so well for my walls. I actually have some bl & wh check in my stash that may work well for the kitchen. Hugs!
LikeLiked by 1 person
Thanks! Yes, I like to make things more difficult for myself! 😉
LikeLike
Ha. ha, ha…I do that, too, in other parts of my life at times. My sister is always telling me to “choose the path of least resistance.”
LikeLiked by 1 person
I’m excited, can’t wait to see your progress! I know the house will be stunning – you have such an eye for color and print combinations. Next, I’ll want to renovate some of my doll rooms. Just fyi, amazon sells a small slat wood-look contact paper, it’s slightly textured, not shiny and the slats are only about an inch wide. It comes in several shades and cost about $6 a roll. I used it in my (bookshelf) house and am super happy with it.
LikeLiked by 1 person
Thanks! Oh, that paper sounds great! I’ll have to do a search to check it out! Sounds perfect for our projects!
LikeLiked by 1 person
Here’s the loooong title of the contact paper… “Jeweluck Wood Contact Paper Wood Peel and Stick Wallpaper 17.7inch x 118.1inch Faux Wood Wallpaper Wood Grain Contact Paper Peel and Stick Wood Self-Adhesive Removable Wallpaper Decorative Vinyl”
LikeLiked by 2 people
Thank you!!
LikeLike
I personally love working with contact papers, vinyl sticky sheets, and printed flooring and wall papers. It really gives a great atmosphere to make ‘real’ homes for dolls. Loving that linen textured paper, I may do a full size closet in it! …LOL>
LikeLiked by 1 person
It’s definitely one of my favorite items to work with! It’s so versatile!!
LikeLike
This looks amazing! I especially loved the way you created the black and marbled tile flooring. That is such a clever use of two elements! My mom redecorated a dollhouse like this one and also used bamboo placemats to make the flooring in the kitchen.
LikeLiked by 2 people
Thank you! That sounds like a cool idea. I love placemats for all types of things!
LikeLike
owww this looks like fun! I haven’t done any work on my little dollhouse in such a long time. I love you’re choices.
LikeLiked by 1 person
Thank you! It’s definitely fun, you should get back to it!
LikeLiked by 1 person
I know, I’m carving out time with my blogging and work schedule. I wanted to do 3 different IKEA dollhouses but I’ve barely finished one. I’m just waiting on a few piece from Macy Mae..(i.e., my kichen, a table, toilet) but the walls and floor took a really long time. I have to redo the bedroom floor because I used popsicle sticks but due to the climate in my home they are starting to buckle, so I’m just going to find a print out or scrapbook paper of a nice parque floor.
LikeLike