

We all love a bargain, right? But we all want our diorama digs to be great quality too, right? I’m really trying to pair down, but let’s be honest, I’m totally addicted to shopping at the Dollar Tree and I love a good craft challenge. When I saw all of their signs, the ideas just started going off in my head. I wanted to make nice, wood furniture from DT items! Away I went!
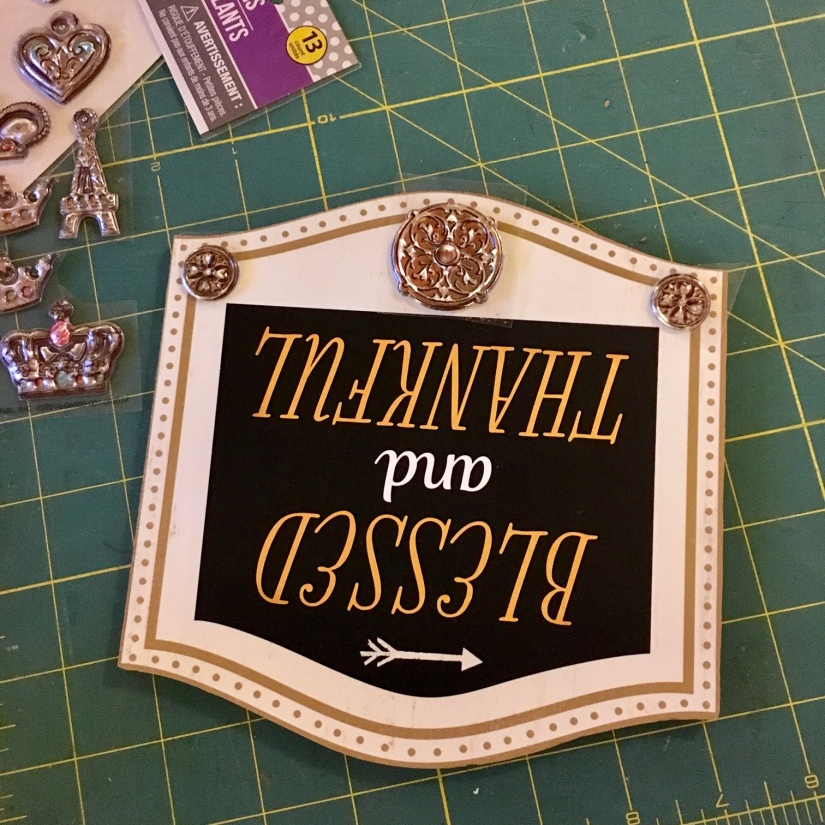
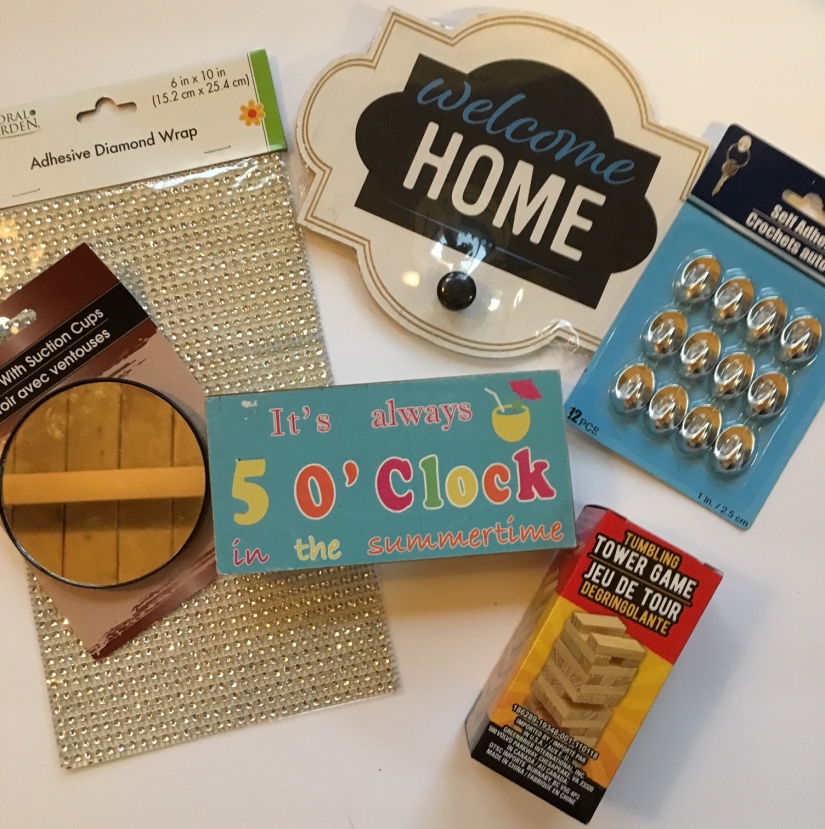
Here are all of the signs I picked up for these projects:


For all of the featured projects, here’s what you will need in addition to the Dollar Tree items:
- Turbo Tacky Glue
- E6000 Glue
- Mini Saw or utility knife
- Heavy duty scissors or tin snips
- Paint of your choice
- A cereal box (one of my favorite things to use)
- Mini drill bit or extra push pin


The Dining Table
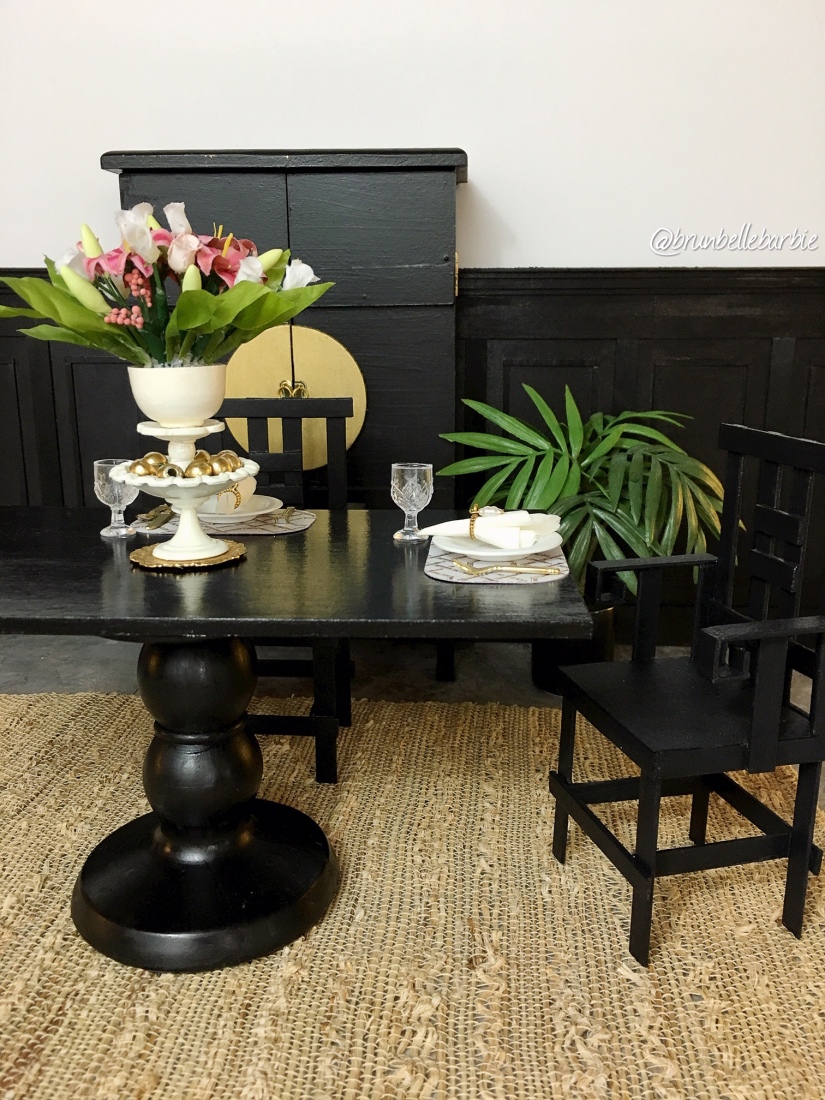
Such a simple DIY, but a big impact for a glam dining room! If you are interested in how to make these chairs you can find out how here.


The Bed

This cute bed makes a perfect twin size bed. It would be really cute to make matching ones for a pair in a girls room. You could also really use a variety of the “headboard” pieces used here to make slightly different styled beds.


The Vanity

Every doll needs a beautiful vanity to create their unique looks.


The vanity bench!


I painted the pieces with the same black gloss paint I used on the table above (about 2 coats).

Embellishment time.


I originally planned to add the rhinestones that were pictured in the original supplies image, but as I went along, I really liked the simplicity of just the black. Like they say, sometimes “Less is more…” I did grab a baggy of metallic pony beads from DT to use as knobs for the “drawers.”

The Farmhouse Bench

This bench is the perfect spot to greet your furry friends and put on some boots!


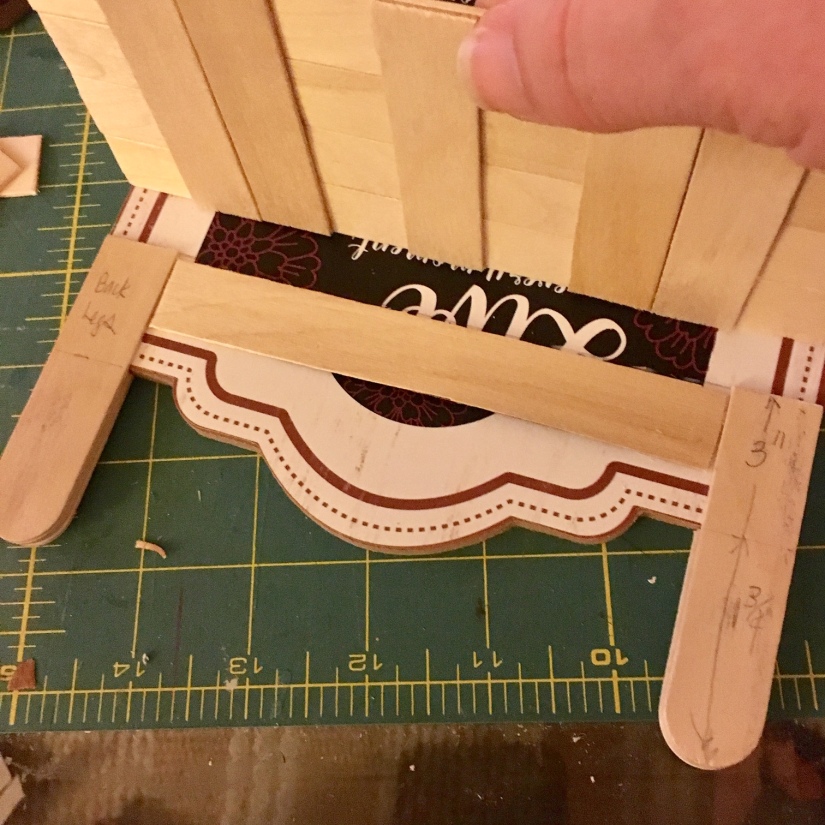


Paint of your choice and we’re done.

The Hall Tree

With Fall on the way, who doesn’t want to spruce up their entry or mud room with a Hall Tree? It’s made of Pottery Barn dreams…

In this project we used more wood items from the Dollar Tree, but also picked up a free stir stick in the Paint department at Home Depot (these are handy for shelves)! I also used the left over knobs from all of these signs.


The tree part…


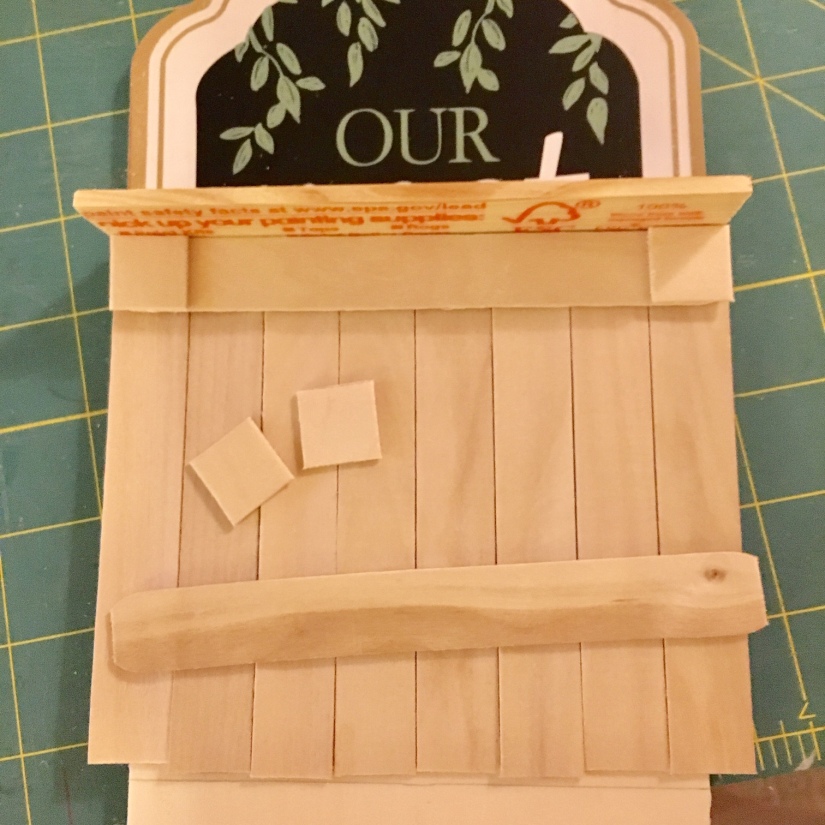

The unpainted hall tree!

Magically you painted everything white except the bench seat! On this we will do a little dry brushing to make it look like weathered wood.


And here you go! I can hardly believe this is made from DT stuff!

And now to embellish!

Warning: don’t be like me and have no idea you actually had black hooks like this on hand! Later I was going through one of my Dollar Tree bins and I found two packages of black pin hooks! Proof below…
Duh!

Moving on….

Cut off most of the pin portion of these. BTW, I could still kick myself for not knowing I had these in black already! The black paint wanted to rub off on the unit so that was aggravating me.
Mark and make a small hole in the upper trim area. Use a tiny drill bit or another pin to bore a hole in.


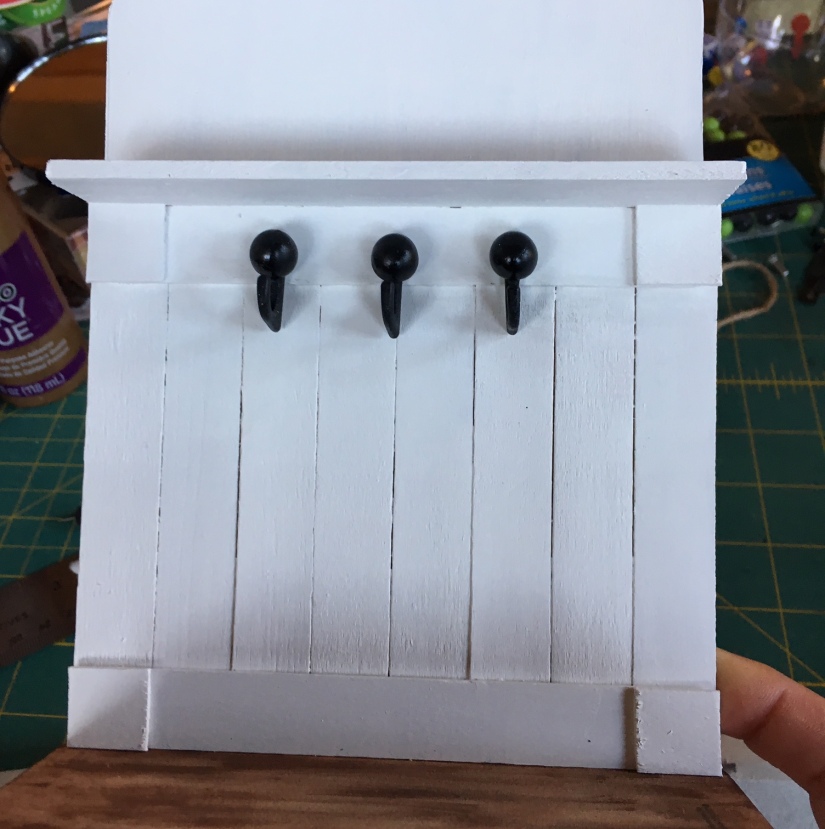
Note: I wanted to do four hooks, but being honest, I measured wrong, so three it was.
I used the leftover knobs from the signs to made “bun” feet for the Hall Tree. I think they worked out great!


As always, thank you so much for following along on our adventures in crafting and out of the box ideas! I hope you gained some inspiration and are ready to tackle this or your next DIY or Custom! Comment here or back on Instagram and tell me which project you want to try first?
Be sure to follow us so that you receive notifications when we upload new content! Until next time…
XOXO
Rie & Bruni


Wow! You out did yourself. These are all fantastic!
LikeLiked by 2 people
Thank you so much!
LikeLike
A friend of mine gave me a 5 ft long handmade dollhouse that was unfinished . I have never worked with miniatures before . I was so excited, at first —but then I began to think of the work (where do I start), the cost of it (wow some is the furniture and accessories are expensive ) So, I started looking for ideas. Thank you for sharing some of your thrifty ideas and showing how to accomplish them. You certainly have quite an imagination!
LikeLiked by 1 person
Thank you! I love looking for ways to save money because it sure can get costly! My favorite thing to do is definitely these Dollar Tree transformations!
LikeLike
Wonderful!! You inspire me!!
LikeLiked by 2 people
Thank you so much!
LikeLike
I can’t wait to raid my Dollar Tree and make these!
LikeLiked by 2 people
👍 Good luck & have fun!!! 😊
LikeLiked by 1 person
I am so glad I found your page! These will be so much fun to make!!
LikeLiked by 2 people
Glad you found it too! Have fun crafting!
LikeLiked by 1 person
Wow – so creative!
LikeLiked by 1 person
Thank you! 😊
LikeLike
Thank you for sharing! I wish I had half of the creative brain that you have! I go into the dollar store and try very hard to see what things can become. I’m so glad that you work in 1:6 scale as I am a die hard Barbie fan!
LikeLiked by 1 person
You are quite welcome! I’ve started a series on Instagram creating room styles made solely of Dollar Tree items. I will be posting a Summer wrap up of the first 4 rooms next week. I film tours of the items I use…you can see them on Instagram! 😊
LikeLike